Author:
Florence Bailey
Date Of Creation:
27 March 2021
Update Date:
1 July 2024

Content
This article will show you how to use your computer without a mouse. You can do this by using Mouse Buttons on some Windows computers and all Macs, or by using keyboard shortcuts and arrow keys.
Steps
Method 1 of 2: On Windows
 1 Use basic keyboard shortcuts. Use arrow keys and key ↵ Enterto move around in the active window and select items, respectively. If you press a letter key while the desktop or a Windows application window (such as an Explorer window) is displayed on the screen, the item that starts with that letter will be selected. The following are the main keyboard shortcuts:
 - Alt+Tab ↹ - switch between open windows;
- Alt+F4 - close an open program or window;
- ⊞ Win+D - minimize all open windows to display the desktop;
- Ctrl+Esc - open the "Start" menu;
- ⊞ Win+E - open Explorer;
- ⊞ Win+X - open a menu with additional settings;
- ⊞ Win+I - open the settings;
- ⊞ Win+A - open the Action Center.
 2 Make sure your keyboard has a numeric keypad (pad). If there is no number key pad on the right side of the keyboard (in addition to the number keys at the top of the keyboard), you will not be able to use this method.
 - But you can use the keyboard shortcuts listed in the previous step.
 3 Open the start menu
  . To do this, press the key ⊞ Win (Windows logo key).
 - You can also click Ctrl+Escto open the Start menu.
 4 Enter accessibility center. This will search for Ease of Access Center.
 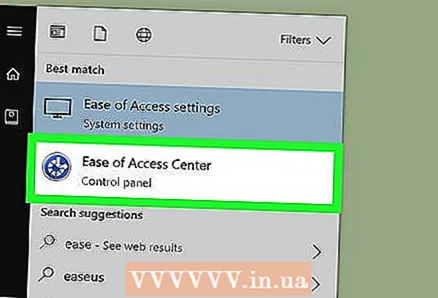 5 Please select Accessibility Center. Use the arrow keys to select that option at the top of the Start menu, and then press ↵ Enter... The Ease of Access Center opens.
 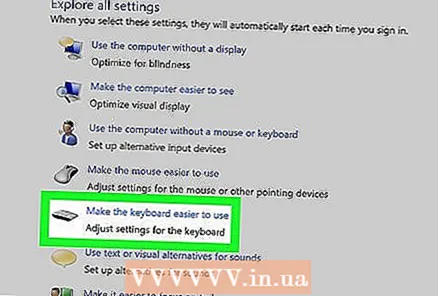 6 Please select Making the keyboard easier to use. It's a link in the center of the window. Press the key ↓to select that link and then click ↵ Enterto open it.
  7 Please select Customizing Pointer Control. You will find this blue link at the top of the page. Navigate to this link with the key ↓and then press ↵ Enter.
  8 Activate keyboard pointer control. Press the key ↓ until the option Enable Mouse Pointer Control is selected, and then press +.
  9 Scroll down to the Pointer Speed section. Press the key ↓ until the Fastest Speed slider is selected in the Pointer Speed section.
  10 Set the speed at which the pointer moves. Once you have set one value, press the key Tab ↹to go to the next one:
 - "Fastest speed" - determines the speed at which the pointer moves. Press the key →to increase the speed at which the pointer moves, or press ←to reduce it. This value should be high enough (for example, 75% or more).
- "Acceleration" - determines how quickly the speed of the pointer will reach its maximum value. Press the key →to increase acceleration, or ←to shrink it. This value should be around 50%.
 11 Click on OK. This button is at the bottom of the window. The mouse pointer can now be controlled from the keyboard.
  12 Use the numeric pad to control the pointer. Using the keys 4, 8, 6 and 2 the mouse pointer can be moved left, up, right, and down, respectively.
 - Use the keys 1, 7, 9 and 3to move the mouse pointer diagonally (at a 45 ° angle).
- If the mouse does not move, click Num (or Fn+Num on some keyboards), and then try moving the mouse pointer again.
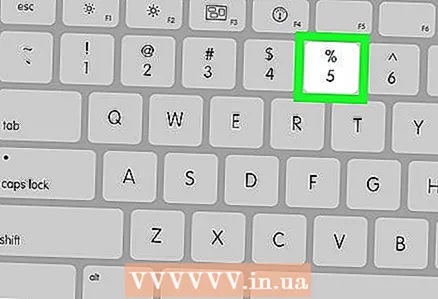
 13 Press the key 5to simulate a left mouse click. You will find this key in the center of the numeric keypad.
 - If clicking on 5 a menu pops up, click / on the numeric keypad to disable this feature. Now 5 will simulate the left mouse button.
 14 Open the context menu. Any Windows computer keyboard has a shortcut menu key, which is marked with a ☰ symbol. If an item is selected (for example, an icon), press this key to open the context menu (simulate a right-click).
 - Keep in mind that if you have not selected any item with the key 5, pressing the "☰" key will open the standard context menu in the corner of the screen.
Method 2 of 2: On Mac OS X
 1 Use basic keyboard shortcuts. Use arrow keys and key ⏎ Returnto move around in the active window and select items, respectively. The following are the main keyboard shortcuts:
 - ⌘ Command+Q - close the program or active window;
- ⌘ Command+Space - open the Spotlight search bar in the center of the screen;
- ⌘ Command+Tab ↹ - go to the next window;
- ⌘ Command+N - open a new Finder window if you are on the desktop;
- Alt+F2, and then ⌘ Command+L - open system settings;
- Ctrl+F2 - select the Apple menu (press ⏎ Returnto open it).
 2 Open the Accessibility Options window. Use one of the following keyboard shortcuts depending on your Mac model:
 - MacBook with Touch ID: quickly click on Touch ID three times;
- MacBook without Touch ID: Click Fn+⌥ Option+⌘ Command+F5;
- iMac (Mac desktop): Click ⌥ Option+⌘ Command+F5.
 3 Activate the Mouse Buttons function. Click on Touch ID three times (on a MacBook with Touch ID) or press ⌘ Command+⌥ Option+F5 (on all other Macs).
 - You can also use the key ↓to select the Enable Mouse Buttons option, and then press the ⏎ Return (or space on some computers) to activate it.
 4 Open the Accessibility Options window. This is how you can disable the Mouse Keys feature by using the keyboard shortcut that you used to enable this feature.
 - Unfortunately, you will not be able to enter text if the Mouse Keys feature is enabled.
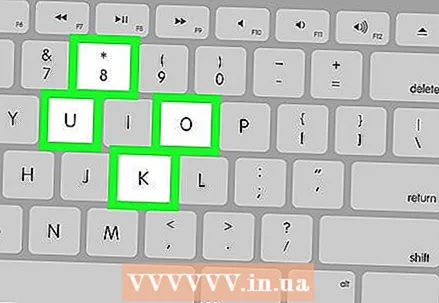 5 Move your mouse pointer. Using the keys U, 8, O and K the pointer can be moved left, up, right, or down, respectively.
 - Press the key J, 7, 9 or Lto move the pointer diagonally (45 °) down left, up left, up right, or down right, respectively.
 6 Click on 5. Key 5 simulates the left mouse button.
 - You can also hold Control and press 5to simulate a right click.
 7 Simulate holding down the left mouse button. Move the pointer over an icon, and then press Mto "grab" this icon - you can now drag it using the appropriate keys.
 - This is useful when you need to open some menus, such as the Trash menu.
- Click on .to "release" the icon.


