Author:
Gregory Harris
Date Of Creation:
15 August 2021
Update Date:
1 July 2024
Content
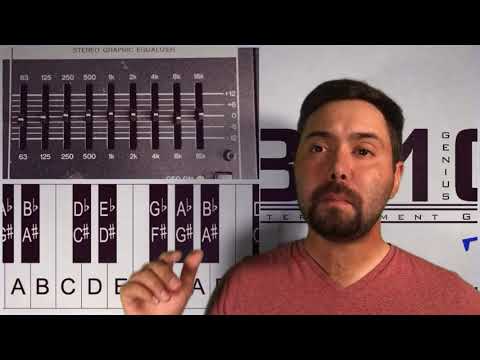
A graphic equalizer, commonly referred to simply as an equalizer, is capable of changing the frequency characteristics, that is, the tone of a sound, song, instrument. It can be used to boost bass, reduce bass, add treble, and more.
Steps
 1 Set zero on all tracks, that is, put the pointer in the middle. Sound from speakers will have no effect.
  2 Listen to the audio recording to see if something needs to be changed.
 3 Remember that the left side, which usually starts at 20, is responsible for the low frequencies, that is, the bass, and the right, which usually ends at 16K, is responsible for the high frequencies. The middle is between 400 and 1.6K.
  4 Adjust the equalizer accordingly when making your decision.
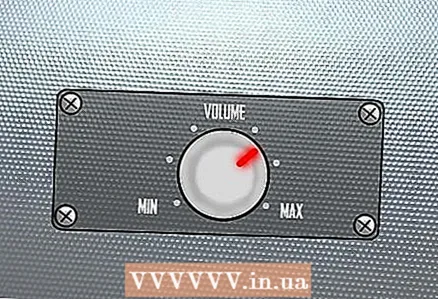 5 After adjusting the equalizer, adjust the volume.
Tips
- Don't get too carried away with the equalizer. It can compensate for the shortcomings of your equipment, but remember that during the creation of the recording, professional engineers, with the participation of the author, already brought the frequency characteristics to the necessary balance. However, different speakers convey sound differently, and even the same speakers may transmit different frequencies in different ways depending on the location. Thus, one of the main purposes of the equalizer is to correct the frequency characteristics of the speakers.
- Equalizer is a simple tool, but it can look complex.
- In most cases, bass should be added in small amounts or reduced, but high frequencies can make the sound muddy. After bringing the bass to the desired level, suitable for the speakers, adjust the treble (the rightmost knob), and then go to the middle, if there is still a need for it.
- You can make the sound worse, so play with it.
Warnings
- Always watch the volume so it doesn't get too loud!


