Author:
Janice Evans
Date Of Creation:
4 July 2021
Update Date:
1 July 2024

Content
- Steps
- Method 1 of 3: Installing and Running FileZilla
- Method 2 of 3: Connecting to the Server
- Method 3 of 3: Uploading and Downloading Files
- Tips
When it comes to uploading and downloading files from an FTP server, you have many options. Using FileZilla can be especially appealing since the FTP client is free. Follow this tutorial to learn how to connect FileZilla to an FTP server.
Steps
Method 1 of 3: Installing and Running FileZilla
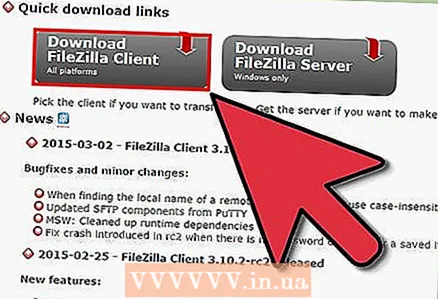 1 Download the installer. You can download FileZilla for free from the official website. Download the FileZilla installer from the developers website only; on other sites, you may stumble upon a copy that contains viruses. Make sure you download the correct installer for your operating system.
 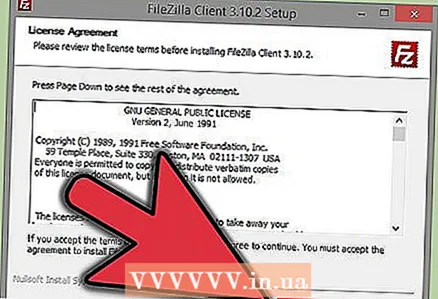 2 Start the installation process. If you are using Windows, you will have to confirm your selection on several windows before the installation process continues. This includes user agreement, user access, installation components, and where the program is installed. The default settings should be fine for most users.
 - For Mac OS X, download the appropriate file. Most Macs use an Intel processor, so if you're not sure, try downloading the Intel architecture archive first. If you downloaded the FileZilla distribution using Safari, it will be automatically unpacked. To launch FileZilla, just double click on the unpacked package with the program.
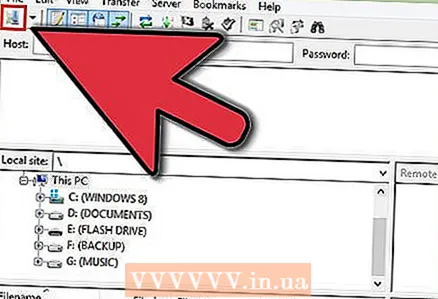
 3 Start FileZilla. Once installed, you should be able to find FileZilla in the list of programs on the Start menu. The program will launch with a small welcome window, which displays information about the program version. After closing this window, you should be able to see the FileZilla interface.
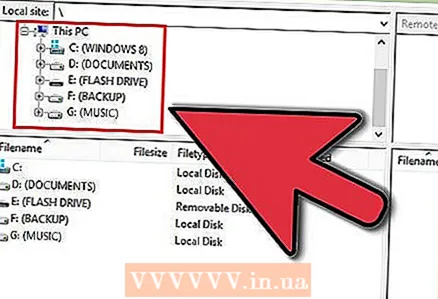
 - The top pane is a terminal window that displays messages related to the state of the connection.
- The left pane shows the contents of your computer in a standard Explorer style. The right pane shows the contents of the server you are connected to. Immediately after starting the program, the right panel displays the notification “Not connected to the server.”
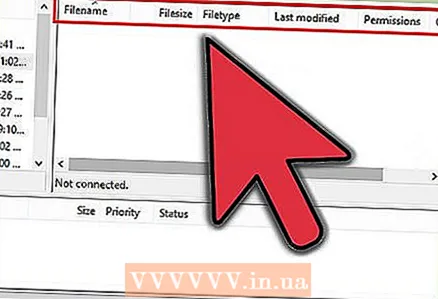
- The bottom pane shows a file queue with a list of files that have already been uploaded or will be uploaded.
Method 2 of 3: Connecting to the Server
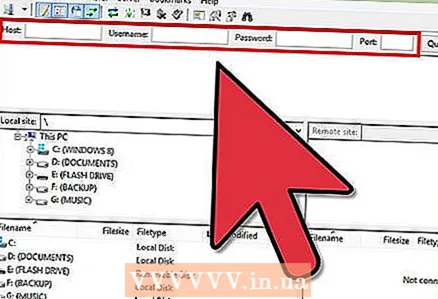 1 Enter the details on the quick connection bar. It is located directly below the toolbar and contains the fields: Host, Username, Password and Port. You will need all this information to connect to the server.
 - The Port field can be left blank if the server does not use a non-standard port for connection. In this case, FileZilla will automatically fill in this field.
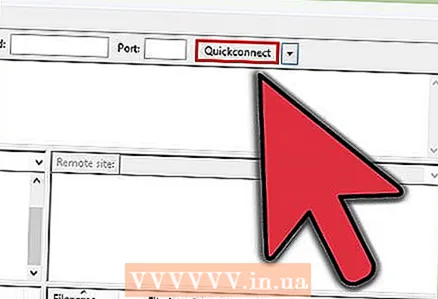 2 Click on the Quick Connect button. After you have correctly entered all the necessary information, click on the Quick Connect button to start the process of connecting to the server. On the top panel, you will see messages about your computer's attempts to connect to the server.
 - After you have successfully connected, in the right pane you will see the contents of the server's file system.
 3 Add the server to Site Manager. The quick connection settings are cleared after each restart of the program. Therefore, for quick re-access to the server, it is better to save it in the Site Manager. As soon as the connection to the server is established, in the File menu, select the item “Copy connection to the Site Manager ...” The Site Manager will open, in which the server data will already be entered in the appropriate fields. Provide a name for this entry and close the window to save the server details.
Method 3 of 3: Uploading and Downloading Files
 1 Browse to the files you want to download. In the left pane, navigate to the files you want to upload to the server.
 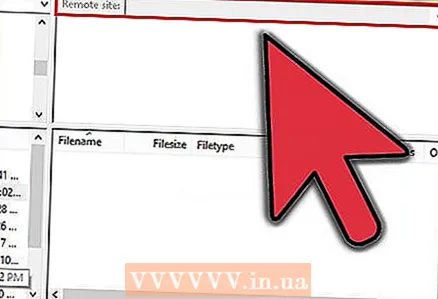 2 Go over. In the right pane, navigate to the directory where you want to place your files. If you have the appropriate rights, you can create a new folder by right-clicking and selecting the appropriate item.
 - You can click on the directory marked “..” to go up one level.
- Folders that you haven't opened yet will have a question mark above their icon. This means that FileZilla cannot tell if a given folder has subfolders. Once you open the folder, the question mark will disappear.
 3 Copy the files. To start the process of uploading files to the server, simply drag and drop the files from the left panel to the corresponding folder on the right panel. In the bottom pane, you will see that the files have been added to the transfer queue. After finishing copying files, you can disconnect from the server.
 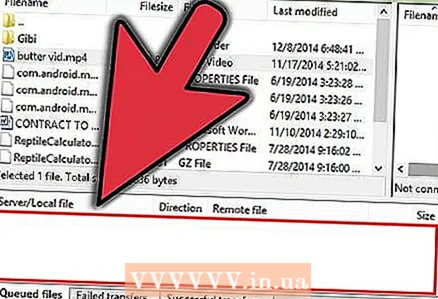 4 Download files. Downloading files works the same as the above process, only in the opposite direction. First, locate the file you want to download on the server, then navigate to where you want to download it. Just drag the file from the right pane to the left pane with your mouse. It will be added to the download queue and you can track the download progress in the bottom panel.
Tips
- FileZilla is licensed under the GNU (General Public License), which means that you can download and use this program completely free of charge.
- Make sure you keep track of the file upload status in the bottom bar. FTP servers are known for their delays, especially when downloading large files.


