Author:
Marcus Baldwin
Date Of Creation:
16 June 2021
Update Date:
1 July 2024
Content
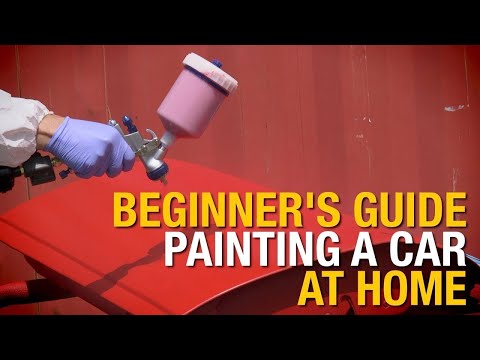
This is a quick overview for people looking to paint their car!
Steps
Method 1 of 2: Preparation
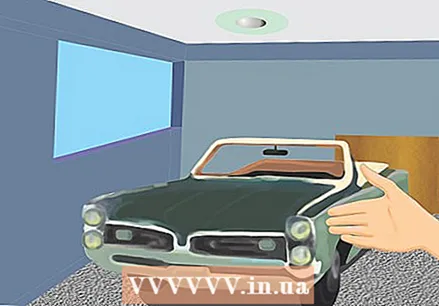 1 Find a suitable place for this job. You will need an area that is well ventilated, clean, with good lighting, electrical wiring, and enough space to work around the machine. Home garages are usually not suitable for this, due to the presence of water heaters or stoves, which can ignite the paint fumes that accumulate when painting a car.
 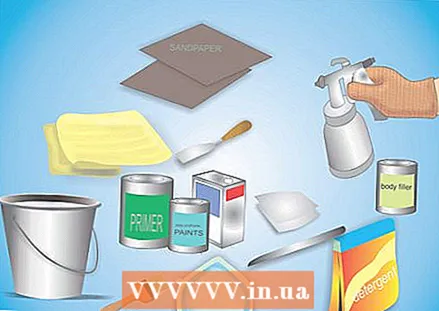 2 Take everything you need for this job. See “What You Need” for a complete list of items, but here's a rough outline:
 - Painting equipment
- Dye
- Tools and consumables for grinding and polishing
- Individual protection means
 3 Remove rust and repair any dents you don't want to be visible after painting.
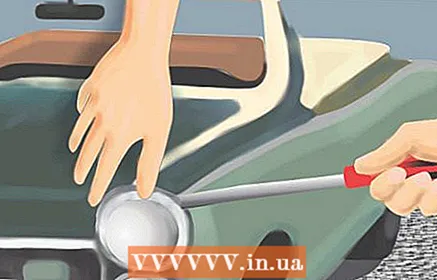 4 Remove all chrome and plastic trim that can be removed and reinstalled. Most of the car body parts can be easily take off and reattach, but do not try to remove them by force if a weak pulling attempt is unsuccessful. Some auto stores sell tools to help you remove body trim.
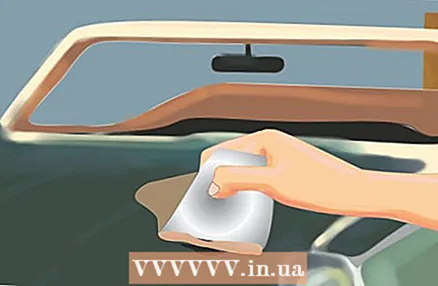
  5 First sand the body with sandpaper to metal, primer, or at least until the new paint can adhere. How much you want to sand the body is up to you. The best solution is to completely remove the paint to the ground, re-primer and paint to finish.
  6 Thoroughly clean the surface with white spirit or denatured alcohol to make sure there is no liquid left on the car (including secretions from fingers and hands).
 7 Cover areas that will not stain with duct tape and paper. For example, glass, window cord, door handles, side mirrors and radiator grill. Make sure there are no holes in the ribbon and paper where excess ink can enter when spraying.
 - It is a good idea to glue the garage over to avoid painting it completely.
Method 2 of 2: Painting the car
 1 If you have removed all body paint down to bare iron, apply a corrosion-resistant, self-etching primer to the surface. Apply primer to the areas where you removed the rust, scrubbing those areas for a smooth blend and applying enough paint to fill in the scratches and gaps left during the preparation process.
  2 Let the primer cure thoroughly. You can find information on the time required for the primer to cure on the packaging. The curing time of the primer may vary, and some types of primer, within a certain period of time after application, also require painting (painting to finish).
  3 Sand all areas where the primer has been applied. Smoothly sand the surface with a damp or dry 600 grit sandpaper, but do not over-sand the surface so as not to rub down to the metal backing.
  4 After applying the primer, clean the surface of any dust and liquid that has accumulated when priming the body. Polish it with wax and grease separator or acetone.
 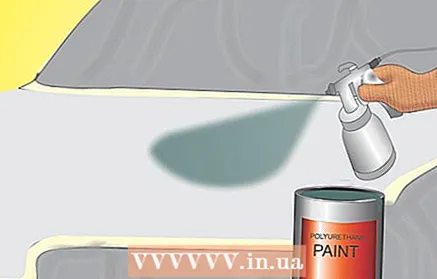 5 Apply paint to the vehicle under the finish. Prepare paint to spray according to manufacturer's instructions. Automotive enamels and some polyurethane paints work best in combination with a catalyst or substances that increase the hardness of the metal.
 - o Make sure you thin the paint to a condition that suits the equipment you are using. But do not thin it too much, otherwise it will decrease. shine finished surface and may appear smudges.
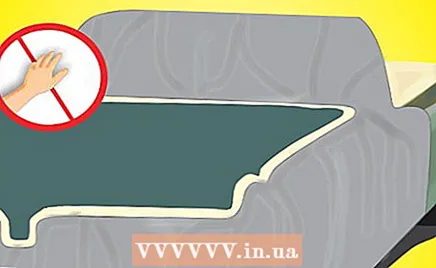 6 Let the paint dry completely. When applied along with the catalyst, the paint should be sufficiently dry in less than 24 hours. Depending on the quality of the paint, at least seven days should pass before it is fully ready. In the period from the beginning of painting until the moment it dries, the car should be in a non-dusty room.
 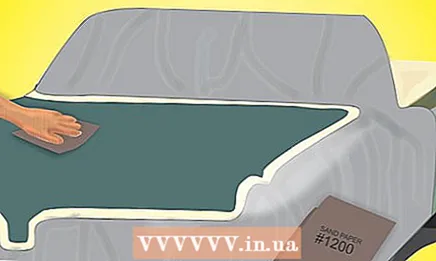 7 Finish polishing. Using wet 1200 grit sandpaper or better, sand the finish paint to perfect smoothness. Rinse off any remaining sanding from the surface of the car and let it dry.
 - If you want to give your car an even deeper shine, apply Clear-Coat Auto Varnish.
- Auto Varnish Clear-Coat can be sanded with wet 1500 grit sandpaper to remove small pits, dirt and other small irregularities.
 8 Rub the car to a shine with a polish compound. This is best done by hand, although there are polishers and electric polishers that will do this much better. Be careful with them, as they can ruin the paint if misused. When using such devices, it is better to glue the corners of the polishing machine and rub them by hand afterwards.
Tips
- Make sure the weather is suitable for painting the vehicle.
- Be meticulous and patient. Paint slowly. Take your time, otherwise you will have to repaint.
- Remember to keep your distance from the body when spraying paint. Otherwise, the paint will become covered with wide lumps.
- Ground the vehicle by attaching a ground wire to it. This will prevent the build-up of static electricity, which can attract dust particles.
- It takes patience to learn how to paint a car, and you don't have to rush. Stay positive and you will be fine.
- Take your time with the preparatory work. Do everything smoothly and evenly before proceeding directly to painting. You don't want to ruin everything.
Warnings
- Paint fumes can be harmful and potentially fatal. Precautions for avoiding vapors include the use of an appropriate respirator and a well-ventilated area. Ventilation is also important so that paint vapors do not accumulate in an enclosed space, which in turn can lead to an explosion.
What do you need
- Air compressor
- Airbrush (high volume low pressure, low volume low pressure, or airless)
- Electric polisher
- Sanding papers in grit sizes 120, 600, 1200 and 1500 for preparatory sanding and sanding to finish
- Surface cleaning solvents
- Duct tape and paper
- Primer
- Paint (enamel paint, acrylic enamel or polyurethane paint)
- Paint thinner and catalyst
- Respirator and protective goggles
- Putty or fiberglass for repair


