Author:
Joan Hall
Date Of Creation:
1 July 2021
Update Date:
1 July 2024

Content
- Steps
- Method 1 of 3: Drag and Drop Moving Files
- Method 2 of 3: Selecting Files for Drag and Drop
- Method 3 of 3: Opening Files with Drag and Drop
- Tips
- What do you need
One of the main roles in computer control is played by the mouse. One of the most important elements of such interaction is the drag-and-drop technology, or, in Russian, “Take-and-Drop”. Since this technology is supported by most programs and computers, mastering it will save you time moving, copying and opening files.
Steps
Method 1 of 3: Drag and Drop Moving Files
 1 Turn on your computer. Select the files you would like to move and their destination.
  2 Open folders. If you are using macOS, open two Finder windows, one of which will be the source folder and the other will be the destination. If you are using Windows, open these windows from the Start menu.
 - If your files are located on the desktop, then all you need to do is open the folder where you are going to move the files.
- If you are using macOS, after opening the first window, you should click on the file menu at the top and select the option that will open a new Finder window.
- If you are using Windows, you can simply minimize the first window and open a new one through the Start window.
 3 Use the mouse to resize the windows so that they both fully fit on your computer screen. If the files are on the desktop, just place the window next to them.
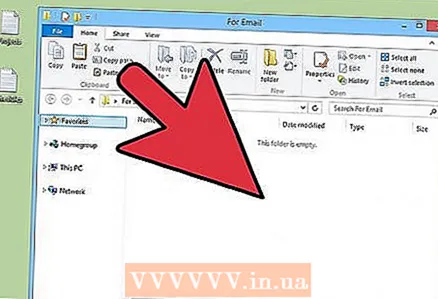
 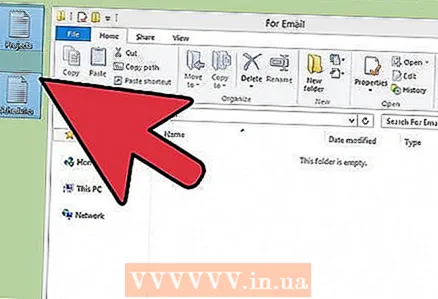 4 Select the source folder. Place your cursor at the top and left of the files you want to move. Hold the left button and move the cursor to the lower right corner.
 - The files will be highlighted in blue. This indicates that they are selected and ready to move.
 5 Release the left mouse button. The selection should remain.
  6 Left-click on the file and do not release it.
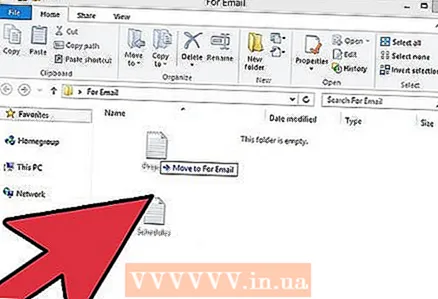 7 Drag the files to the new folder. Upon completion of the move operation, you will hear a distinctive sound notification.
 - If the selection from the files disappeared, then you need to repeat the previous steps.
- When you drag files to another hard drive, CD, floppy disk or any other medium, they are not moved, but copied.
Method 2 of 3: Selecting Files for Drag and Drop
 1 In case you want to drag and drop only certain files, you will need to use your keyboard to select them.
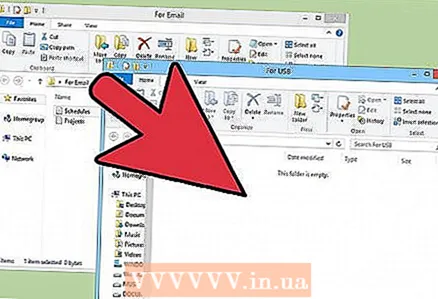
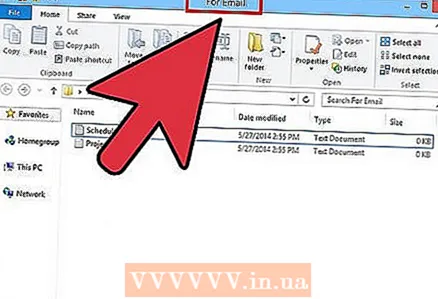 2 Open two folders and arrange them side by side.
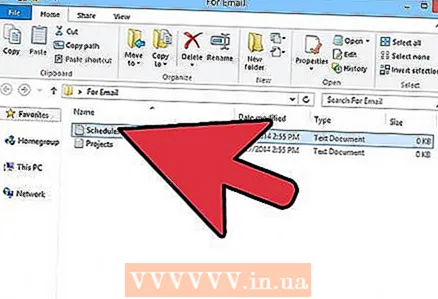 3 Navigate to the folder that contains the files you want.
 4 Click on the first of the required files.
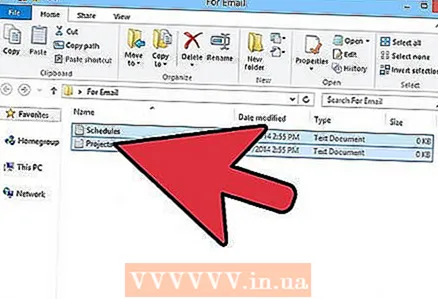 5 Hold down the Ctrl key on a Windows computer or the Alt key on a MacOS computer. Keep the key pressed while you continue to select files.
 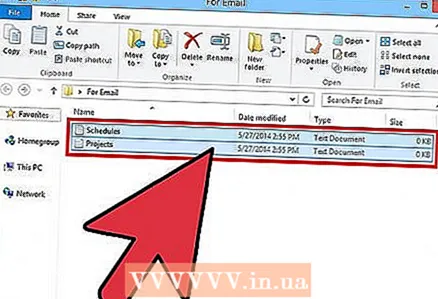 6 Click on the files you want to select.
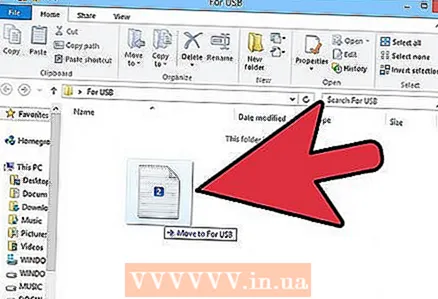 7 When you are finished selecting files, release the key. All files must remain selected.
  8 Drag any of the files to the target folder. All selected files should be moved.
Method 3 of 3: Opening Files with Drag and Drop
 1 Run the program in which you would like to open the file. Since you are using drag-and-drop technology, you do not need to create a new file.
 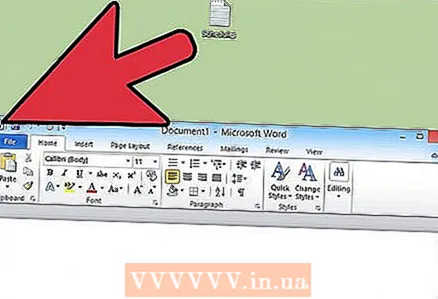 2 Open a window using the Start menu or Finder. Find the file you want. If the file is located on the desktop, you can skip this step.
  3 Click and hold the left mouse button on the desired file. Drag the file onto the icon of an already open program. As soon as the file is on the icon - release the left mouse button.
  4 Please wait a few seconds. The program will open the file and display it on the screen. This method will not work if the file is not compatible with the selected program.
Tips
- Many social media and photo programs use drag-and-drop technology to save users time. When uploading files, you need to find a zone labeled "drag and drop". Minimize the browser window. Now find the files you want and drag them to the right place on the site page.
- Drag-and-drop is the preferred method for transferring information and songs to iTunes.
What do you need
- Mouse


