Author:
Virginia Floyd
Date Of Creation:
9 August 2021
Update Date:
1 July 2024

Content
This article will show you how to format your flash drive. Formatting your flash drive will erase all folders and files on it, so back up important data first.
Steps
Method 1 of 2: Windows
 1 Connect your flash drive to your computer. To do this, insert it into one of the USB ports on your computer; such a port has a thin rectangular shape.
  2 Open the start menu
  . Click on the Windows logo in the lower left corner of the screen or press the key ⊞ Win.
  3 Enter "this PC" in the Start menu. A monitor-shaped icon appears at the top of the Start menu.
 - In Windows 7, click Computer on the right side of the Start menu.
 4 Click on This computer. It's a monitor-shaped icon at the top of the Start menu. The This PC window opens.
 - Skip this step on Windows 7.
 5 Right-click on the flash drive icon. It's in the Devices and Disks section in the middle of the page. A menu will open.
 - On a laptop with a trackpad, tap it with two fingers to simulate a right-click.
 6 Click on Format. It's in the middle of the menu. The "Formatting" window will open.
  7 Open the File System menu. It's under the File System heading at the top of the window. The following options will be displayed:
 - NTFS: standard Windows file system. If your flash drive will only work with Windows, select this option.
- FAT32: The most common file system that supports most operating systems.
- exFAT: Similar to "FAT32" but intended for external storage (eg flash drives).
 8 Click on the option you want. The option you choose depends on how you intend to use the drive. For example, select "FAT32" if the flash drive will connect to the game console, or select "NTFS" for the drive to work only in Windows.
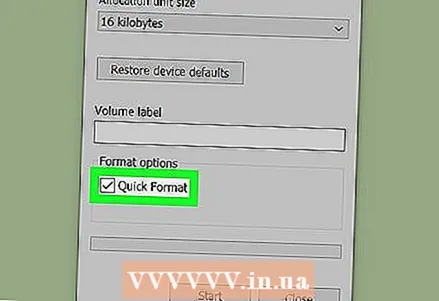
 - If you have already formatted the drive and are sure that it is not broken, check the box next to "Quick Format".
 9 Click on To beginand then press OK. The process of formatting the flash drive starts.
  10 Click on OKwhen prompted. The flash drive has been formatted successfully.
Method 2 of 2: Mac
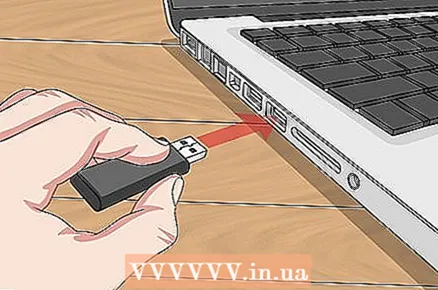 1 Connect your flash drive to your computer. To do this, insert it into one of the USB ports on your computer; such a port has a thin rectangular shape.
 - Some Mac computers do not have USB ports, so you need to purchase an adapter.
 2 Click on Transition. This menu is on the left side of the menu bar.
 - If the Go option is grayed out, first click on the Finder icon, which looks like a blue face and is in the Dock.
 3 Click on Utilities. It's on the Go menu.
 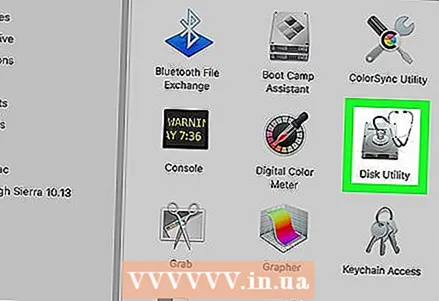 4 Double click on the icon Disk utility. It's in the middle of the Utilities page.
  5 Click on the name of your flash drive. It's on the left side of the Disk Utility window.
  6 Click on the tab Erase. It's at the top of the Disk Utility window.
  7 Click Format. This menu is in the middle of the page. The following options will be displayed:
 - Mac OS Extended (Journaled);
- Mac OS Extended (Journaled, Encrypted);
- Mac OS Extended (Registered Keyboard, Journaled);
- Mac OS Extended (Registered Keyboard Accounting, Journaled, Encrypted);
- MS-DOS (FAT);
- ExFAT.
 8 Select the option you want. Typically, you will select one of the "Mac OS Extended" options, but in this case the flash drive will only work with Mac OS X. To use the drive on other systems, select "MS-DOS (FAT)" or "ExFat".
  9 Double click on Erase. The formatting process begins. When it finishes, you will see a thumb drive icon on your desktop.
Tips
- The formatting process will take some time if there are many files on the flash drive.
Warnings
- Do not format the computer's internal hard drive.


