Author:
Bobbie Johnson
Date Of Creation:
8 April 2021
Update Date:
1 July 2024

Content
- Steps
- Part 1 of 3: Getting it Right
- Part 2 of 3: Coloring your hair
- Part 3 of 3: Using natural methods
- Tips
- What do you need
Lightening your hair will give it depth, making it look fuller and more vibrant. It can also accentuate your facial features and make you look younger and more radiant. This procedure in the salon can be quite expensive, but luckily it will be easier and cheaper to do it at home. Read this article to learn how to professionally lighten your hair with brightening products and DIY methods.
Steps
Part 1 of 3: Getting it Right
 1 Choose the right color. For highlighting, it is better to use a color that will be 1-2 tones lighter than your hair. Too light can make the result look unnatural and striped. If you have a choice, use the ink that comes with the toner. Here are things that can take care of harsh tones by making them look more natural.
 - It is best if you find an air-conditioned paint that does not flow (it will be written on the box). Dye is very harmful to hair, so it will be very good if you do not dry it out.
- If you have dark hair, make sure your natural shade matches the shade indicated on the box. This is the color your hair will become after dyeing.
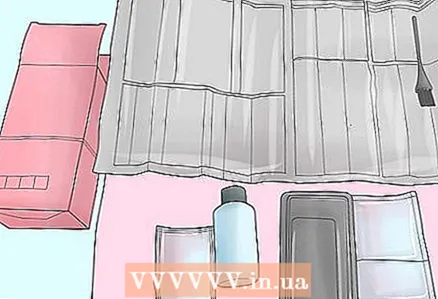
 2 Protect your skin and clothing. Place a towel over your shoulders or cut a hole in the trash bag and thread your head through. Wear the gloves supplied with the kit to protect your hands from the brightening agent. The last thing you want is a paint-splattered bathroom.
 - Along the hairline, smear the skin with petroleum jelly so as not to clear the dye from your ears and neck. Just be sure not to get the Vaseline on your roots!
 3 Check out the tools. Most lightening kits come with a dyeing brush, which can seem a little cumbersome if you're new to dyeing. If you have time, use it with a regular conditioner to practice. You will see how this process can be a little soiled or sticky until you learn.
 - If it's too big (which is often the case), buy a baby toothbrush and use it. Sometimes the brush is so big that it will paint over wider strands than you would like.
 4 Read the instructions. It all comes down to the fact that you have to follow the directions on the box.These products (and often companies) have been on sale for years and have been improved in the process and can be trusted. So read the instructions. Then read it again. Just to be sure!
 - The only thing you should "not" do is don’t use a beanie. If you have very long or thick hair, a beanie can be more troublesome than helpful. If you're worried about getting dirty, you can put cotton balls / napkins or paper towels under your strands when you're done with them.
Part 2 of 3: Coloring your hair
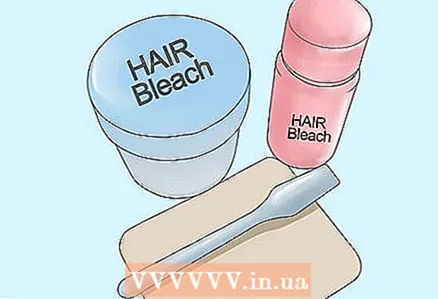 1 Prepare a lightening paint. Follow the directions to learn how to prepare the paint. Don't be alarmed if it is white, blue, or purple - this is completely normal.
 - Pour the paint into a small bowl so you can easily dip your brush into it. Never use the bowl again.
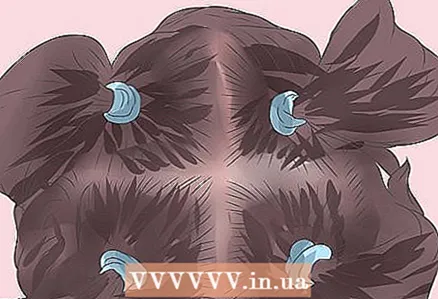 2 Divide your hair into four sections. Least. If you want to divide them into 12 parts, then that would not be a bad idea. Use hairpins or elastic bands to keep your hair in place. You don't want your already dyed strands to intertwine with those you haven't dyed yet.
 - If you have time, do a single strand test to make sure you have the right color and how long to keep the lightening dye on your hair. This will help save your hair from disaster.
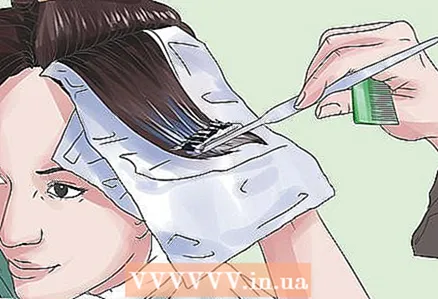 3 Apply paint. Start applying the color 0.5 cm from the roots and work in very thin strips from the roots to the ends of the hair. The thinner the lightened strands are, the more natural the result will be, as wide lightened strands will create a striped zebra effect.
 - Don't start from the roots. You run the risk of getting the kind of effect you would not want by starting with a lot of paint from the roots - definitely not a good option.
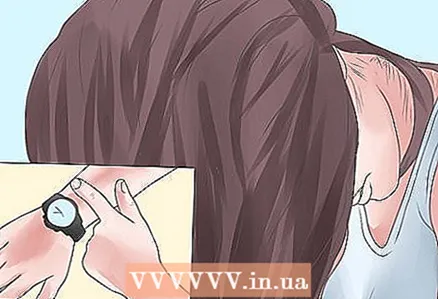 4 Leave the dye on your hair for as long as necessary. Remember to check your hair to make sure it doesn't get too light and check your watch periodically. Leaving the paint on for longer will not result in a richer color.
 - If you're not sure how long to leave dye on your hair, always use a conservative estimate. If the lightening is not strong enough, you can always do it again.
- Remember that lightened strands become lighter over time due to the influence of the sun and washing your hair.
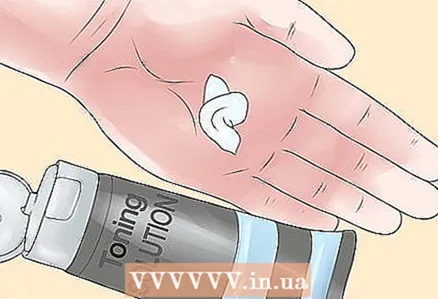 5 Use a tinting agent (optional). Some home lightening kits come with a toner that helps the lightened strands blend into the bulk of the hair. This is a "very good idea". This will help you achieve more natural, radiant tones. In fact, if you don't have one in the kit, then you can always purchase it separately.
 - Just follow the instructions. They will be simple enough.
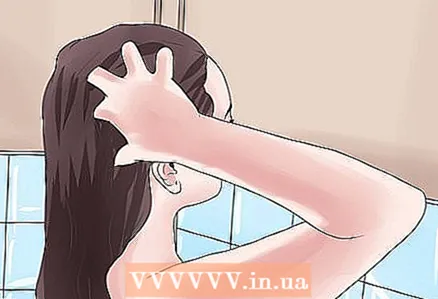 6 Rinse off the paint. Wash your hair with shampoo and conditioner (if available) supplied with the kit. Rinse hair thoroughly, making sure all dye has rinsed off.
 - The lightening treatment can dry out your hair (if you dye your hair a lighter color, this is lightening), so leave the conditioner on your hair for 2-3 minutes before rinsing to help hair regain moisture. Moisturizing is what you need right now.
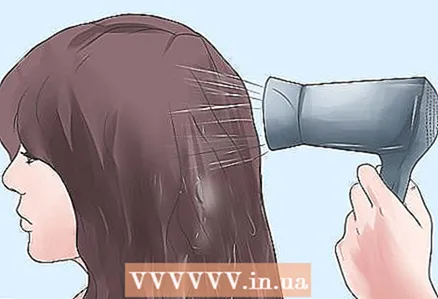 7 Blow dry your hair or let it dry on its own. Check the final result in a mirror in daylight. And don't panic! If the color is a little unexpected, then give it a couple of days. By washing your hair once or twice, you can change the color a little.
 - If you really do not like the result, then it would be better to turn to professionals. You don't want to damage your hair any more than you need to. The process can be done two times, but if you can avoid it, then do it.
Part 3 of 3: Using natural methods
 1 Use lemons. Lemon juice has natural bleaching properties that can add subtle highlights to your hair without the harmful effects of the bleach.It is like the sun in the form of fruits.
 - Squeeze a few lemons into a small bowl. Apply the juice to strands of hair, from roots to ends, using a brush, fingers, or simply dipping strands into a bowl. Sit in the sun for 20-30 minutes to activate the clarifying properties of the juice.
- This method works best on blonde hair, as darker hair can take on a reddish or coppery hue from lemon.
 2 Using Kool-aid. If you want to add a few colored strands to your hair, you don't need to search for a long time, you can find it in your kitchen! Kool-aid can be used to create purple, red, pink and green highlights.
 - Boil water in a medium saucepan. Add 4-5 Sugar Free Kool-Aid Sachets to it and stir until dissolved. Apply Kool-Aid to strands of hair with a brush, fingers, or simply by dipping strands into a saucepan.
- Leave it on for 10-15 minutes before rinsing.
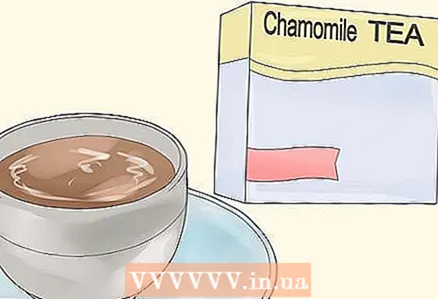 3 Use chamomile tea. If you are a brunette and just want lighter tones, rinse your hair in chamomile tea until you see the effect you want. Just brew the tea, let it cool, and use it like a regular conditioner for your hair. Then relax in the sun!
 - It won't drastically change your hair color - it just adds some natural, sunny tones. This should take about a week.
 4 Accentuate your hair with chalk. If you're looking for temporary, fun colors, you can chalk your hair. It will be easier with lighter hair, but dark hair can be quite fun. And it's super temporary, of course!
 - If you have very light hair, the shade may remain until the first or second wash. If it does not wash off completely immediately, then this will happen after the next wash.
Tips
- Always apply brightening color to dry hair. For best results, wash your hair 1-2 days before dyeing.
- Try to deeply hydrate your hair the day before dyeing. This will protect them from the damaging chemical process that they have to go through.
- If your hair is in poor condition or has been chemically straightened, it is best to avoid lightening strands at home, as you can damage your hair further.
What do you need
- Hair lightening kit
- Hair coloring brush (if not included in the kit)
- Gloves (if not included in the set)
- Small bowl
- Towel
- Vaseline (optional)
- Lemons, Kool-aid, chamomile tea, or chalk (for DIY methods)


