Author:
Virginia Floyd
Date Of Creation:
5 August 2021
Update Date:
1 July 2024
Content
A person's teeth are the most important part of any portrait depicting a person with a smile, and they can very easily get damaged. Many novice and less experienced artists find it very difficult to draw realistic teeth in portraits. While drawing teeth may seem daunting at first, this tutorial will show you that it is actually quite easy with the correct instructions.
Steps
 1 Learn the anatomy of teeth and gums. Since teeth come in many different shapes and sizes, it is important to note that they will all be drawn slightly differently. Thus, knowing the basics of tooth and gum anatomy will greatly assist you in drawing realistic teeth. For simplicity, this article will focus on drawing teeth in a face-to-face perspective.
 - It is important to note that each smile has its own specific number of upper and lower teeth that are visible.
- Take note of possible deviations in the structure of the teeth, such as crooked teeth or missing teeth.
- While this seems obvious, it is important to draw what you see, not what you imagine as normal looking teeth.
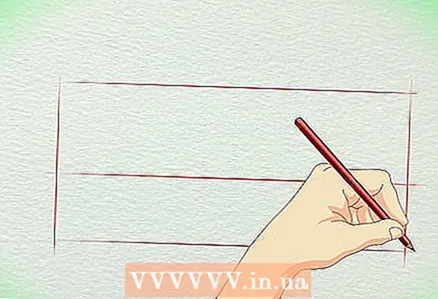 2 Draw a rectangle with a line in the middle dividing it into two equal halves.
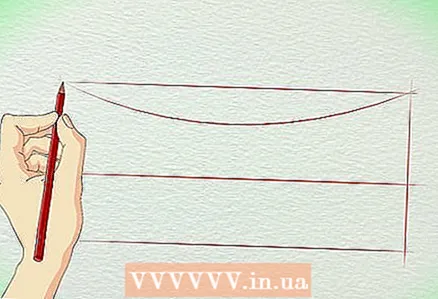 3 Connect the top two corners of the large rectangle with one continuous curve.
- * Draw another line just below the middle of the rectangle. Later in the drawing, it will serve as the "teeth line".

- * Draw another line just below the middle of the rectangle. Later in the drawing, it will serve as the "teeth line".
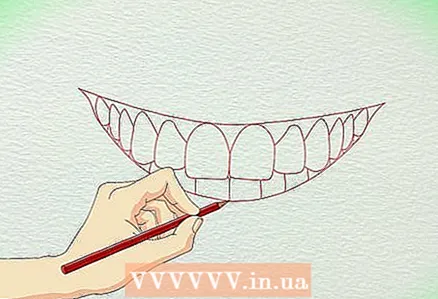
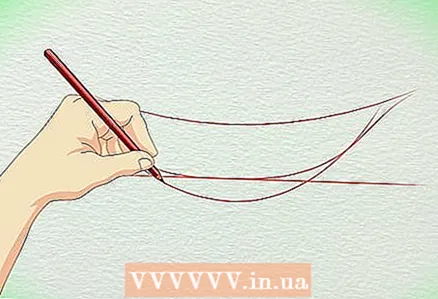 4 Draw the basic outlines of the mouth. Erase the lines you made for the rectangle as they are no longer needed to continue the drawing. In this step, don't press too hard on the pencil.
 - Don't erase the middle line that divides the mouth into two halves. This line will help align your teeth and gums.
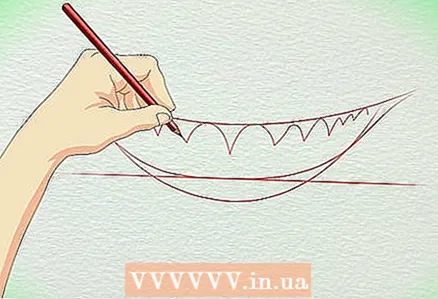
 5 Lightly sketch descending triangles (gums) along the upper lip. Always start with the middle descending triangle, aligning it with the starting midline. After placing the middle triangle, add the rest evenly below the upper lip, decreasing the distance between each triangle.
 - This step is critical because if all the triangles are equidistant from each other, the teeth will look flat and unrealistic.
 6 Round off the sharp edges of the triangles and connect them together with downward curves.
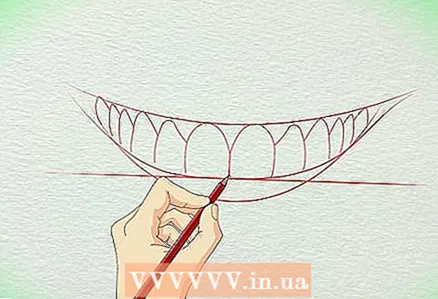 7 Sketch lines very lightly from top to bottom from the edge of the gum. From each gum point, draw very light lines that will meet the "tooth line" drawn earlier. These lines will be removed later, so it is very important to apply them without pressure.
 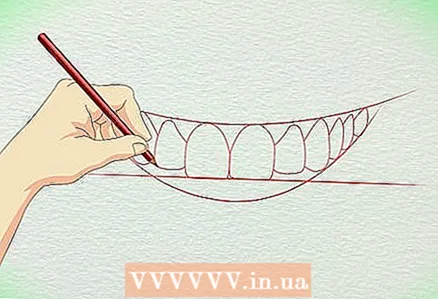 8 Draw the bottom of the teeth. To do this, draw triangles where the descending lines meet the "teeth line".
 - In almost every tooth configuration, you will find that the third tooth (on both sides) from the center of the midline has a sharper end than the ends of the other teeth. Remember, little nuances like this will make your drawing look more realistic.
- In almost every tooth configuration, you will find that the third tooth (on both sides) from the center of the midline has a sharper end than the ends of the other teeth. Remember, little nuances like this will make your drawing look more realistic.
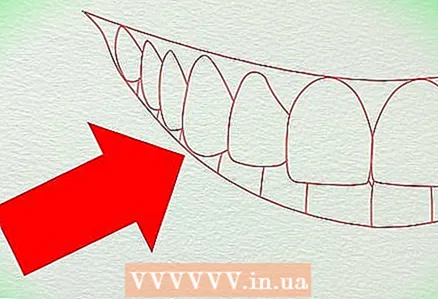
 9 Lightly sketch the lower teeth as shown in the reference photo. Remember that the lower teeth are smaller in width than the upper teeth and therefore should not overlap with the upper teeth.
  10 Draw the upper and lower lips.
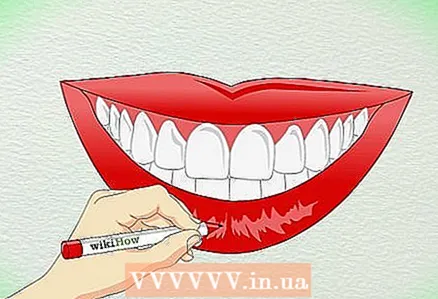 11 Add subtle shading and highlights to your teeth, lips and surrounding skin. It is better to increase the tones gradually, and not start with the darkest ones.
 - Remember, clean teeth in a realistic drawing cannot be white.
Tips
- Since this article focuses primarily on how teeth look when smiling, it is important to note that teeth look very different depending on facial expression. For example, anger tends to show more teeth and the upper gum.
- Beginning artists can be helped by grids drawn on a reference photo and on paper. This will make it easier to transfer the proportions from the photo to the drawing paper.
- Don't mix anything until the very end of the painting process. It is difficult to add graphite (or coal) to the mixed zone and even more difficult to wipe it off.
- Always use a sharp pencil. Dull graphite lead will usually add an unattractive sheen to the finished area.
Warnings
- Don't make the initial lines too dark, as they will be nearly impossible to completely remove.
- Teeth are not white! Whichever teeth are clean, they won't look realistic if you leave them white on paper.
What do you need
- Drawing pencils of your choice based on hardness (i.e. 2H, HB, 2B)
- Paper
- Reference photo
- Eraser
- Sharpener for pencil


