Author:
Marcus Baldwin
Date Of Creation:
20 June 2021
Update Date:
1 July 2024

Content
In this article, we'll show you how to change your current city of residence on Facebook.
Steps
Method 1 of 3: iPhone
 1 Start Facebook. Click on the icon in the form of a white letter "F" on a blue background.
 - If you are not yet logged in to Facebook, enter your email address (or phone number) and password, and then click Sign In.
 2 Tap ☰. You will find this icon in the lower right corner.
  3 Tap your name. It's at the top of the screen.
  4 Scroll down the page and click Information. You will find this option above the Status text box for your Chronicle.
  5 Click Where do you live. It's at the top of the screen.
  6 Touch the arrow next to City of residence. You will find this option in the Places Where You Lived section at the top of the screen.
  7 Tap Change City of Residence. This option is on the menu.
 - To hide your city of residence on your profile, click "Available".
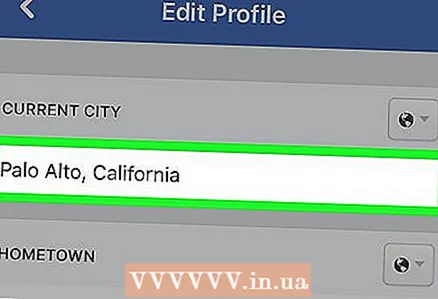 8 Tap your city name in the City of Residence section. It's at the top of the screen.
 - If you decide to hide the city of residence in your profile, click "Only me" at the top of the "Who sees this" window. The changes will be saved.
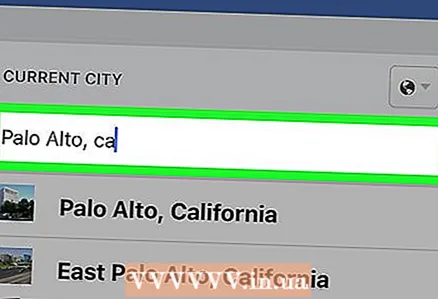 9 Enter the name of your city of residence. As you type a name, tooltips appear below the text box.
  10 Tap the city name in the list of suggestions below the text box.
 11 Tap Save. The city of residence that appears in the Info section of your profile will be updated.
Method 2 of 3: Android
 1 Start Facebook. Click on the icon in the form of a white letter "F" on a blue background.
 - If you are not yet logged in to Facebook, enter your email address (or phone number) and password, and then click Sign In.
 2 Tap ☰. You will find this icon in the upper right corner.
  3 Tap your name. It's at the top of the screen.
  4 Scroll down the page and click Information. You will find this option above the Status text box for your Chronicle.
 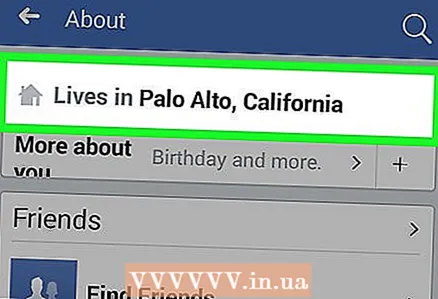 5 Click Where do you live. It's at the top of the screen.
 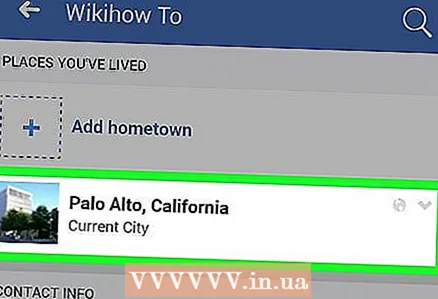 6 Touch the arrow next to City of residence. You will find this option in the Places Where You Lived section at the top of the screen.
 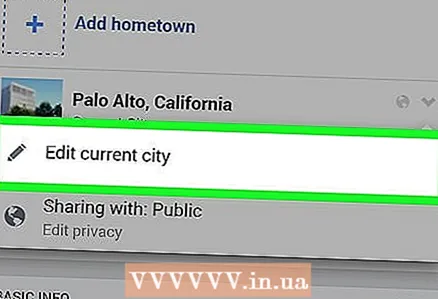 7 Tap Change City of Residence. This option is on the menu.
 - To hide your city of residence on your profile, click "Available".
 8 Tap the name of your city of residence in the City of Residence section. It's at the top of the screen.
 - If you decide to hide the city of residence in your profile, click "Only me" at the top of the "Who sees this" window. The changes will be saved.
 9 Enter the name of your city of residence. As you type a name, tooltips appear below the text box.
 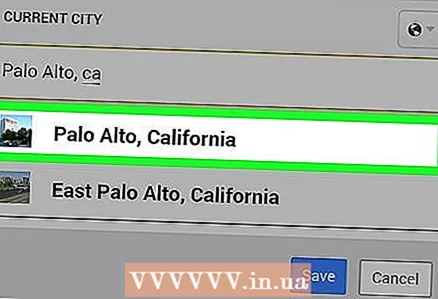 10 Tap the city name in the list of suggestions below the text box.
 11 Tap Save. The city of residence that appears in the Info section of your profile will be updated.
Method 3 of 3: Facebook Site
 1 Open up Facebook site. If you are already logged in to Facebook, your news feed will open.
 - If you are not already signed in to your Facebook account, enter your email address (or phone number) in the upper right corner, and then click Sign In.
 2 Click on your name. You will find it in the upper right corner.
  3 Click Information. You will find this option under the profile cover.
  4 Click on Places where you lived. You will find this option in the left pane.
  5 Hover over the Current City section. It should include the city that appears on your Facebook page. Several options will appear to the right of the city name.
  6 Click on Edit. You will find this option to the right of Current City.
 - To hide the current city on your profile, click on the icon to the left of "Edit".
 7 Click on the text box. You will find it at the "Current City" at the top of the "Information" page.
 - To hide your city of residence, click the down arrow to the left of Save Changes and select Just Me.
 8 Enter the name of your city of residence. As you type a name, tooltips appear below the text box.
 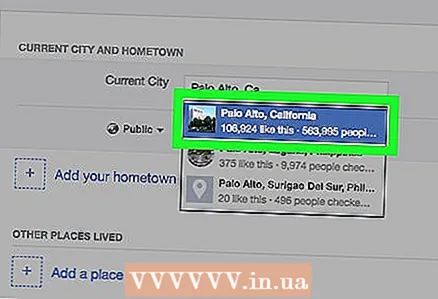 9 Click on the name of your city of residence in the list of clues below the text box.
 10 Click Save Changes. The city of residence that appears in the Info section of your profile will be updated.
Tips
- Updating your city of residence will change the ads you see and Facebook will suggest other friends for you.
Warnings
- Your city of residence can be viewed by other users in the Find My Friends Facebook mobile app (if activated). This city is determined by GPS and cannot be manually changed.


