Author:
Helen Garcia
Date Of Creation:
14 April 2021
Update Date:
1 July 2024
Content
- Steps
- Part 1 of 5: How to Open Lock Screen Settings
- Part 2 of 5: How to Change the Lock Screen Background
- Part 3 of 5: How to Change the Lock Screen Background
- Part 4 of 5: How to Change Apps on the Lock Screen
- Part 5 of 5: How to Disable the Lock Screen
- Tips
- Warnings
The lock screen in Windows 8 is a quick access hub, so the apps displayed here should suit your needs. In PC settings, you can change the apps that appear on the lock screen, as well as the wallpaper. If you want, you can disable the lock screen itself in the registry editor. Note that changing the screensaver and password settings are different processes.
Steps
Part 1 of 5: How to Open Lock Screen Settings
 1 Press the key ⊞ Win. The Start menu opens with a search bar.
 - If the keys ⊞ Win no hold Ctrl and press Esc.
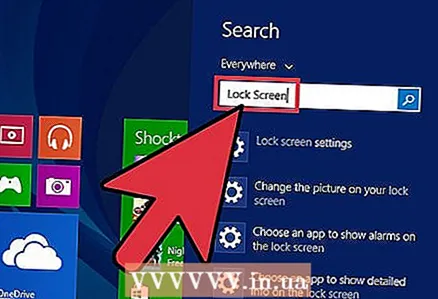 2 Enter "Lock Screen" in the "Start" search bar. The Lock Screen Options option will appear - look for it in the search results on the left side of the screen.
 - Enter your query without quotes.
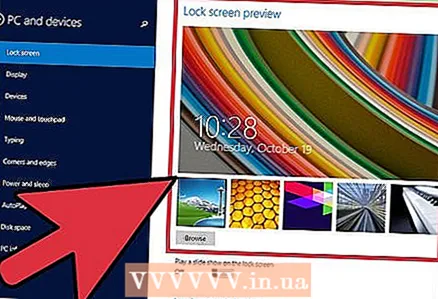
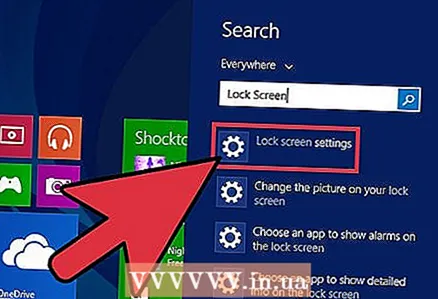 3 Tap Lock Screen Options. The lock screen settings menu will open.
 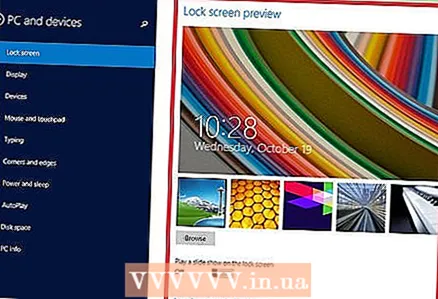 4 Review your lock screen settings. You can change the following parameters:
 - Background - Change the background image of the lock screen.
- Apps - Change the apps shown on the lock screen.
 5 Customize your lock screen. Now you can start changing your lock screen settings.
Part 2 of 5: How to Change the Lock Screen Background
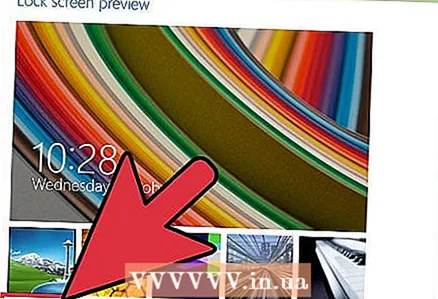
 1 Click the Browse button. It is located below the list of preset backgrounds.
 - You can also click on one of the preset backgrounds to apply it.
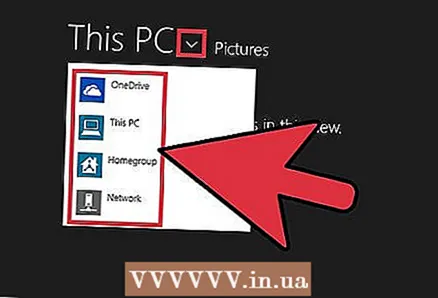 2 Select the source of the pictures. The image can be selected from the following sources:
 - HDD;
- Bing;
- OneDrive;
- camera (namely webcam).
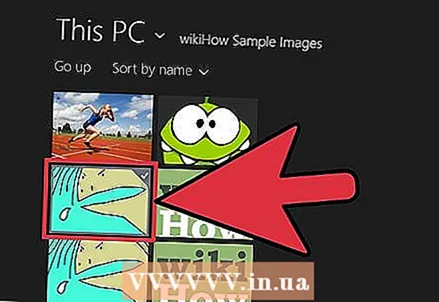
 3 Click on the desired picture to make it the background image of the lock screen.
- If you selected the Camera option, take a photo.
 4 Click "OK" to confirm the changes. You have changed the background of your lock screen.
Part 3 of 5: How to Change the Lock Screen Background
 1 Click the Browse button. It is located below the list of preset backgrounds.
 - You can also click on one of the preset backgrounds to apply it.
 2 Select the source of the pictures. The image can be selected from the following sources:
 - HDD;
- Bing;
- OneDrive;
- camera (namely webcam).
 3 Click on the desired picture to make it the background image of the lock screen.
- If you selected the Camera option, take a picture.
 4 Click "OK" to confirm the changes. You have changed the background of your lock screen.
Part 4 of 5: How to Change Apps on the Lock Screen
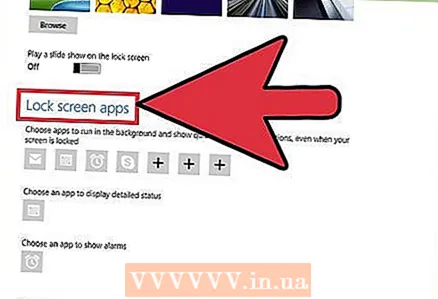 1 Find the "Lock Screen Apps" option. It's under the lock screen backgrounds.
 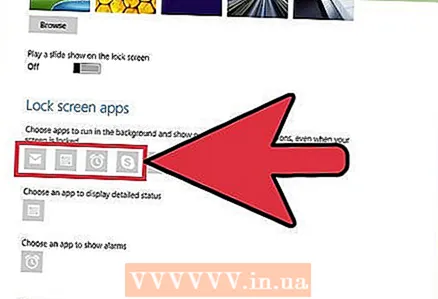 2 View current applications. Below the Lock Screen Apps are a number of slots, some of which should be occupied by applications (eg Mail), while others should display a + symbol.
 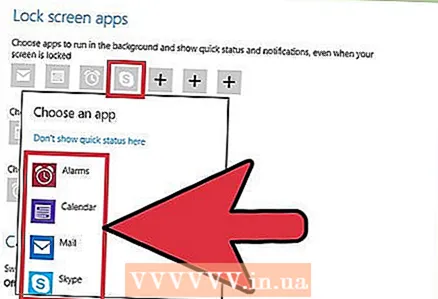 3 Change the occupied slot of the application. To modify an existing application:
 - Click on an occupied app slot.
- Click “Don't show quick status” to disable the app.
- Click on New Application in the Select Application menu.
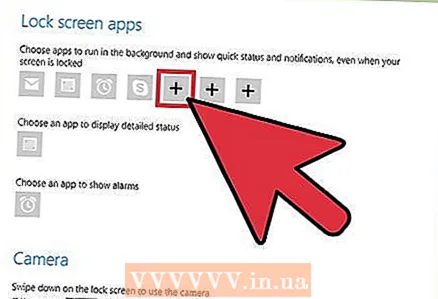 4 Add the app to the screen. To do this, click on the "+" and then select an application from the Select Application menu.
 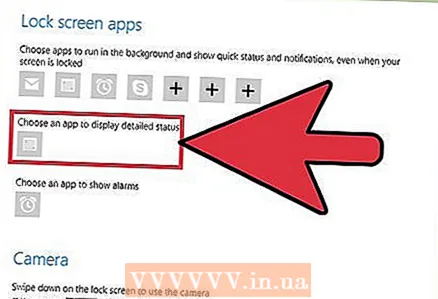 5 Click Details. This option is located under "Select an application to display detailed status"; any application displayed in this section will provide extended information (for example, your full schedule or the weather forecast for the day).
 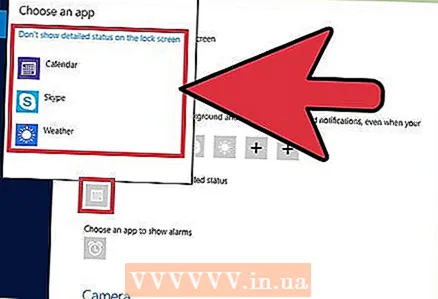 6 Select a new application. To do this, click on the required application in the "Select Application" menu.
 - To disable the application, click "Do not show ... status".
Part 5 of 5: How to Disable the Lock Screen
 1 Open the start menu. You can turn off the lock screen in the registry editor. This is quite risky, so back up your data on your computer first.
 - To open the Start menu, click on the Start icon in the lower left corner of the screen or press ⊞ Win.
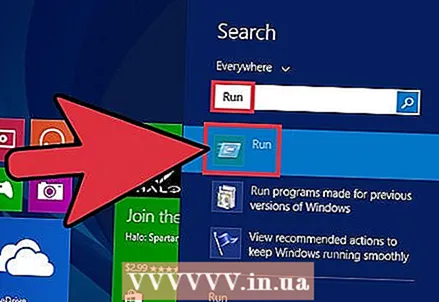 2 Open the Run utility. To do this, type “Run” in the Start menu search bar, and then click “Run” in the search results.
 - You can also hold ⊞ Win and press Xto open the shortcut menu - in it you will find the "Run" option.
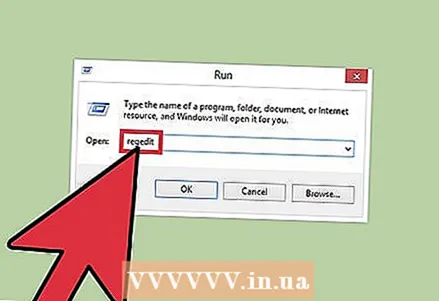 3 Launch the Registry Editor via the Run utility. Registry Editor is an application that you can use to change Windows system settings. To open the Registry Editor, type "regedit" in the Run utility window and click "OK".
 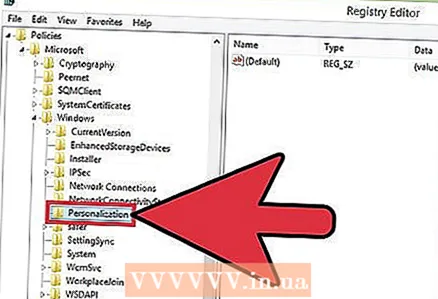 4 Go to the "Personalization" folder. It stores a number of system settings, including lock screen settings. Please note that to open a folder, you need to click on the arrow to the left of the folder, not on the folder itself. To go to the specified folder:
 - Expand the HKEY_LOCAL_MACHINE branch in the left pane.
- Open the "SOFTWARE" folder.
- Open the "Policies" folder.
- Open the Microsoft folder.
- Open the Windows folder.
- Click on the Personalization folder.
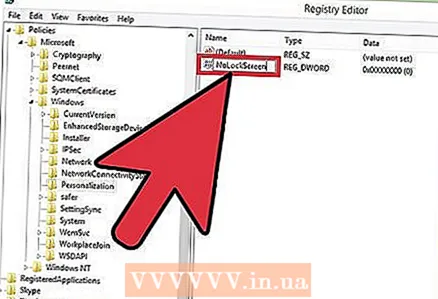 5 Create a DWORD value. The contents of the "Personalization" folder will appear in the right pane - there you will only find the "(default)" entry. To create a parameter:
 - Right-click under the entry "(default)".
- Hover over Create.
- Click DWORD (32-bit) Value.
- Enter "NoLockScreen" in the Name field.
- Click on ↵ Enter.
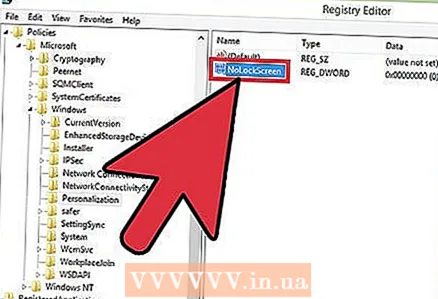 6 Double click on "NoLockScreen" to open it. A window with the attributes of the created parameter will open.
 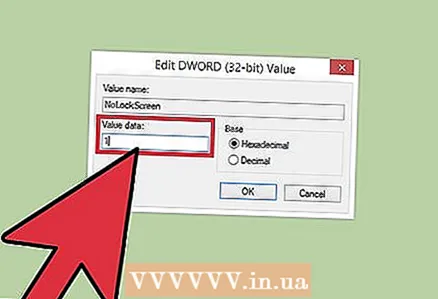 7 Change the "NoLockScreen" value to "1". To do this, in the "Value" line, enter "1" (without quotes). Now click "OK".
 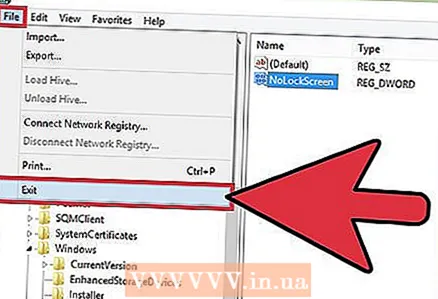 8 Close Registry Editor. You have disabled the lock screen. To re-enable it, go to the Personalization folder and remove the NoLockScreen option.
Tips
- If you disable the lock screen, the password will not be deleted.
Warnings
- Be careful not to change any values other than those mentioned here in the Registry Editor.


