Author:
Clyde Lopez
Date Of Creation:
18 June 2021
Update Date:
1 July 2024
Content
If you have a collection of DVD movies, you may want to transfer them to your portable device or computer for easier viewing. In order for the movie to be viewed on other devices, it will need to be encoded. This is where you need the HandBrake utility. Use "HandBrake" to encode video files in formats that are supported by any device. Read on to find out how.
Steps
Method 1 of 2: Opening the Source File
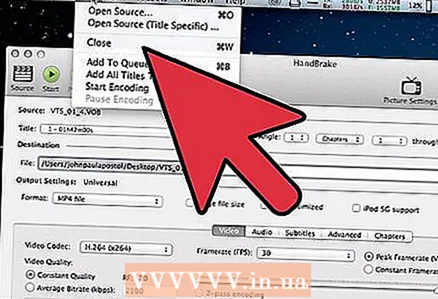
 1 Click on the "Source" button. It is located in the upper left corner of the Handbrake window. In the menu that appears, select either a folder or a specific file.
 - HandBrake can open DVD image (.iso), unencrypted DVD, Blu-ray disc and almost all video file formats.
- You cannot use HandBrake to rip a protected DVD or Blu-Ray disc. First, you need to use another program to extract the contents of the disc. Then HandBrake will convert the video file into a format that would work on other devices.
 2 Select chapters. If the source file is divided into chapters, you can choose which one you want to convert.
 - If multiple sides are available to you, you can choose between them.
 3 Select the destination file location. Decide where to put the file after the conversion process is complete. Be sure to name it something so you don't forget.
Method 2 of 2: Video encoding
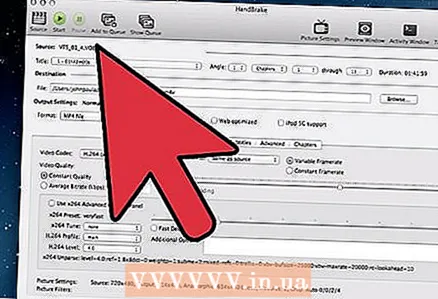
 1 Select advanced options. For easier encoding, select your device from the list on the right side of the window. Thanks to these presets, the file will be fully compatible with the selected device.
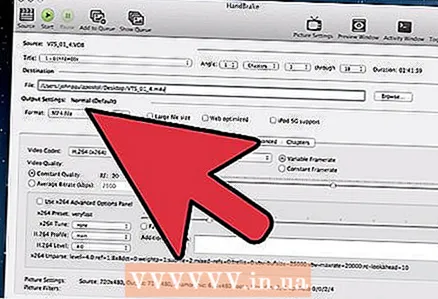
 - The most common format is MP4, which is why this format is set by default in the output settings. If you plan to upload videos to YouTube, or other video streaming services, check the box next to the "Web Optimized" option
- If you are encoding a video for later viewing on a computer or uploading to YouTube, select the "Normal Profile" or "High Profile" presets.
 2 Preview. You can click the Preview button to preview a small clip of the encoded video. This way you can check the quality of the video before going through the lengthy encoding process. The encoding process itself takes quite a long time, especially if you are encoding a high quality video file. It may take a few seconds for the preview to be generated.
  3 Adjust encoding parameters. If you are not happy with the result, you can use the lower tabs to adjust the encoding parameters. Each tab is responsible for one or another aspect of the video.
 - Image: In this tab, you can change the video resolution, as well as cut off unwanted parts like black bars.
- Filters: These filters affect video playback. They can be used to remove layers that make your video look like it was filmed on film.
- Video: In this tab, you can change video codecs, as well as adjust quality settings like frame rate and video optimization. One of the most important settings on this tab is the Quality section. In this section, you can adjust the baud rate of the final file. Files with higher bit rates are of higher quality, but they also weigh a lot more.
- Audio: In the “Audio” tab, you can adjust the parameters for each audio track found in the original video file. You can remove unwanted tracks (for example, audio tracks in other languages) or adjust the audio, which is independent of the video quality.
- Subtitles: In this tab you can add subtitles to the video file. Subtitles are usually located in the same folder as the source of the video file.
- Chapters: Here you can find a list of chapters in the video. Most often they are in DVD images. You can also import channel files yourself.
- Optional: This tab is usually disabled. It can be enabled by checking the box next to the corresponding option in the "Video" tab. This tab will give you more control over the x264 codec.
- Changing presets may cause you to make the video unplayable on the device of your choice. This is especially true when you change the frame rate or image size.
 4 Add the project to the queue. If you have multiple files to encode, click on the "Add to Queue" button after you are done with the encoding settings. This will add the project to the list of video files to be encoded.
 - You can click on the Show Queue button to display a list of existing projects.
 5 Start the encoding process. Click on the green Start button to start encoding the video files in the queue. Coding takes not only quite a lot of time, but also a lot of system resources. Using the computer for other purposes during encoding will slow down the process itself and may lead to errors in the final file.
  6 Check the final encoded file. After you complete the video encoding process, transfer the file to your device or open it on your computer. Make sure that there are no errors on the file and that the video itself is of satisfactory quality.
Tips
- Visit the HandBrake forum (link below) if you need information on how to solve some problems.
- If you plan to burn the seized movie to disc, follow these instructions: In the lower left quadrant of the main interface, which is called "Video", click on the "Target Size" button and enter a number that is about 10 MB less than your disc capacity. That is, 690 MB for a disk with 700 MB of memory, 790 MB for a disk with 800 MB of memory, etc.If you are burning the file to DVD, be careful when converting Gigabytes to Megabytes! To do this, you can use the calculator at onlineconversion.com.
Warnings
- HandBrake is a very resource intensive program. Do not use your computer for any other purpose during the file encoding process.


