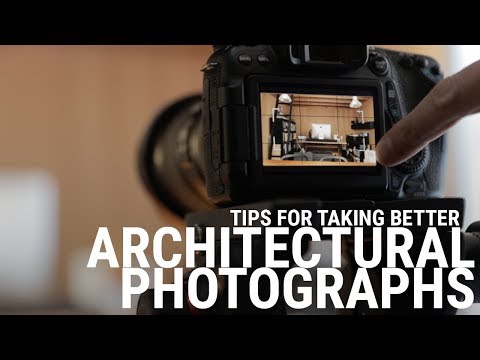
Author:
William Ramirez
Date Of Creation:
16 September 2021
Update Date:
1 July 2024
Content
- Steps
- Method 1 of 7: Choose a building
- Method 2 of 7: Prepare the Equipment
- Method 3 of 7: Choose a time to shoot
- Method 4 of 7: Work on the composition
- Method 5 of 7: Keep track of your lighting
- Method 6 of 7: Take a picture
- Method 7 of 7: Edit images
- Tips
The look, size and detail of some of the buildings is breathtaking. All buildings - old, modern, abandoned, tall, small - tell a story about the place and the people who were there. If you can learn to take stunning artistic pictures of buildings, you can share your experiences with others.
Steps
Method 1 of 7: Choose a building
 1 Choose a building with a special history. Both old and new buildings have their own stories, so both of them can turn out great in a photo. The same applies to both tall and small buildings.You might want to photograph famous buildings (like the Louvre or the Empire State Building), but remember that there are other structures that can be used. Take a photo of the smallest house in your city or a building with an unusual and ambiguous design.
  2 Know your rights. Remember that some buildings cannot be photographed. You are unlikely to be prohibited from taking a picture from a public place (for example, from the sidewalk), but you cannot enter the territory of private property. You may need permission to enter someone's home or private property, but if private property is open to the general public, it can technically be considered public. Remember that laws are different from country to country, so check them beforehand.
 - If you decide to photograph a government building in Russia or Belarus, it may attract the attention of security guards, and they will ask you to stop filming. Check the legislation before starting work.
- If you decide to take a photo in a religious building (church, synagogue, mosque), respect the traditions that are observed there.
 3 Learn the history of the building. If the building is a historical or cultural site, there must be someone who can tell you about the history of the building. He will point out the special features of the building that make it so important. If the building is abandoned, try to capture its spirit in the photo so that the viewer can think of how it was before.
 - If you are heading to an abandoned building, be aware that there may be restoration work in progress, and do not forget about your personal safety. Do not touch building materials - workers need them. Paint can peel off in a building, bare wires can stick out, boards can fall through the floor, so be careful.
Method 2 of 7: Prepare the Equipment
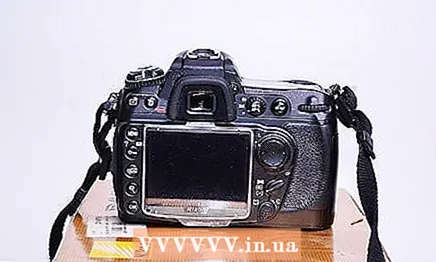 1 Select a camera.
- Use a soap box or camera on your phone. Soap trays and cameras in your phone are very convenient, but they limit the possibilities. Basic cameras are inexpensive (although prices for DSLRs are dropping all the time). They are lightweight and easy to take with you. They have a non-removable lens, so you don't have to think about which lens to take with you. However, the downside is that everything in the frame will be in focus. Also, it will be difficult to capture light, especially if you are photographing at night.
- Shoot with a quality DSLR camera. A DSLR gives the photographer more options. You can change the focal length and exposure settings. You can use a wide variety of lenses and shoot at different shutter speeds. In addition, these cameras are more robust and reliable - they can work in harsh weather conditions: frost, heat, dust, and so on, and they have a longer service life. The price range of such cameras is great, from 12-30 thousand for a simple camera to 600 thousand and more for a professional top-class camera.
- Try to shoot with a film camera. Few people shoot with these cameras now, but these cameras remain the favorite tools of many enthusiastic photographers. A film camera has more options for working with light, and the combination of light and color is better than digital. Pictures often come out grainy, which makes the image appear more natural. One of the disadvantages of this tool is the need to work with film: you need to buy it (usually rolls of 24 and 36 frames are sold) and develop.
 2 Pick up a lens.
- Use a wide angle lens. The wide-angle lens has a short focal length and a wide angle of view, close to what the human eye sees. With a wide-angle lens, you can take panoramic shots of nature and buildings without the need for stitching. However, often the edges of the image are distorted: vertical lines begin to curve to fit into the frame.
- Use a fisheye lens. This lens allows you to get an image stretched from 180 to 220 degrees.The result is severe picture distortion. Such a lens will not be able to photograph a building realistically, but it allows you to take unusual pictures, especially if the building has many symmetrical lines (you get one half of the building and its mirror image in the second half of the frame).
- Use a telephoto lens. Telephoto lenses allow you to capture images of objects that are at a great distance from the camera. This will be useful if the entire building fits into the frame only from a distance. By shooting with such a lens, you can avoid the problem of distortion of the side lines. Telephoto lenses cannot be wiggled while shooting, so be sure to use a tripod.
- Try working with a tilt-shift lens. These lenses allow you to change the depth of field and perspective. They shift the center of the perspective to the side. This makes it possible to capture more space in the frame (i.e. shoot a panorama) and straighten the vertical lines that are often distorted in photographs with tall buildings. Tilt-shift lenses also allow you to create a miniature effect. They are quite expensive (120-180 thousand rubles), and similar effects can be achieved using some image processing programs.
 3 Attach the camera to a tripod. This will prevent the photo from smearing. This will be especially useful if you are shooting in low light conditions or at night. If you don't have a tripod, lean against a tree or lamp post and press down on the camera to keep it from moving.
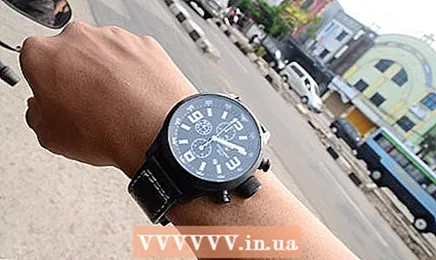
  4 Take other equipment with you. Prepare whatever you might need. Everything will depend on the shooting location. If you need to take a picture of an abandoned building, bring a flashlight with you. Having a good backpack or camera bag with you will allow you to keep everything in order and your hands will be free.
Method 3 of 7: Choose a time to shoot
 1 Consider the time of day. The direction of the sun's rays significantly affects the image quality. During the day, the bright sun will fill the hollows and depressions with its rays, and this will create an interesting picture. It is much better to photograph early in the morning when the light is clear and clear, and in the evening when it is warm and soft. In both cases, the lighting will be side, and this will emphasize the dignity of the building. It is also good to shoot early in the morning because there will be few people around. Look at the building on Google maps to get a better understanding of where the rays will fall. Will the adjacent building cast a shadow on it?
 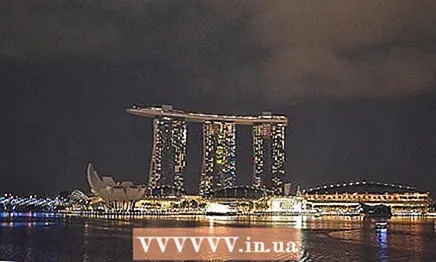 2 Take a picture at night. Often times, grand buildings are beautifully illuminated to create a stunning photo. Do not shoot with automatic settings, as low light and high contrast can ruin the frame. Bright areas will turn into light spots, and dark objects will turn black. Adjust the camera sensitivity for night shooting. Set a slow shutter speed so that more light falls on the sensor (you can turn on the built-in timer or use an external remote control so that the camera does not move while shooting). All the bright lights will become brighter and more noticeable at slow shutter speeds, so practice controlling it.
 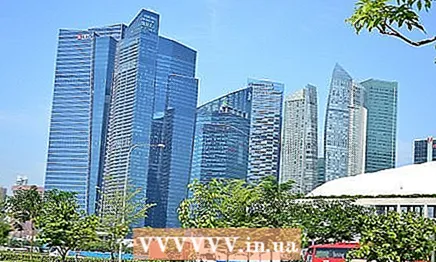 3 Consider the time of year. Shooting at different times of the year allows you to get different views of the same building. It can be covered with snow in winter and surrounded by green trees in summer. On a rainy or foggy day, the top of the building may not be visible. It all depends on what effect you want to achieve.
 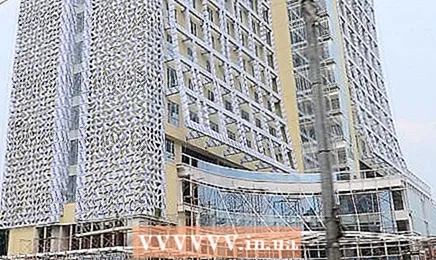 4 Find out what's going on in the building. Are there any repairs or refurbishment work going on there? Will there be a special event on the day you decide to take a photo? All of this can prevent you from taking the picture, or it can make the frame more interesting. The actions in the frame will help you capture the history of the building.
Method 4 of 7: Work on the composition
 1 Explore the building inside and out. Look for interesting details before tackling the camera.
 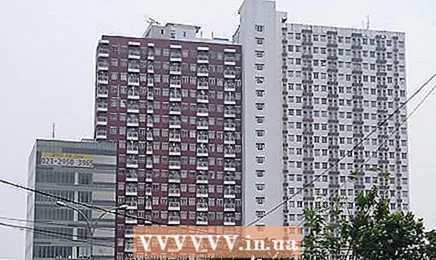 2 Decide which angle you want to shoot from. Often people raise their heads higher and higher, trying to make sure that the tall building is in the frame as a whole. This distorts the lines and makes the building appear to be falling. This effect can be avoided by taking the picture from a distance, using a different lens (wide-angle), or by correcting the distortion in the image processing software. You can photograph a separate fragment of the building. You don't have to photograph the entire building to get a good shot.
  3 Think about what else will be in the frame. Take a look at what is around the building. This can include the sky, other buildings, trees, water, parked cars, trash cans, birds and pedestrians. Decide if you will add them or push them out of the frame. Take your time and wait for the pedestrians to disperse if you don't want them to be in your shot.
 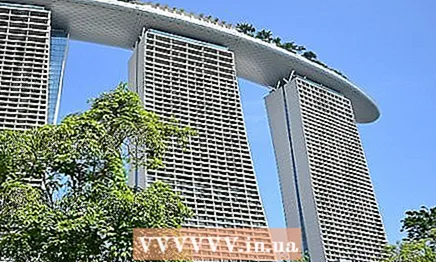 4 Choose a song. Surrounding elements can create a frame for the main character of the picture - the building. Framing will add depth to the frame and grab the viewer's attention. Trees, doorways, fences, the center of a staircase, tree branches, and even people can be used as frames.
 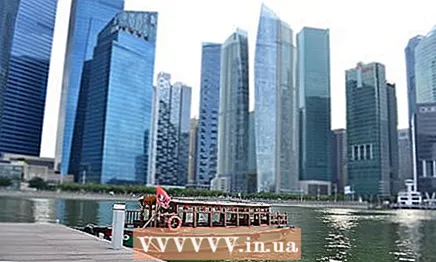 5 Decide on the depth of field. Depth of field is the area of the photo that will be in focus. If the depth of field is shallow, objects in the foreground will be in focus and objects in the background will be blurred. If the depth of field is large, both the foreground and background will be in focus. The depth of field is adjusted using the aperture. Set the camera to Aperture Priority (AV) mode. In this mode, you can adjust the aperture opening, and the camera will select all other settings automatically. If the depth of field is large (that is, there are more objects in focus), the structural elements of the building will be clearly visible in the image. To get both shots in focus, set the aperture to f / 16 or faster.
 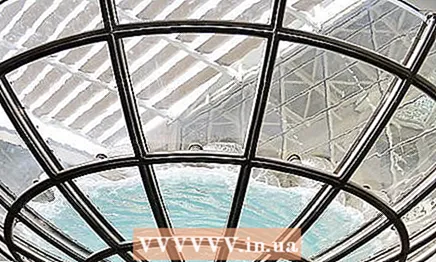 6 Pay attention to detail. Take close-up shots of gargoyles, interesting patterns on the walls of a building, and other elements. A wide shot will not be able to capture all of these elements.
 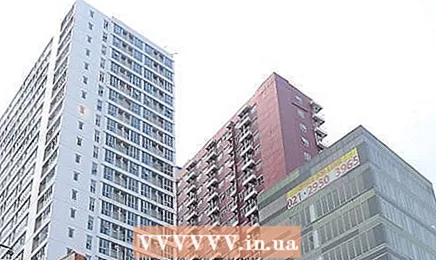 7 Pay attention to the symmetrical fragments. Try to emphasize the building's features by capturing symmetrical angles or lines that are reflected in each other.
 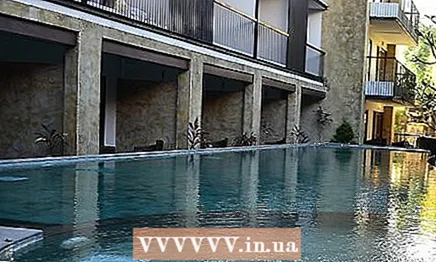 8 Use water as a reflective surface. If you are working near water, try taking a photo of the building and its reflections. In still water, the reflection will be quite sharp.
Method 5 of 7: Keep track of your lighting
 1 Take photos outdoors. Use natural light. If you shoot early in the morning or late at night, you can avoid the harsh rays of the day. Soft lighting will accentuate the details of the building.
  2 Adjust the white balance. This will help to avoid incorrect shades in the picture. The camera often displays white with tints of green, blue or orange. SLR cameras have the ability to adjust the white balance. Refer to your user manual to find out where these settings are located. White balance can be corrected during post-processing on a computer.
  3 Adjust the shutter speed. The shutter speed affects how dark or light the picture comes out. Shutter speed can solve the problem of overexposure (when the photo is too light, and all the details "burn out") and underexposure (when due to lack of light, the frame is too dark). DSLR cameras have an ambient light sensor to help you adjust your shutter speed. Aim the camera at the main subject and make sure that the sensor is set to 0. If the sensor is shifted to the left, the exposure is underexposure, if to the right, the exposure is excessive.
  4 Take a look at the histogram. The histogram is a feature of SLR cameras that lets you view the exposure digitally. It displays the brightness of each pixel. This function is used to detect overexposures and under-highlights in the image. It will be especially useful if you are photographing a white building. [6]
Method 6 of 7: Take a picture
 1 Take your time and recheck all settings. Wait for the birds to fly away and the pedestrians leave. Make sure you set the camera correctly (aperture, focus, shutter speed). Take a deep breath and press the shutter button.
  2 Rate the resulting photo. It can be displayed on the digital camera screen. Adjust the composition, settings and angle and take a few more shots.
  3 Keep track of the settings. Write down the lighting settings and conditions in a notebook so you can later understand how the changing light affects the image.
  4 Feel free to experiment. Often, masterpieces are obtained completely by accident.
Method 7 of 7: Edit images
 1 Pick the best shots. Choose only the best, and put the rest of the photos in a separate folder on your computer. Choose photographs that best convey the history of the building, where the lighting and composition work well. Choose shots that tell something important about the building.
 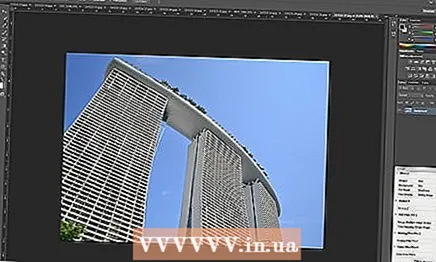 2 Process the photos. Correct minor bugs on the computer: remove a bystander or a construction crane that could not be bypassed during the shooting. To some extent, you will be able to correct the distortion of the image: straighten the lines, stretch the image to get vertical or horizontal lines. PhotoShop is the most famous program, but it is quite expensive. There are cheaper and even free programs for image processing. Search the internet for "free photo editing software" and you will surely find something.
 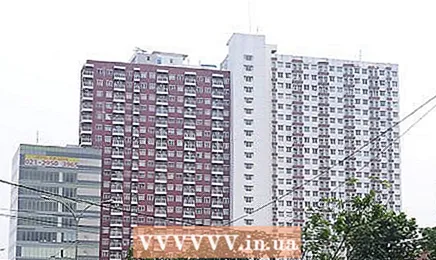 3 Ask someone to rate your work. Ask other photographers to view your pictures. Even the opinion of an ordinary person can be helpful because they can point out what is most noticeable in the picture or what triggers the emotion.
Tips
- Try photographing your favorite building at different times of the day to see how its mood changes under different lighting conditions. You can end up with a great collage or project if you choose to combine these shots.


