Author:
Sara Rhodes
Date Of Creation:
16 February 2021
Update Date:
2 July 2024

Content
- Steps
- Method 1 of 3: Making a Flavored Warm Compress
- Method 2 of 3: Making a Steam Warm Compress
- Method 3 of 3: When to Apply a Warm Compress
- Warnings
- What do you need
- Method 1
- Method 2
A warm compress can be used to relieve a variety of unpleasant symptoms, from muscle pain to joint mobility problems. Although packs for these compresses can be purchased at the pharmacy, they are easy to make yourself from the available and inexpensive materials that you may already have in your home. Warm compresses can help relieve pain caused by menstrual and muscle cramps. Before applying warm compresses, find out which compresses are best for your case: cold or warm. After reading this article, you will learn how to make a warm compress with your own hands.
Steps
Method 1 of 3: Making a Flavored Warm Compress
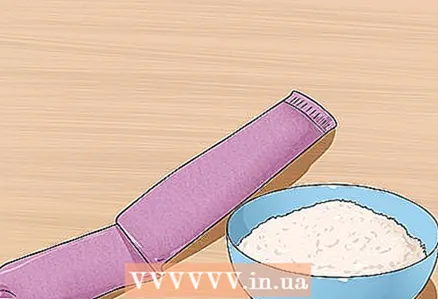 1 Gather the required materials. For a simple compress, you need a clean sock and some dry rice, raw beans, or oatmeal to fill it with. However, if you want to make a compress that smells good, you will need a small amount of peppermint, cinnamon, or other flavoring powder. You can also use dry herbs and spices, the contents of tea bags, or essential oils.
 - To relax and enjoy the compress even more, try adding lavender, chamomile, sage, or mint to it.
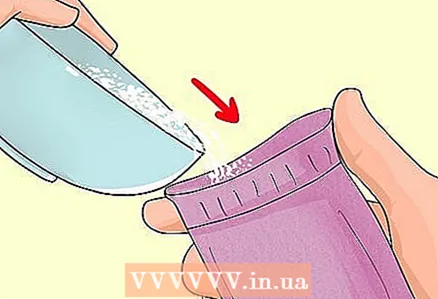 2 Fill in the sock. Whether you are using rice, beans, or oatmeal, pour them into a sock, ½ to ¾ full.Do not fill the sock all the way in so you can tie it, unless you intend to make a permanent compress by stitching the opening of the sock, in which case you can fill it to the brim.
 - After filling the sock with cereals or beans, you can add a pinch of aromatic powder or herbs to it, which will give the compress a pleasant aroma.
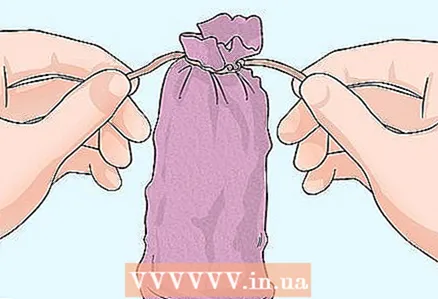 3 Seal the toe hole. You can close it temporarily or more thoroughly, depending on how long you intend to use the compress. By tying a tight knot, you will seal the compress, and at the same time, you can take it apart and reuse the sock for its intended purpose. For a longer use of the compress, the opening of the sock can be sewn up.
 - Please note that if you tie or sew a sock close to its contents, the compress will turn out to be quite tight, but if it is farther from the filler, it will be looser and softer. Experiment a little with the compress before closing it completely to determine the best option.
- If you apply a loose compress, you can easily apply it to your neck or shoulders.
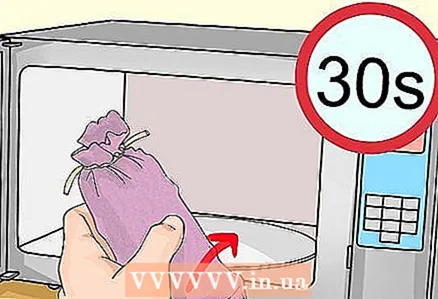 4 Place the compress in the microwave. After tying or sewing a sock, place it in the microwave for 30 seconds. After 30 seconds, open the oven and touch the compress, checking how hot it is. If its temperature suits you, take it out and use it. If you want it to be warmer, continue to microwave it to the desired temperature, adding 10 seconds each time.
 - Be aware that applying hot objects to the skin can cause burns and blisters. The optimum temperature for the compress is 21-27 degrees Celsius.
 5 Create a protective barrier between the skin and the compress. You can wrap the compress or place a towel or T-shirt on your skin where you plan to apply it. This will protect your skin from burns. Be sure to check your skin every few minutes while holding the compress.
 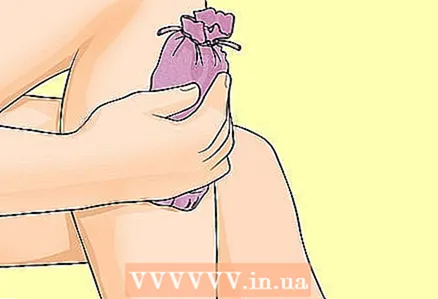 6 Apply the compress to the appropriate area of the body. If the compress is too hot, remove it immediately and allow it to cool slightly before reapplying. When the compress has cooled to a suitable temperature, apply it to the affected area and hold it for ten minutes. After that, remove it, letting the skin cool down a little. After the skin has cooled, you can apply the compress for another ten minutes.
 - If the skin at the site of application of the compress turns dark red, turns purple, becomes covered with red and white spots, rashes or blisters, or is swollen, see your doctor. The compress may have been too hot.
Method 2 of 3: Making a Steam Warm Compress
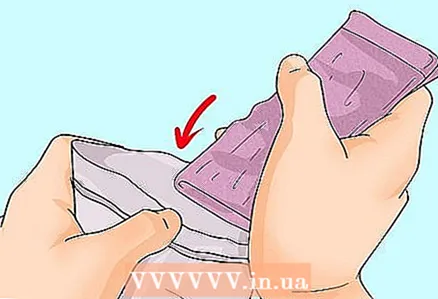 1 Dampen a clean piece of terry cloth, such as a new washcloth, with water. Hold the washcloth under running water until it soaks. As a result, water should drip from the sponge. After that, gently fold the washcloth several times to warm it up evenly in the microwave, and place it in a zippered plastic bag. Do not seal the bag yet.
 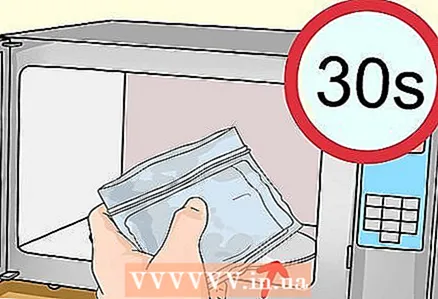 2 Heat the washcloth bag in the microwave. Without sealing the washcloth bag, place it in the center of the microwave. Heat it on an intensive mode for 30-60 seconds, adding in 30 seconds, until the sponge is heated to the required temperature.
 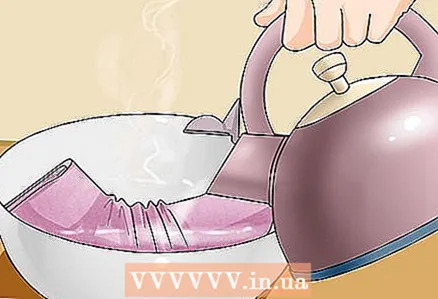 3 You can also use a kettle. If you don't have a microwave oven or don't want to put a plastic bag in it, just heat up a little water in your kettle. Place a washcloth in a bowl and fill it with hot water. Then, use kitchen tongs to transfer the wet washcloth to a plastic bag.
 - If you want to make a warm, moist compress, you can apply the wet washcloth directly to your skin. Such a compress is useful for relieving pain at the site of the fistula. Make sure the compress is not too hot before applying.
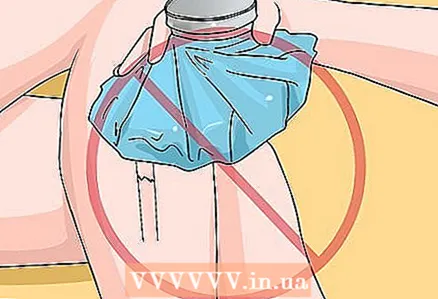
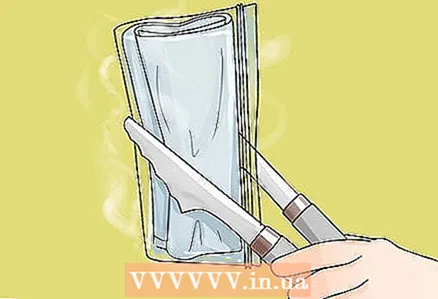 4 Be careful when handling the plastic bag. Since the washcloth has been soaked in water, hot steam may escape from the heated bag. Be careful not to burn your loofah bag when removing it from the microwave - the hot steam can burn your skin even if you don't touch a heated object.
 - If the bag and washcloth are too hot, use tongs.
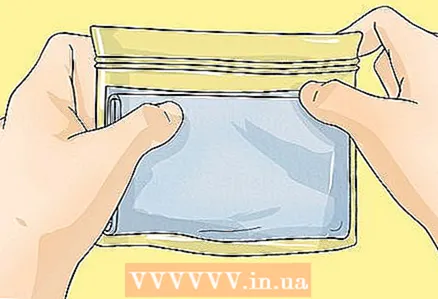 5 Seal the washcloth in the bag. After heating a wet washcloth in the microwave to the temperature you need, seal the bag with it so that the washcloth does not cool down too quickly. Once again, be careful not to burn yourself. Place a cool towel around your hands, or use oven mitts when zipping the bag.
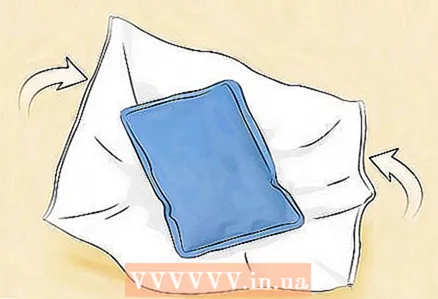
  6 Wrap the plastic bag in a clean towel. Avoid placing the bag directly on your body, so use a clean towel as a protective pad between it and your skin. Place the bag in the middle of the towel and wrap it up. Place a towel around the bag on all sides to prevent it from slipping out, leaving a single layer of fabric between the bag and the skin.
 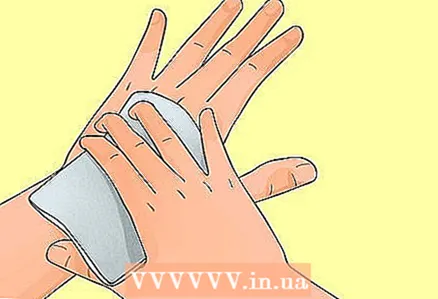 7 Apply the compress to the affected area. If the compress is too hot, wait for it to cool down to a suitable temperature. Remember to remove the compress every ten minutes or so, giving your skin a chance to rest; do not apply a warm compress for more than 20 minutes.
 - If the skin at the site of application of the compress turns dark red, turns purple, becomes covered with red and white spots, rashes or blisters, or is swollen, see your doctor. The compress may have been too hot.
Method 3 of 3: When to Apply a Warm Compress
 1 A warm compress can help relieve muscle pain. Muscle pain is often caused by the accumulation of excess lactic acid in the muscle tissue. Applying a warm compress promotes better blood flow to the diseased area of the muscle tissue. The intense blood flow flushes out excess lactic acid, resulting in pain relief. Blood also delivers oxygen to muscle tissue, accelerating muscle tissue healing. The warm sensations can distract the nervous system by reducing the amount of pain signals sent to the brain.
  2 Use moist, warm compresses to treat muscle cramps. If you experience prolonged muscle cramps, rest the affected muscles first. Try not to strain them, reducing the load to a minimum so as not to lead to spasms. Wait 72 hours for the inflammation in the affected area to heal before applying a warm compress. After three days, apply a warm, moist compress to the affected area to speed up the healing process.
 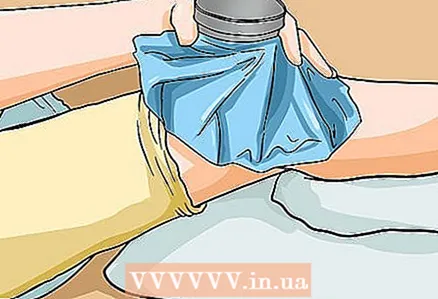 3 For joint stiffness and arthritis pain, you can use both warming and cold compresses. Both methods are helpful in treating joints, although some people prefer one of them. You can try both methods and determine which one works best for you.
 - Cold compresses, by narrowing blood vessels, help dull pain and reduce inflammation and swelling. Although cold can be uncomfortable at first, it is very effective in dulling acute pain.
- Warm compresses dilate blood vessels, increasing blood flow to the affected area and thus speeding up healing. Heat also softens tissues and ligaments, increasing freedom of movement.
- You can also apply heat to the affected area by immersing it in warm water. For example, you can swim in a lukewarm pool or take a warm bath.
 4 Heat treatment should be avoided under certain conditions. It is not recommended during pregnancy, diabetes, poor circulation and cardiovascular disease (such as high blood pressure). Talk to your doctor before using warm compresses to relieve muscle or joint pain.
 - If you are over 55 years old, always place a layer of cloth between the heat source and the skin to avoid burns.
 5 Do not use warm compresses for serious injuries. Heat is best used to treat chronic ailments such as regular muscle aches and cramps or chronic joint pain. On the other hand, it is best to apply cold compresses immediately after a serious injury (such as a sprained joint). Therefore, if you stretch your muscles, immediately apply a cold compress to the affected area to reduce swelling. If pain persists within a few days, use hot compresses to speed up the healing process.
Warnings
- Do not keep a warm compress on one part of the body for a long time, otherwise you may get burned. Move it a little every two minutes.
- Be careful when removing the hot, steam-filled bag from the microwave.
- Remove the compress if you feel any discomfort. The compress should bring a feeling of comfort.
- Do not heat the compress in the microwave for more than one minute, otherwise the fabric, if it gets too hot, could melt the plastic bag.
- Remember, if you are over 55 years old, you should always place a cloth between the heat source and your skin to avoid burns.
- Never use warm compresses on children or babies.
What do you need
Method 1
- Clean sock
- A small amount of dry rice, beans, or oatmeal, just enough to fill a sock halfway
- Scented powder or essential oil of your choice (optional)
- Microwave
Method 2
- Clean washcloth
- Water
- Microwave or kettle
- Zippered plastic bag
- Dry towel or pillowcase to wrap the compress in
- Kitchen tongs


