Author:
Janice Evans
Date Of Creation:
28 July 2021
Update Date:
1 July 2024

Content
If you want to hide irregularities at the end of the rail (bar), then the mustache method is the right one. Similar connections are used for picture frames, as decoration for windows and doors. The mustache connection is rather weak - perhaps even weaker than many butt joints. A mustache is one of the types of butt joints, consisting of equal angles of two battens.
Steps
 1 Choose your way. For best results, use a hand saw. Another best way is to use a good miter box and hacksaw - or a combo saw with 8 teeth per inch or more. In most cases, the strips are cut at a 45 degree angle and joined at a 90 degree angle. However, if necessary, the size of the corner can be easily and simply changed (especially with the help of a hand-held sawmill and a malka joiner).Example: Hexagon with cuts at 30 degrees. Note: Most interior trims, such as skirting boards, decorative ceiling moldings, etc., do not need to beveled inside corners. Because the given connection can get loose. In order to understand how to work with internal corners, you should look at the techniques for working with ceilings, parapets. It's not difficult, just type in a search engine on the internet.
  2 Select the corners. Take a miter box and decide at what angle you want to cut. The instructions for this tool clearly show how to set the angles you need. In the simplest version of the miter box, the capabilities of the tool can be limited to 45 and 90 degrees.
 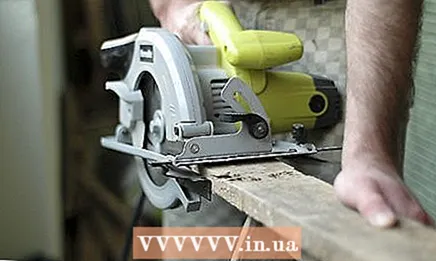 3 Place the rail on a work surface, in a stable position, and cut a couple of inches. This is to keep the end of the rail you intend to use clean and tidy. Place the rail on the work surface of the workbench so that it protrudes just as much as you need at the moment to work.
 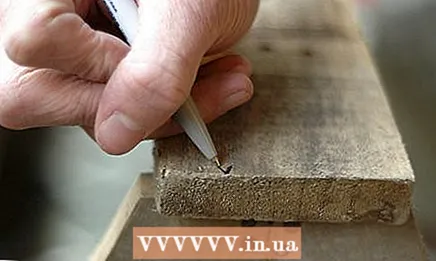 4 Mark the cutting area. Position the staff inside the miter box so that the saw goes straight through the mark. It is not necessary to draw a line to place a mark. A check mark will suffice. The check mark will be the very place where you will need to cut. Make a small notch before cutting where you have a mark.
 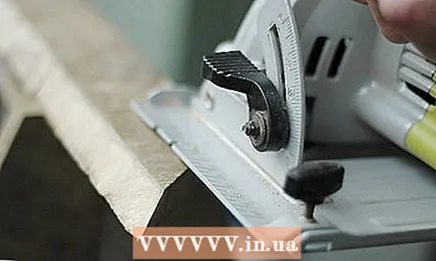 5 Don't worry if the bevel is too long, you can easily trim it. It is better to cut off less than more.
  6 Saw off and fasten the connecting parts. Prepare the rest of the slats in the same way as the previous ones. Once all the slats are properly cut, nail them together or glue and nail them together to form a picture frame. The best nailing tool is the pneumatic nailer.
 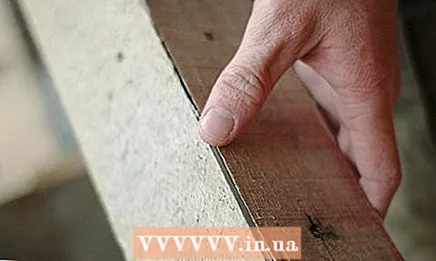 7 If the nails without the caps do not go deep enough into the rail, finish them manually with a regular nail. Then the holes on top of the hammered studs must be covered with putty, tint it in the color of your rail.
  8 Finished.


