Author:
Randy Alexander
Date Of Creation:
24 April 2021
Update Date:
1 July 2024

Content
Similar to the web browser on your computer, your Android device's browser keeps a list of every web page you have visited. This makes it easier to review important web pages, but can also create awkward or relatively dangerous situations. If you're afraid someone is seeing your history or want to sell or give away an existing Android device, check out the instructions below on how to clear your browser history.
Steps
Part 1 of 5: Clear history on default browser
Open an Internet browser. If you're using Android version 4.0 or earlier, your browser is usually called "Internet". You need to clear your browser's history through the app's settings.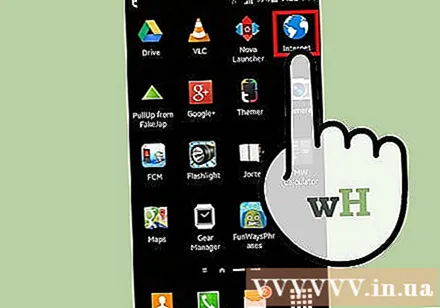
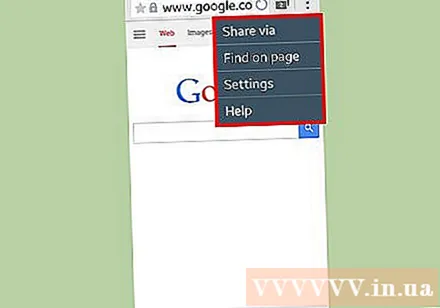
Touch the Menu button. You can either tap your device's Menu button or tap the browser's menu button in the upper-right corner.
Select Settings to open the browser settings window.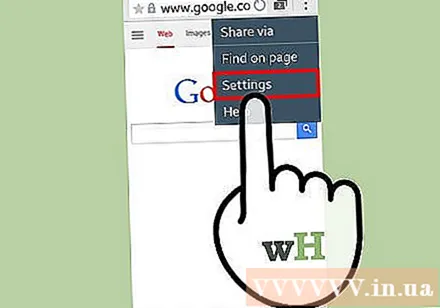
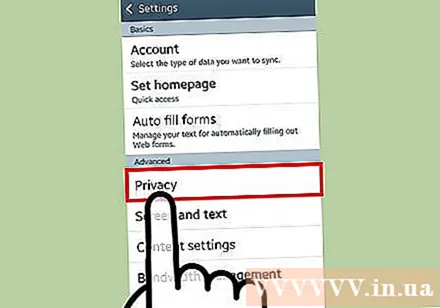
Select Privacy. You need to drag down the window's slider and find this option. Next, tap to open your privacy management options.
Tap "Clear History" to delete web pages you have viewed. If you want to delete cookies, select the button "Clear all cookie data". advertisement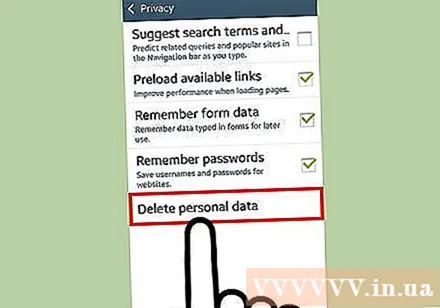
Part 2 of 5: Clear history on Google Chrome

Open the Chrome browser. Similar to the default browser, Chrome history can only be deleted from the app's settings.
Tap the Menu button in the upper left corner of the browser window and look for the three dashes icon.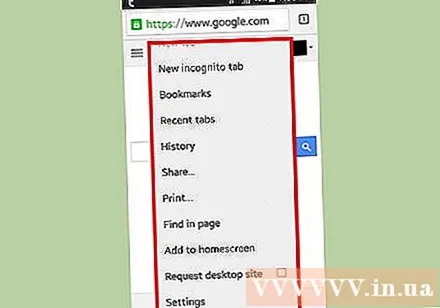
Select Settings to switch to the Google Chrome setup window.
Select Privacy in the Advanced section of the Settings page.
Select "Clear Browsing Data". This button is below the menu if you're on a phone, or in the upper-right corner of the screen if you're on a tablet.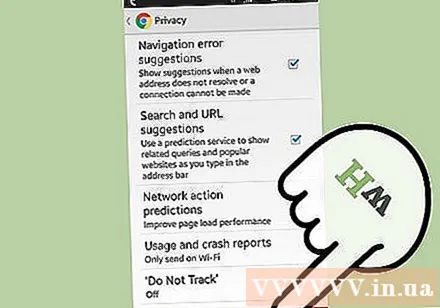
Check the box "Clear browsing history" to delete Chrome's browsing history. Select the Clear button to continue. advertisement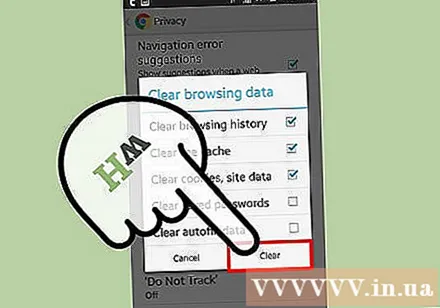
Part 3 of 5: Clear history on Mozilla Firefox
Open the Firefox browser. Similar to the default browser, Firefox's calendar can only be deleted from the application's settings.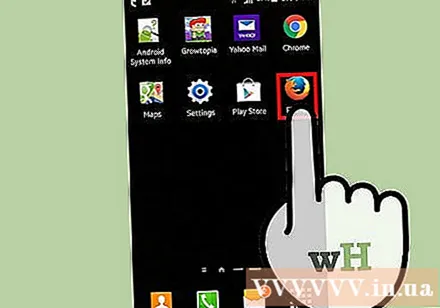
Tap the Menu button in the upper-right corner of the browser with the three dashes icon.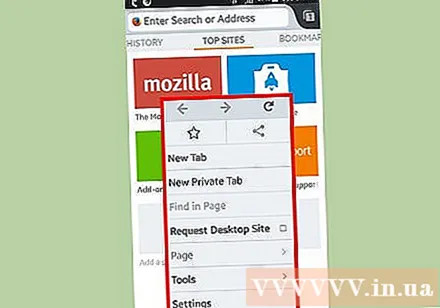
Select Settings to open the Firefox settings window.
Select Privacy to switch to your privacy management options.
Select "Clear private data" to open a list of all types of information that you can delete. Make sure the "Browsing & download history" box is checked. You can also use this option to delete other types of data.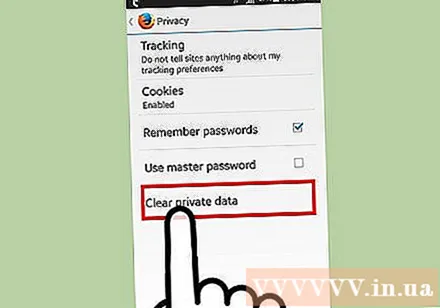
- Select "Clear data" when all options are checked.
Part 4 of 5: Privacy settings
Use incognito mode. In addition to the default "Internet" browser, most browsers have privacy windows or tabs. These are Incognito in Google Chrome and Private Browsing in Firefox. Private window browsing sessions are not saved in the browser.
- To open incognito mode in Google Chrome, click the Menu button and select the "New incognito tab". The incognito card will be darker than a regular card.
- To open a private browser in Firefox, tap the Menu button and then select "New Private Tab". A new private card will open with a mask icon indicating you are in private mode.
Install locker application. If you have to regularly lend your phone to friends and relatives, you should install the locker app. This app has the function of setting permissions so that others can only use the apps for which they have permission.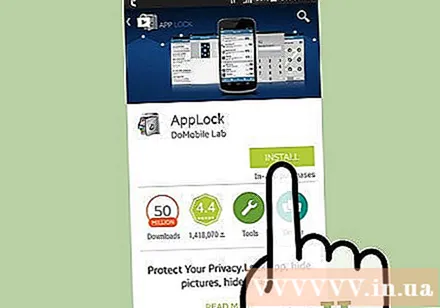
- Some popular options include AppLock, App Lock, Smart App Lock, Locker Master and many more.
Regularly delete history. If you don't want to be awkward about your browsing history, be sure to delete your info regularly. This will help you avoid losing your personal information when you lose your phone or get stolen. advertisement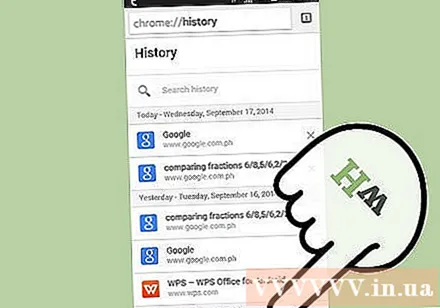
Part 5 of 5: Erase all data on phone
Backup the data you want to save. If you plan to sell or give away your phone, you should first erase all the data on the device. This way, there's no need to fear your personal information will fall into the wrong hands. All data on your phone will be erased when you do this; Therefore, you need to make sure your contacts, media and other important information are backed up somewhere.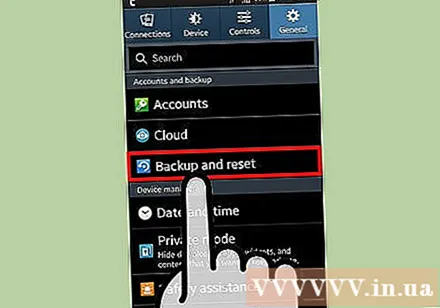
Encrypt your Android phone. Similar to computers, the hard drive of an Android device that has data erased is usually not erased, but set to be overwritten. This means that others only need time and use the right software to recover data. To avoid potential security risks, you need to encrypt your phone before you erase everything. This prevents other people from being able to access your data, even if the device is recovered using data recovery software.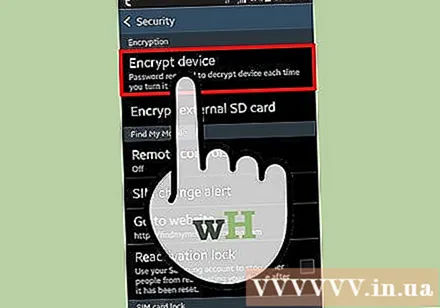
- Fully charge your phone. The encryption process usually takes time, so you need to fully charge your phone and connect the device to a power source.
- Open Android's Settings by tapping the Settings app on the Home screen or the App Drawer.
- Touch the Security section. Scroll down and select "Encrypt phone". Create a PIN that you will use to access your encrypted phone.
- Wait for the encryption to complete. It takes about an hour, and interrupting it can cause your phone to malfunction.
Reset phone. Return to the Settings menu and select "Backup & reset". Select "Factory data reset". You will be asked to confirm and enter a PIN for the encryption. The phone will initiate the reset process soon after, and it usually takes a few minutes. When the phone has completed the reset process, all data will be erased and the device will return to the state it was in when it was purchased. Now the phone is safe to sell or give away. advertisement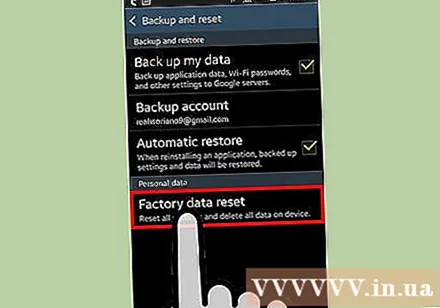
Advice
- Better yet, you should delete your phone's browsing history if you have visited sensitive websites, especially if you sell your phone to someone else.
- If you need to delete your Google Now search history, you'll need to head over to the Google History page. Please try to find related guide for more details.


