Author:
Laura McKinney
Date Of Creation:
9 August 2021
Update Date:
1 July 2024
Content
This article will guide you on how to become a blogger with just Facebook. While everyone's Facebook posts are usually quite short, the Facebook Notes app lets you post longer posts with photos, videos, titles, and more. If you want to spread your posts through your network of friends, you can create a Facebook Page and use it to share your posts and ideas with more readers.
Steps
Method 1 of 2: Use Facebook Notes
Visit the page https://www.facebook.com/notes from the browser. The Facebook Notes app allows you to share articles, photos, videos and ideas with friends in a longer format. The app also provides text formatting tools like bullet points, numbering, font selection, and media attachment.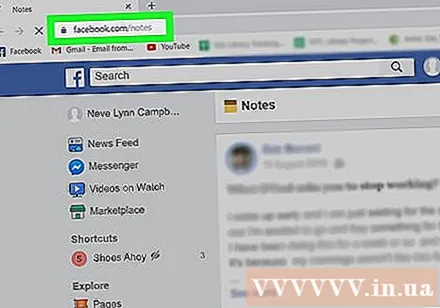
- If you aren't logged into Facebook, follow the on-screen instructions to log in.
- You can also access the Facebook Notes app from your profile by clicking on the tab More (See more) at the top of the screen and select Notes (Note).

Click + Write a Note (Write notes) to create blog posts. This button is near the top-right corner of the page. This will open up a large text input area for you to create new posts.- If you visit the page Notes (Note) from the profile page, you will see options + Add Note (Add notes).
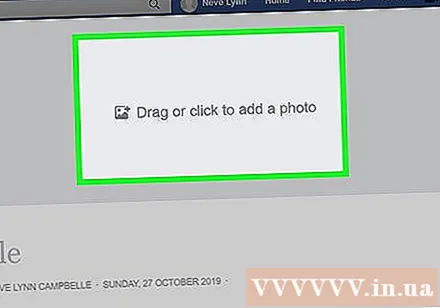
Click Drag or click to add a photo (Drag and drop or click to add photo) to add cover photo. This step is optional, but it will make your post stand out.
Enter a title for the article in the "Title" field. This field is below the cover image at the top of the page. The title of the article will appear in the Notes list.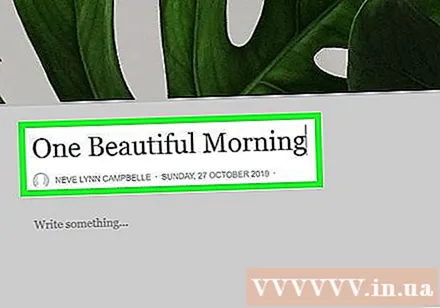
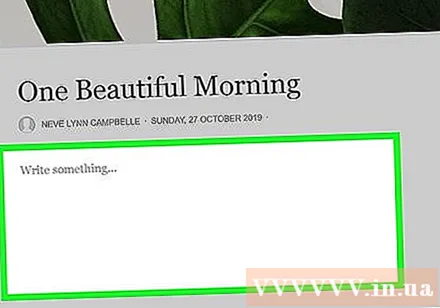
Write or paste blog content into the text input field. You can type the content directly into this field, or type the content using other word processing software and applications, such as Pages, Microsoft Word or Notepad, and then paste it into the text input box. You can choose any way.- Click the small paragraph icon in the left corner of the text input area to view editing options. You can add titles, lists and text markup (HTML Tags) in this menu.
- To add media to the article, click the mark + next to the text input area, and select Photo (Photo) or Embed (Embed) (to paste the path of the video).
- Click Save (Save) in the lower right corner to save progress.
Choose your audience. Click the Privacy menu in the lower-right corner of an article to select who can view it (for example: Friends (Friend), Only Me (Only me), etc.).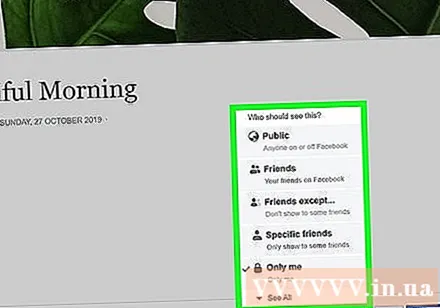
Click the button Publish (Post) in blue when ready to share articles. This button is in the lower right corner of your post. After clicking this button, the post will be visible to the audience you have selected in the privacy menu and a link to the post will appear on your profile as a regular status line.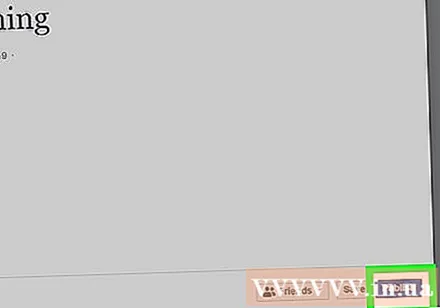
- To see my own articles, visit https://www.facebook.com/notes and click My Notes (My Notes) near the top right corner of the page.
Method 2 of 2: Use a Facebook Page
Create a Facebook page for blogging. The Facebook page is a special Facebook page that allows artists, musicians, people of the public, organizations, businesses, and brands to connect with their fans and customers. Creating a Facebook page for blogging is a great way to keep your blog posts separate from your regular personal page. You will also be able to access more data than you would on your profile. To create a Page from Facebook.com, you would do the following:
- Click Create (Create) near the top right corner of the homepage and select Page (Page).
- Click the button Get Started (Get Started) under "Community or Public Figure".
- Enter the name of the blog in the "Page Name" field.
- Select item is Personal Blog (Personal blog).
- Click tiếp tục (Continue) to create the Page.
- See How to Create a Facebook Page for more details on how to create a Facebook Page.
Visit your Page. Once the Page has been created, you can access the Facebook Page by clicking the small down arrow near the top-right corner of the homepage and clicking the Page name.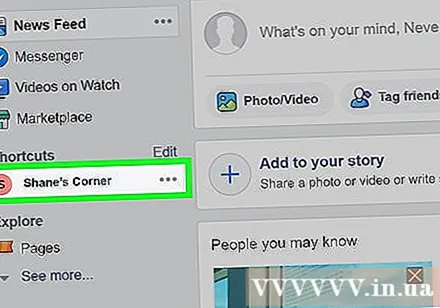
Click the button Add a Cover (Add cover photo) to download cover photo. This photo will appear at the top of your Facebook blog page.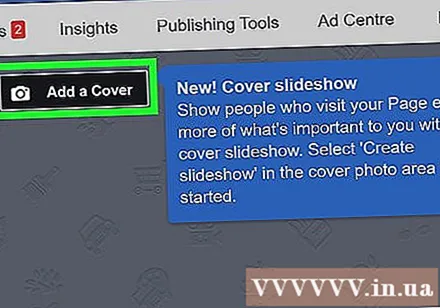
Click the mark + on your avatar to add your avatar. You can use personal photos, custom photos for your blog or other custom images.
Click Settings (Setting). This menu is in the upper right corner of the page. You will see all the Page options here.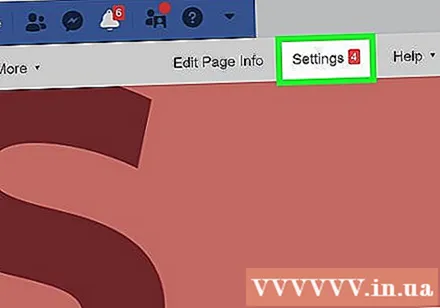
Page Setup. You will find there are hundreds of different ways to personalize your Site. Whichever way you install it is up to you. Since this article is guiding you to create a blog, you can check out a few suggestions: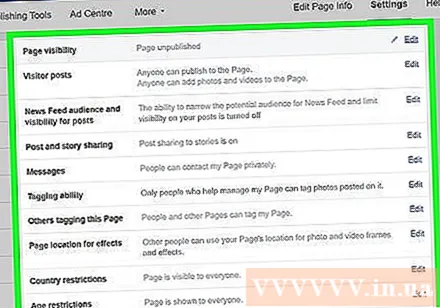
- Your site is now public. If you do not want to publish this blog immediately, you can click Edit (Edit) next to "Page Visibility" and select Page Unpublished (Unpublished page). Don't forget to repost the page when you'll be ready to share it with everyone
- Do not allow others to post on the Site so that you are the only one who can post to your blog. To do this setting, you will click Edit (Edit) next to the item Visitor Posts (Visitor's post), select Disable posts by other people on the page (Don't allow others to post to the Page), then click Save changes (Save changes).
- Click the card Messaging (Messages) on the left panel to set up how people contact you on blogs.
- Click Templates and Tabs (Templates and tags) in the left panel to select a theme and set tags.
- Return to the Page after the installation is complete by clicking Page (Page) in the upper left corner.
Click Write a post (Create posts) to post first. This button is near the top of the page, below the cover image.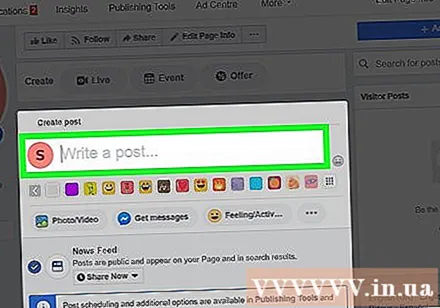
Create blog posts. Since the article input box is quite small, you can write the article using a word processing software or application, such as Pages, Microsoft Word or Notepad, and then paste it into the article creation box. You can use a few more options such as:
- Click Photo / Video (Photos / videos) to add media including photo albums, slideshow videos, carousel ads, etc.
- Click Feeling / Activity (Emotional / Activity) to let the reader know how you are feeling and / or what you are doing.
- Click Preview (Preview) at any time to preview your post.
- If you want to set your posts to show up at a certain time, you can click on the menu Share Now (Post), select Schedule (Timer) and set your preferences.
Click Share Now (Post) to share articles. When post content is posted, it will appear on your Page.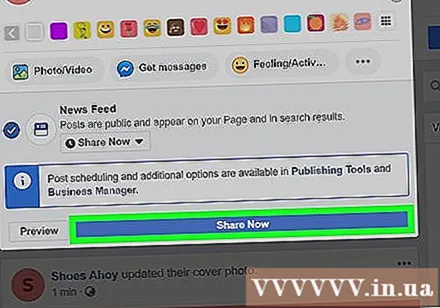
Click the button Share (Share) to share your post with others. This button is located at the top of the page and will give you several options for sharing a link to the Site with others, including Share on Your Timeline (Share on timeline) and Share in a Private Message (Share in private message).
Click the button Like (Like) on the page. This button is near the top of the page, below the cover image. Click this button and you will love your page! Don't forget to ask your friends to press the like button.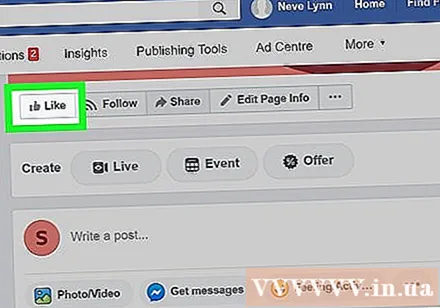
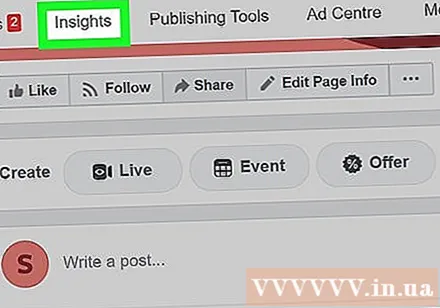
Click the card Insights (Details) to view page data. This tag gives you information such as the number of views, the most popular post, and the post's engagement. advertisement