Author:
John Stephens
Date Of Creation:
21 January 2021
Update Date:
2 July 2024

Content
Do you want to create beautiful and impressive paintings with oil paints? Here are some basics that bring you to the beautiful world of oil painting. Once you've mastered the basics, the world is your painting!
Steps
Part 1 of 4: Getting Started
Choose paint. Before you learn oil painting techniques, you need to be familiar with oil paints. Although there are many types of oil paints on the market, don't be attracted to inexpensive products. Buying cheap, low-quality products will make coloring more difficult, lose interest, and frustrate you. Pay a little extra to buy paint where you only need one coat instead of two or three for the same color rendering and color matching.
- The most basic of oil paints should have the following colors: cadmium yellow, orche yellow, cadmium red, alizarin crimson crimson, ultramarine blue, titanium white, and mars black. You can combine these colors to create any of the colors in the color circle (for example, yellow and red create oranges).
- You will find that the white color is used up very quickly so you need to buy a large tube of white paint and a small or medium tube for the rest of the colors.
- Should not buy color set for students because of its affordable price but with the lowest quality. In addition, you should avoid purchasing a color kit that comes with a brush as these are often of poor quality.
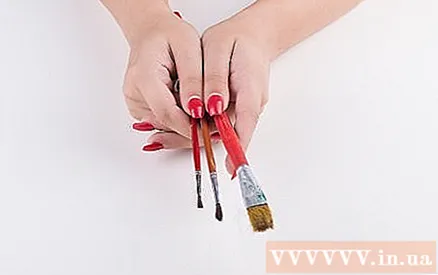
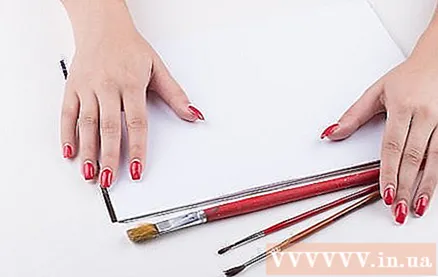
Prepare the remaining materials. Newbies to coloring often tend not to buy certain tools to save money. While this is a perfectly normal mindset, there are a few basic tools you will need to make oil painting more enjoyable and easier.- Choose a few basic paintbrushes made of a good material. You don't need to start with multiple brushes, but you can buy a few for each. Initially, you will need brushes with different round or flat bristles.
- The synthetic fiber brush tip is usually soft and smooth and the natural one is harder. You will use both for different painting techniques.
- You will also need a varnish for mixing the colors, a paint palette, canvas or stretched canvas for drawing, and some towels and jars for cleaning the brush.
- Oil paint is usually very thick when it comes out of the tube and must be diluted with white spirits or turpentine to make the first coat and use a paint thinner such as linseed oil or poppy seed oil. color for the following layers. Apply the 'Thick on thin' rule to prevent colored layers from cracking or splitting.
- Optional tools include an easel, apron, pad, and a special tool box.
Arrange the drawing area. Since oil painting has so many tools, you will need to use a large area. Keep an easel or table away from direct sunlight and noise, if possible. Spread a primer to prevent the paint from dripping down and damaging the floor.- Oil paint often smells so you need to choose to paint in a cool place, open doors or windows.
- If you are using an easel, you will adjust it to suit your sitting or standing position and angle. Make sure the position of the easel is positioned so that you are comfortable drawing, rather than causing difficulty.
- Wear old painting-specific clothes to protect your skin and beautiful clothes. Oil paint is extremely difficult to clean, so you need to take care to avoid getting the paint.
- If you have long hair, try using a ponytail or bun to keep your hair from painting. Remove the ring or bracelet you are wearing.
Part 2 of 4: Create picture ideas
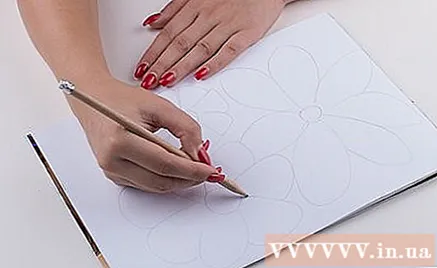
Create sketch drawings. Use a pencil to outline the subject you want to draw. You can sketch directly on canvas or draw on tracing paper and use charcoal to convert the drawing into canvas. When drawing your subject, be mindful of the composition and use of negative space.- Layout is the arrangement of objects on a picture. You should be well organized so that your eyes are focused on the whole picture instead of just looking at a single point.
- Negative space is the space around an object. If you are using a real-life object to paint on the canvas, you will draw difficult areas by looking at the space around the object instead of looking directly at the object. Consider how negative space should be filled when you start painting your picture to make the subject stand out.
- Take note of overlapping shapes as they add depth to the composition. If your objects don't have overlapping shapes then rearrange them. This will make the picture look more realistic.
Find a light source. To create realistic pictures, you need to clearly show the highlights and shadows. Take a look at the object and determine the angle to catch the light and position the highlights and shadows.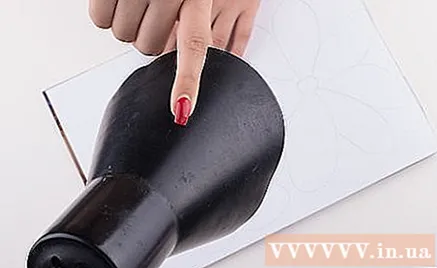
- All light sources cast shadows, but if the light is shining directly above the object it will be difficult to see the shadow. Try moving the light or object so that the shadows and highlights are more visible.
- You will not be able to have extremely dark shadows or extremely bright highlights. In fact, you'll have roughly the same range of degrees. Don't worry about lighting not making shadows and highlights clearly visible.
Consider using color. For people new to oil painting, it is often difficult to mix colors to match the color of the object. This is because the brain also provides an ideal color standard; You see the sky is blue, so you will paint blue paint to realize that the paint color is brighter and more colorful than the actual sky. The trick is to get rid of the color logos the brain uses and study the real colors that are being used. This will change the brightness of the paint color.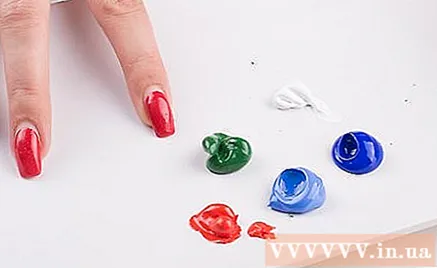
- A picture seen at night will be darker and richer in color during the day - a time when it is usually brighter.
- Check the subject's color under the light; On a sunny day, the subject will appear yellow. When it is overcast, the light is scattered through the clouds, making the object appear gray. There are also colored lights - neon signs or colored bulbs that interfere with the color of the object.
Observe the movement of the object. Are you painting stills with little or no movement? Or was your object in the field on a windy day and there was a lot of movement? Focusing on the movement of your subject is important for planning your brush strokes. Realistic paintings will have brush strokes that create movement or stillness. advertisement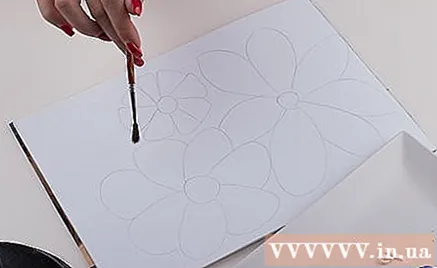
Part 3 of 4: Create your work
Tinting. Oil paint takes many days to dry but this is a disadvantage that can be ignored. However, it is almost impossible to mix the same paint twice, so mix it in bulk and keep it after each paint so you use the same paint.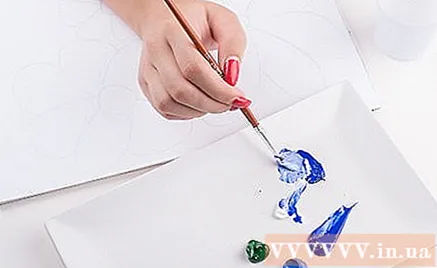
- Use the color wheel to help you know how to mix colors. The color wheel will show you the level 1, 2, and 3 colors along with the color scheme.
- Pure colors are colors that have not been blended with white or black. You have level 1 color mixing cards to create level 2 colors.
- To create a tint, you'll add white. This way, the color will be brighter and have a pastel tone.
- To make a shade, add black to any color.
- To create a tone, you'll add white to a dark color (any color that has been mixed with black). Intermediate colors are used a lot because it displays the colors we see every day.
Start painting. You can choose any color painting method you like, such as coloring complete sections or painting multiple layers of color over the entire picture. However, when painting oil painting, you will apply the liquid method first, then thick coat first.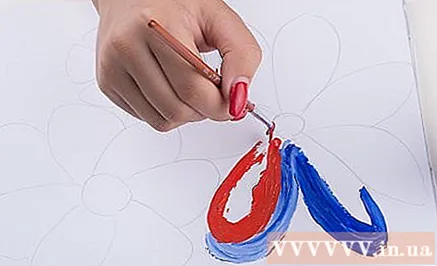
- Try painting on basic objects. All objects are made up of several basic shapes such as the cube, cone, cylinder, and circle. Paint these shapes in the form of real objects, like an orange box or paint on their flat shapes.
- To dilute the paint, use a paint thinner (linseed oil or turpentine) in combination with the paint. At first, you will only take a few and then gradually increase it gradually until you get the desired texture.
- It takes about 3 days for the first coat to dry before applying a second coat, so be patient while you wait for the paint to dry.
Try different methods. There are many ways to perfect painting but learning them all when you are new to oil painting will be overwhelming. Instead, focus on learning a few techniques at a time.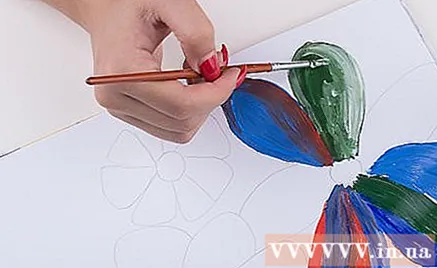
- Try color schemes. This is a subtle process of blending two or more colors (like the colors at sunset). To do this, you will add multiple layers of paint so that they are side by side on the canvas. Then, use a flat-head brush to spread the paint colors evenly, blending in the direction you want to create a color scheme.
- Creates color glaze. This means using a mixture of 1/3 flax oil, 1/3 pine oil, and 1/3 varnish to create a transparent color. You can mix this with any color to give a penetrating color on dry paint.
- Use dot art to create small dots. Use a brush with the bristles of natural fibers (a dry brush will work better) and dab vertically on the canvas. You can overlap the dots to create an opaque object.
- Use a knife to mix oil paint. This method is suitable when painting landscapes and creating movement on canvas. Scoop a little paint onto the bottom edge of the knife and sweep across the canvas to create thick layers of paint.
Part 4 of 4: Finish drawing
Fix the errors. You have about 3 days (while the oil paint is still wet on the fabric) to correct the mistakes or completely wipe with a wet cloth. Before deciding to complete the picture, you should step back and observe the overall picture to see if there is anything that needs to change.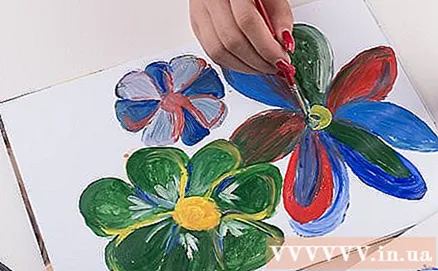
Save unused paint. If you still have a lot of unused paint on your palette, save it for your next painting. Scoop the color into a small box or leave it in the palette and cover with a food wrap.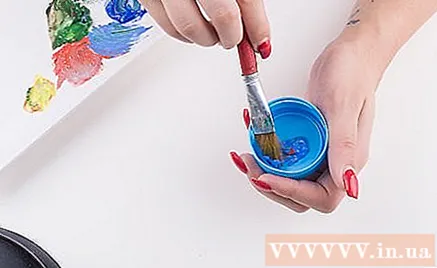
Clean the brush. Oil paint will damage your brushes if the paint dries out, so clean it up immediately after using it. Use turpentine and old towels to wipe off the paint as much as possible, then rinse with warm water and a little dish soap. You can brush the tip of the brush over the palm of your hand to make sure all the paint has been washed off.Plug the brush into a jar or cup with the tip of the brush facing up to let dry. Make sure the brush is placed in a well-ventilated place while drying, such as in a cool place - on a shelf or on a table, not in a cabinet or drawer.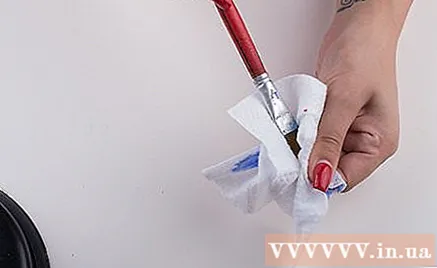
Wait. For the oil paint to dry completely, it will take about 3 months or so if you use multiple layers of thick paint. Place your painting in an untouched or damaged place and let it dry for as long as it takes.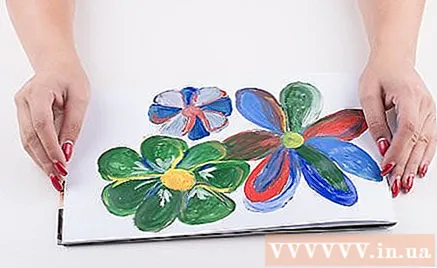
Add a layer of polish. Once the paint is completely dry, you will add a layer of polish to protect and preserve the paint color. When the protective gloss dries, you're done! Finally, hang up your creations for everyone to see!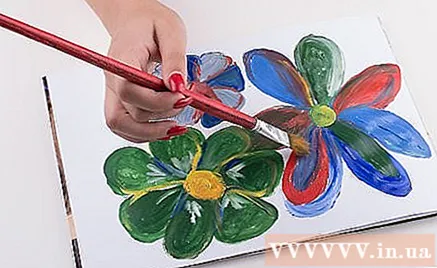
Kelly Medford
Outdoor painter paintingPaint gloss has different drying times. "When you add paint, it depends on the drying time of the paint color," said Kelly Medford, an artist. dry from upper layer to lower layerTherefore, it will take from 6 months to 1 year for the polish to dry completely and add polish. Paint gloss will make Paint color cannot be exposed with air and can dry again, so if you use the polish too soon, the picture may be damaged. "
advertisement
Advice
- Black (black ivory) dries very long: you should avoid using it as a primer.
- Avoid using linseed oil as your paint thinner for light colors, as the paint color will quickly turn yellow.
- To remove paint from your hands: use baby oil or olive oil. Pour a little baby oil onto a towel and wipe your hands. Don't wash your hands before removing the oil paint or this will not work. Oil paint on your hands will be easily removed when combined with another oil and when the paint is gone, you can wash your hands with soap and water.
- To keep the palette from drying out, you can either soak it in water or in the freezer.
- Do not leave the palette in the water for too long or the paint will cause the palette to be oily.
- Wear latex gloves to prevent paint from sticking to hands.
- When using a new paint color, you should wash off the brush with warm water.
Warning
- Keep paint and paint thinner away from eyes and sensitive skin. If either product gets into your eyes, rinse with clean water for at least two minutes. Ideally, you should use an eye cup or a dedicated eyewash. If both are not available, use a small glass cup or let warm water run gently directly into the eyes. It is extremely important to immediately dissolve the chemical with plenty of water. This step will help reduce damage to sensitive eye tissues.
- Paint thinner products are also allergic to sensitive skin. You should wash the affected skin several times with warm water and soap, then rinse thoroughly. If an allergic reaction occurs, you should see your doctor and follow the advice.
- Paint thinner and oil solvent are flammable. If you do use these chemicals, you should keep them in an approved solvent storage cabinet. You should store flammable materials in a discreet place of any kind. Include the paint that has been mixed with flammable substances and the towel you use to clean.
- Oil paints and paint thinner can be classified as hazardous materials where you live. Therefore, you should dispose of paint and solvents properly. You should follow the local guidelines and regulations.


