Author:
Lewis Jackson
Date Of Creation:
10 May 2021
Update Date:
1 July 2024
Content
Have you always wanted to draw a beautiful car, but always the result looks unsightly? If so, then follow the steps in this article, you should be able to draw a car like a pro.
Steps
Method 1 of 4: convertible cars
Draw a rectangular box for the frame.

Add two ovals to make the wheel.
Draw a 3D trapezoid to represent the hood.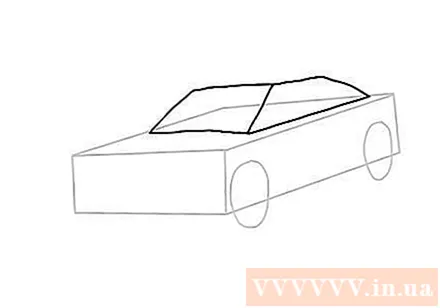
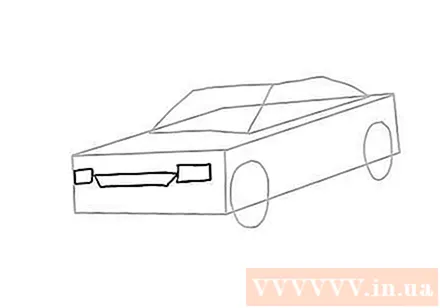
Draw two rectangles for the headlights and an inverted trapezoid in the middle representing the grille.
Draw a trapezoid divided into two in the middle for the window.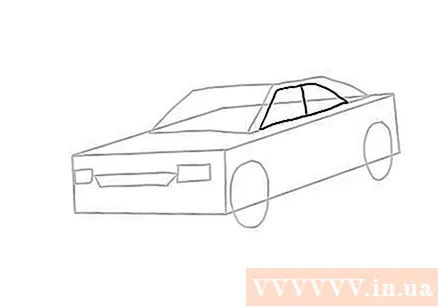
Add two small ovals as the rearview mirror.
Draw a series of straight lines for the doors and handles.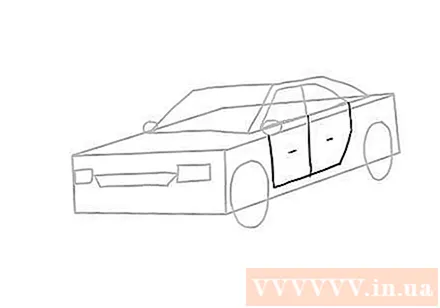
Based on the sketch, draw more key details for your convertible.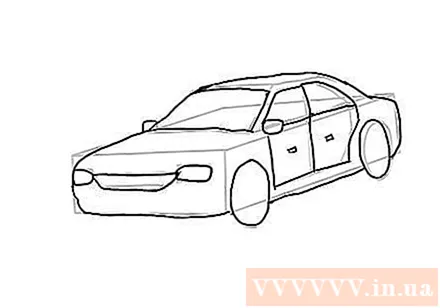
Add more details to the rim, bodywork, grille and headlights.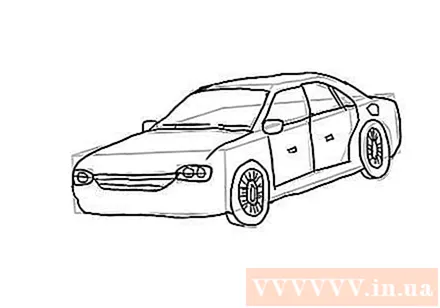
Erase unnecessary lines.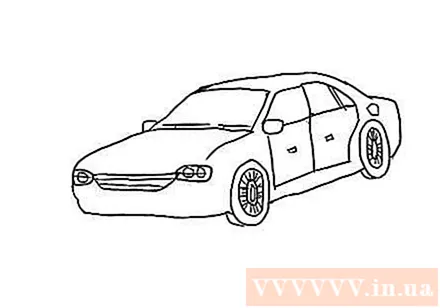
Color your car. advertisement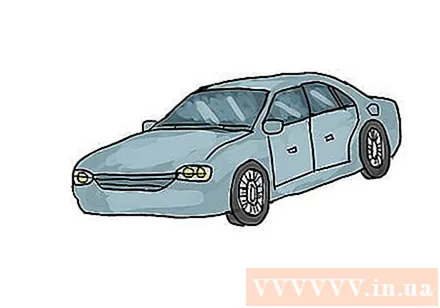
Method 2 of 4: Classic Cars
Draw a letterbox representing the head of the car.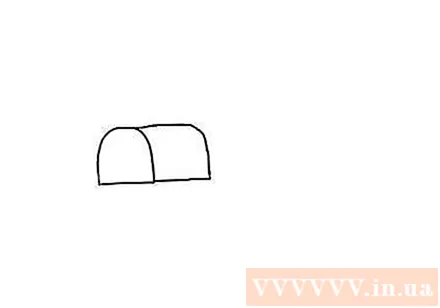
Draw a box to represent the passenger compartment.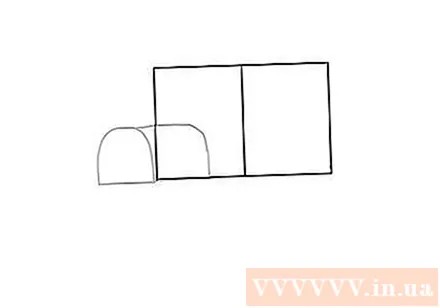
Draw two circles for the headlights and add a triangle on the back.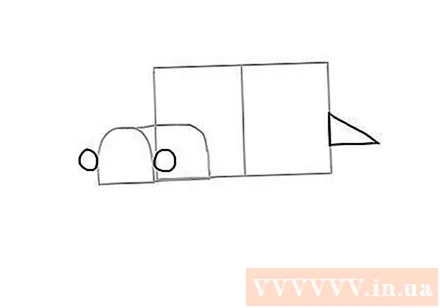
Draw two arcs connected by a line representing the fenders.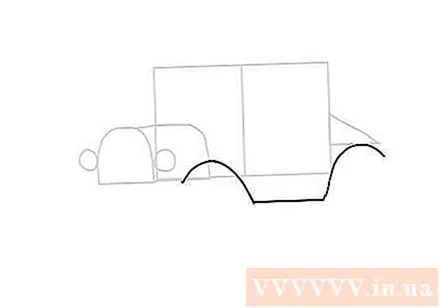
Draw ovals to make the wheel.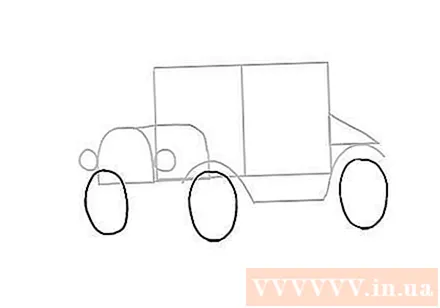
Add rectangles to represent windows and windshields.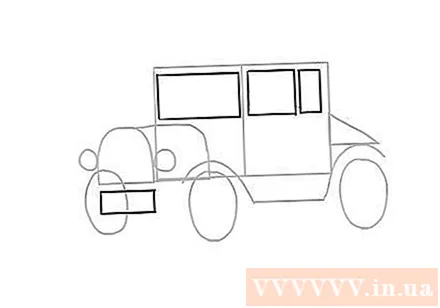
Based on the sketch, continue to improve the bodywork.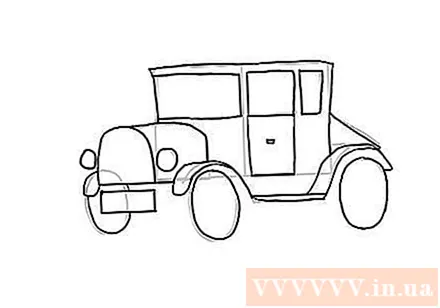
Add details like the wheel rim, front grille and lights.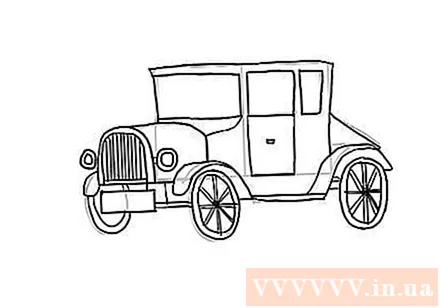
Erase unnecessary lines.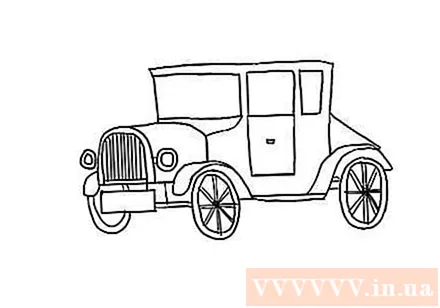
Color your classic car! advertisement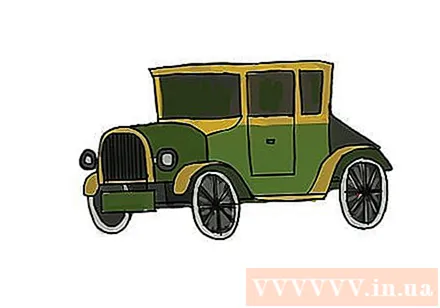
Method 3 of 4: Realistic Cars
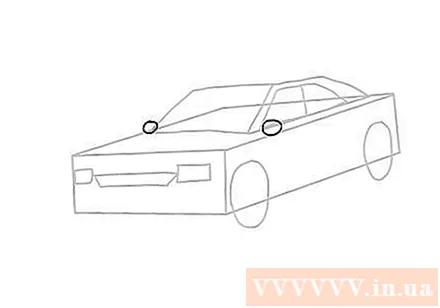
Draw two adjacent large rectangles.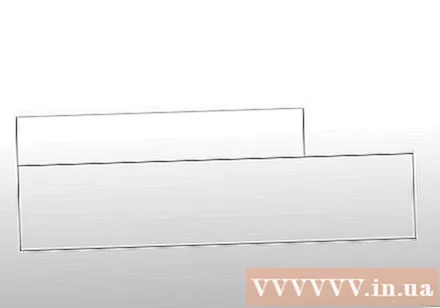
Draw an oval on top of the rectangle and add a slant that extends from one corner of the rectangle to the oval.One more stroke from the elongated oval to the second rectangle.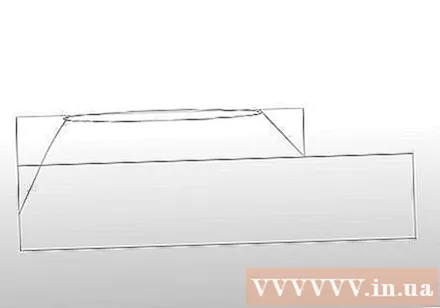
Erase the lines outside the slant line.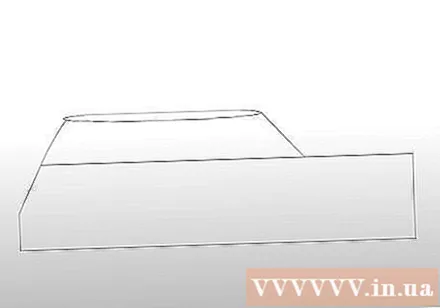
Now we have the basic shape of the car.Add more rectangles and italics to your car windows.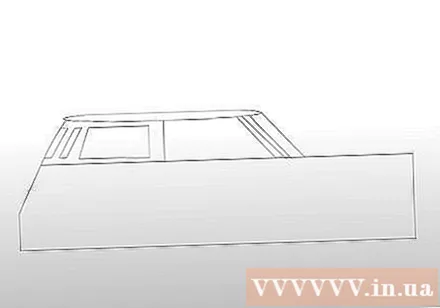
Draw a large circle and a smaller inner circle to make the wheel.Do the same with the other wheel.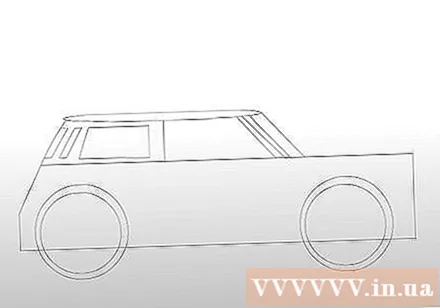
Add circles of different sizes to the wheel.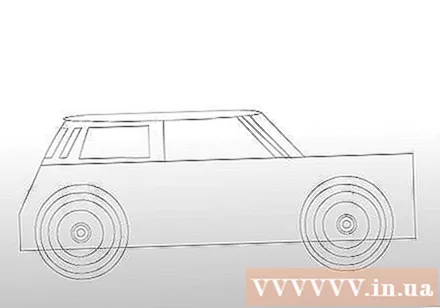
Add lines to make the wheel rim.Draw two ovals for the headlights.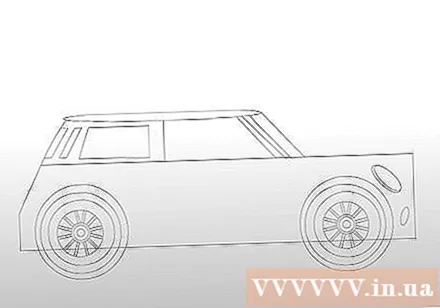
Add a rectangle to the bottom of the car and more circles along with an oval for the mirrors and headlights.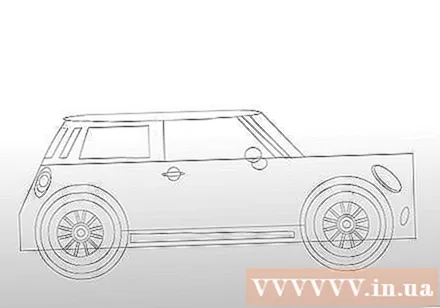
Based on the comprehensive composition, draw the details as possible.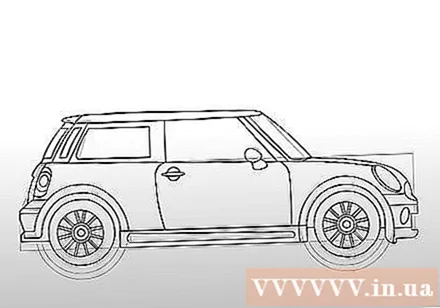
Erase all unnecessary lines.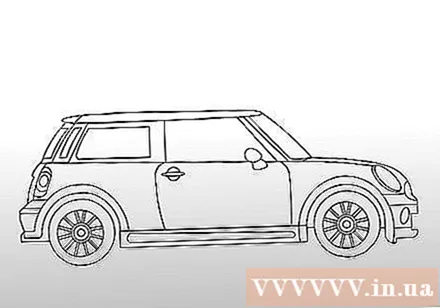
Coloring and polishing cars. advertisement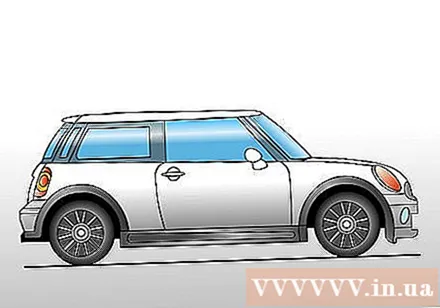
Method 4 of 4: Cartoon cars
Start by drawing two nested ovals.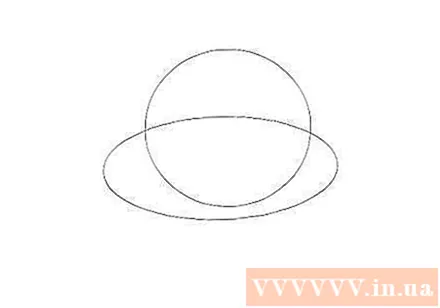
Draw another oval in the upper oval.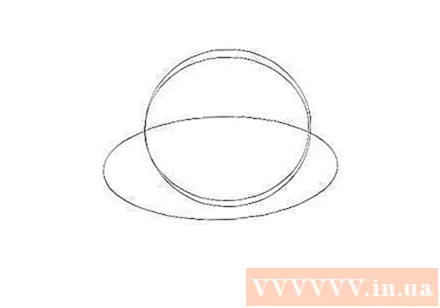
Add two more ovals with two small ovals inside as the eyes.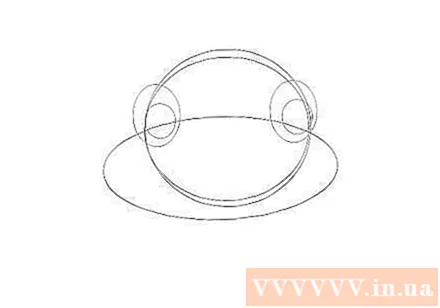
At this point, delete the overlapping lines in the eyes.Add more oval shapes to make the eyeballs.
Moving on, draw a large oval for the body of the car and two small ovals to represent the wheel.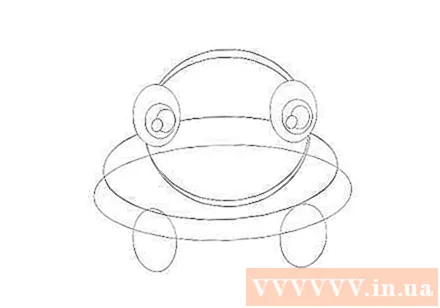
Now draw two more ovals for the eyebrows, doing the same for the other side.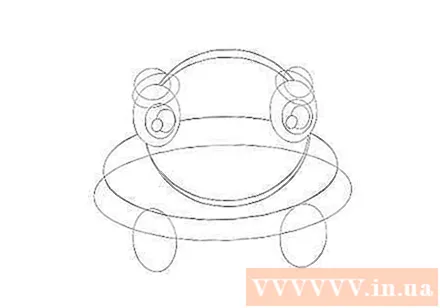
Continue adding two small, interlocking ovals to fill your cheeks when you smile.Do the same with the other side.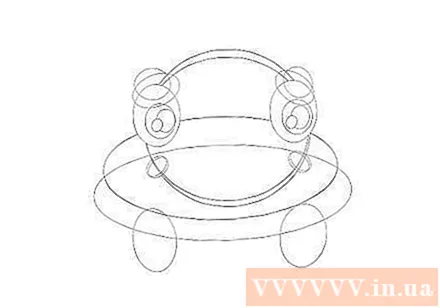
Relying on the outline, start drawing details.
Erase all unnecessary lines.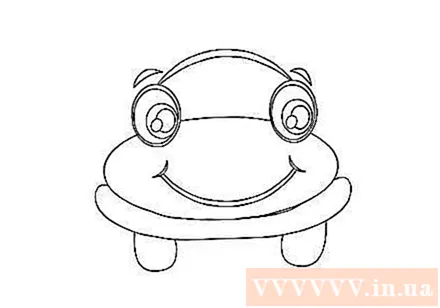
Car coloring.Add some shadow and depth. advertisement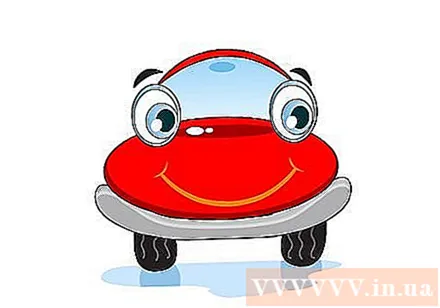
What you need
- Paper
- Pencil
- Pencil sharpener
- Eraser
- Crayons, crayons, markers, or watercolor


