Author:
Lewis Jackson
Date Of Creation:
8 May 2021
Update Date:
1 July 2024

Content
This article will help you learn how to draw dogs in many different styles. Read on to see a variety of drawing styles, from cartoon dogs to real dogs.
Steps
Method 1 of 5: Animated Dogs
Draw a circle.

Draw a horizontal oval (oval), overlapping under the circle.
Outline the eyes with two interlocking ovals on each side.

Continue to draw another oval for the nose.
Draw some curves just below the nose, representing the mouth.

Draw the dog's ears using the curves shown above.
Do the same with the other ear.
Outline another rectangle on top of the oval.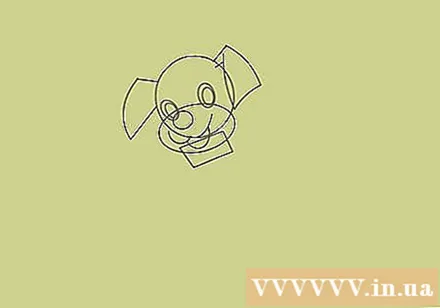
Draw the bottom of the rectangle with a box with curved edges.
Outline another irregular box below the box just to make the belly.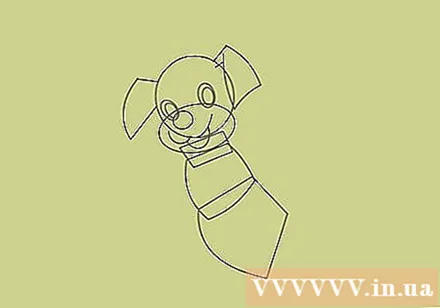
Then, at the lower edge of the random box just created, draw another irregular box with curved edges representing the lower back.
Draw a small oval overlap just below the just outlines for the hind paw.
Draw one of the forelegs with a vertical rectangle, with the top edge blank, the other three edges with curves.
Next, draw an oval that overlaps the bottom of the vertical rectangle, representing the forefoot.
For the other foreleg, draw a similar vertical rectangle.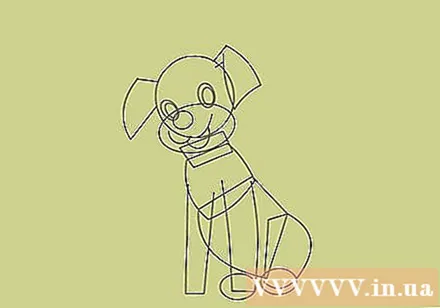
Draw another oval with the same size as the foot before to complete the forelegs.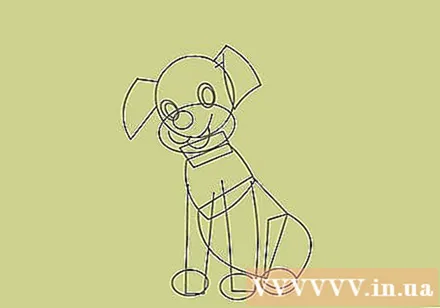
Add a small curve to represent the tail.
Now, you rely on the guides to draw the parts in detail.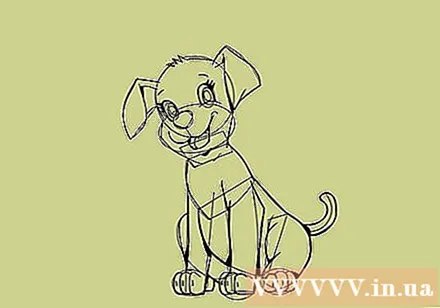
Delete the guide strokes.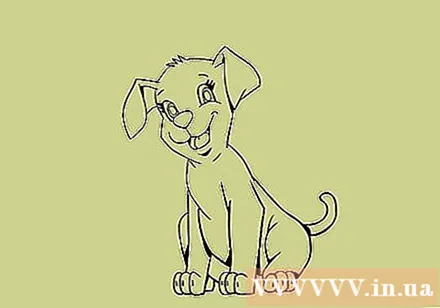
Color the dog. advertisement
Method 2 of 5: Hound
Outline the dog's head with a medium circle.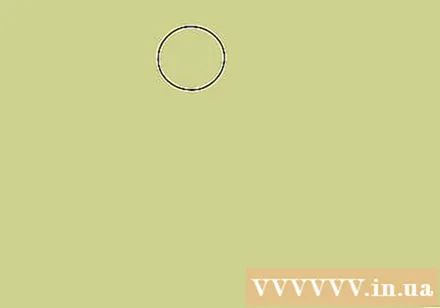
Connect three straight segments with a circle to represent the muzzle.
Add two triangles to the top of the circle to make the ears.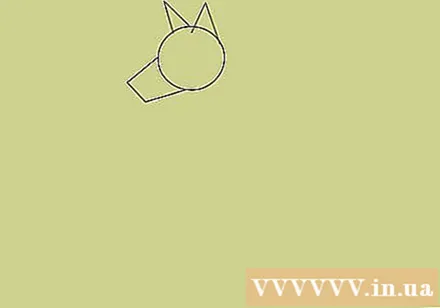
Draw the dog's neck by adding two parallel lines coming from the circle.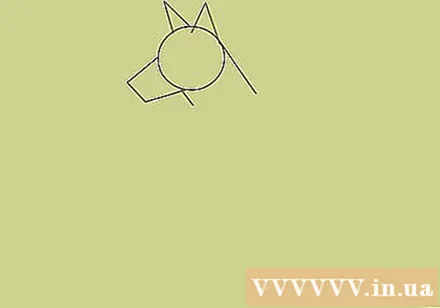
Draw a large horizontal oval in contact with the neck, representing the upper body.
Draw another smaller oval, overlapping the bottom of the large oval.
Next, add one more oval that overlaps to show the lower back.
Draw a line connecting the largest oval with the last oval to represent the back of the dog.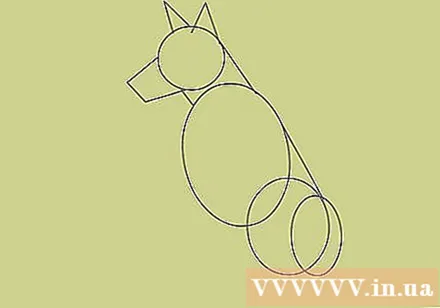
Add the connecting lines below to make the foreground shape of the animal.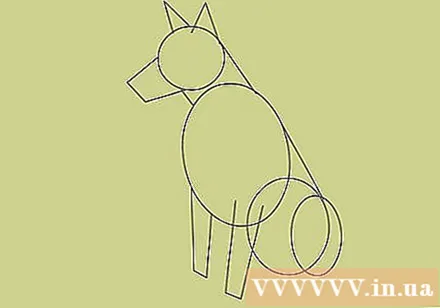
Draw more irregular rectangles at the bottom to represent the foot (both fore and hind limbs).
At the bottom of the oval represents the lower back, draw a curved line representing the tail.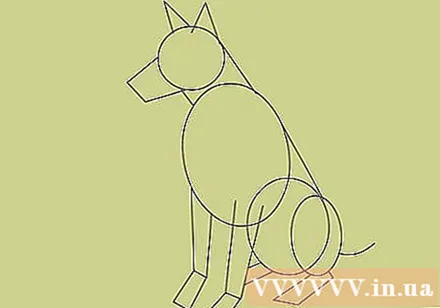
Add to the top of the foreleg a small horizontal oval, this is the leg bone and muscles.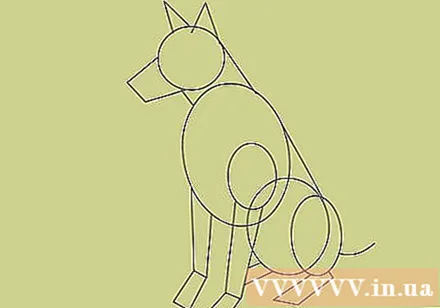
Once you've finished the sketch, you can now draw the animal's details based on the rough.
Clean up the drawing by erasing the guide lines.
Color the dog. advertisement
Method 3 of 5: Another cartoon dog
Draw two circles that overlap each other. The smaller circle is on the upper left of the large circle.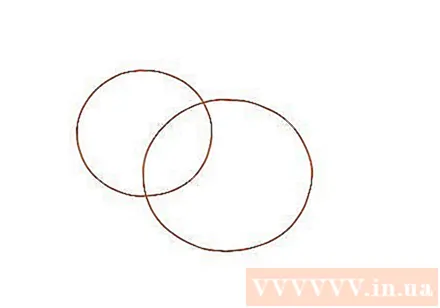
Draw the details for the ears. Add a curve that cuts along the small circle in two parts.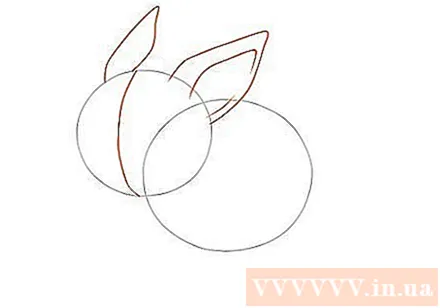
Draw details on the dog's face with his eyes, nose, snout, and mouth in a cartoon style.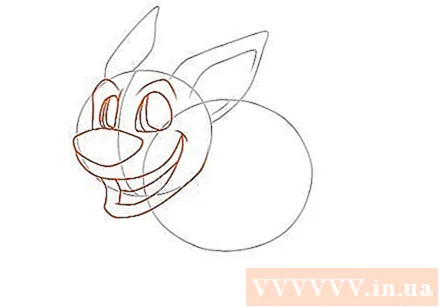
From the second circle, draw out the lines and curves representing the dog's body.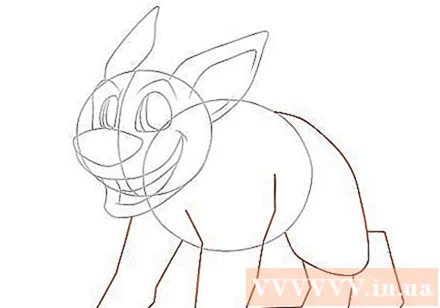
Draw the details for the foot and tail.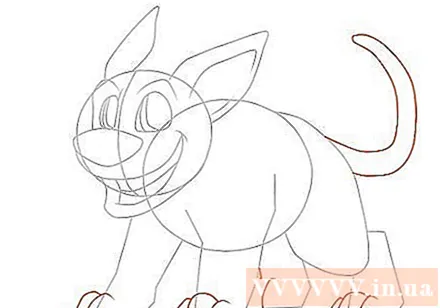
Retouch with ink pen, then erase excess lines. Draw more details for the teeth and the body.
Color it to your liking! advertisement
Method 4 of 5: Traditional dogs
Draw an oval and two circles of different sizes to construct the frame.
Apply simple geometries like trapezoid, rectangle, and polygon to create details for the dog's paw.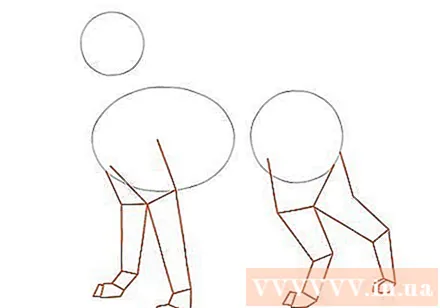
Draw the body of the dog using the curves connecting the circles and oval.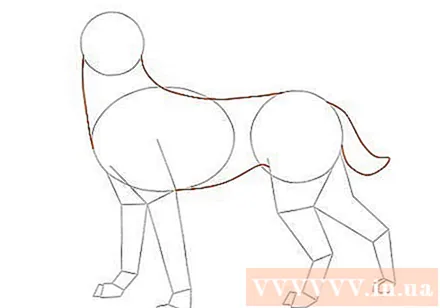
Use the curves to detail the dog's head. Refine the manuscript to bring out the animal's eyes, ears, snout, and mouth.
Use the pen to rewrite, then erase any unnecessary lines.
Color according to taste! advertisement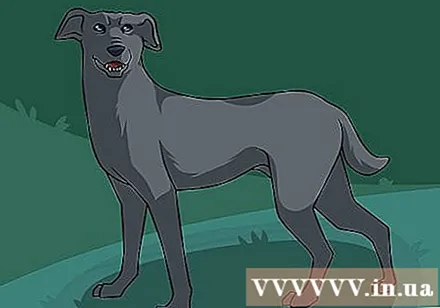
Method 5 of 5: Realistic Dog
Draw two ovals. The size of one shape may be slightly larger than the other, draw them separately but not too far away. This is the key to the drawing.
Overall outline. Draw a line going through the top of the two ovals but pointing downwards. Draw another similar line below the two ovals. For this line, you need to bend a little bit right between the two ovals. Then draw the top of the legs as shown. Spread the two above and below ellipses slightly upwards, then draw a circle that represents the head. Draw another oval skew to one side of the head to create the shape of the dog's muzzle.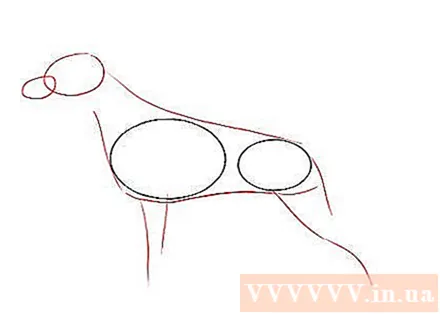
Outline the first part. Do the same as when you draw the body. Then delete the circles inside the head and body. Draw more ears for the dog: long, down or short, upright. Then, add a tail, long or short, it's up to you. At this point, it is better to have a picture of the breed in mind to present the details in the best way.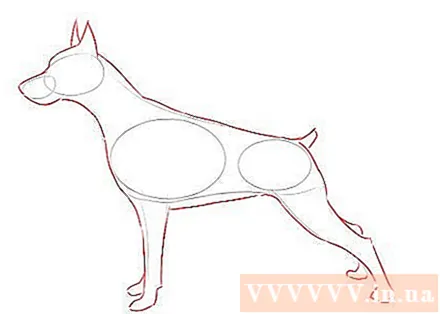
Delete all inner circles. Carefully erase the entire circle and oval guide. Then, show off the animal's fur by adding patches of coat color. You can also smudge the graphite a bit to give it shine or dark spots on the draft. Your dog will become very real!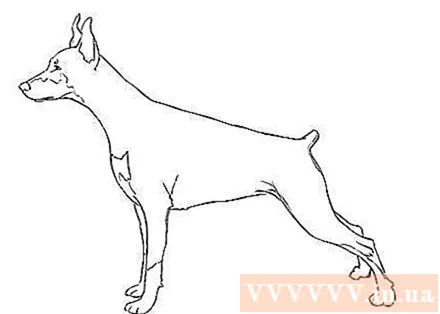
Finish. advertisement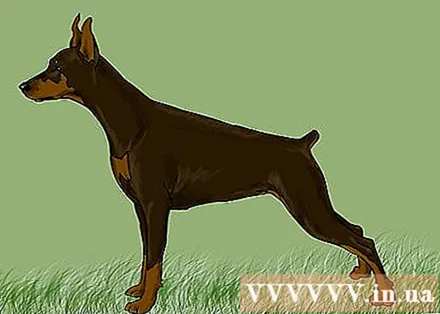
What you need
- Paper
- Pencil
- Pencil sharpener
- Gum
- Crayons, crayons, markers or watercolor


