Author:
Monica Porter
Date Of Creation:
18 March 2021
Update Date:
2 July 2024

Content
Fillable PDF forms are often used as a replacement for formal paper documents when we need to complete important paper work online. You can create forms from almost any type of document available such as scanned paper documents (scanned), non-interactive PDF forms, spreadsheets, and Word documents. This wikiHow teaches you how to create fillable PDF files from any document type with Adobe Acrobat Pro.
Steps
Part 1 of 3: Creating a form from a document
Open Adobe Acrobat DC on your computer. Adobe Acrobat DC is the official registration platform application for creating and managing PDF files. Both Standard and Pro packages allow users to create fillable PDF files.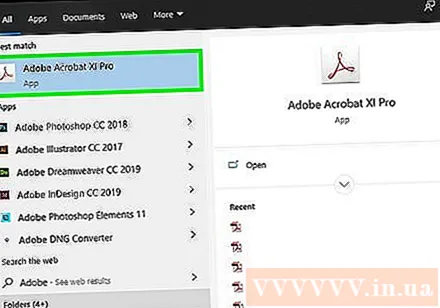
- See more online to learn how to install Adobe Acrobat.

- Adobe Acrobat Pro offers a free trial package. Click this link to visit the Adobe website and proceed with the registration.

- See more online to learn how to install Adobe Acrobat.
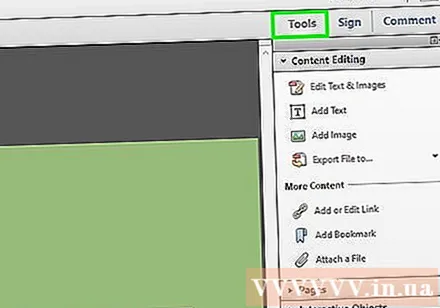
Click the menu Tools (Tools) at the top of the application.
Click Prepare Form (Prepare form). This option is near the center of the window.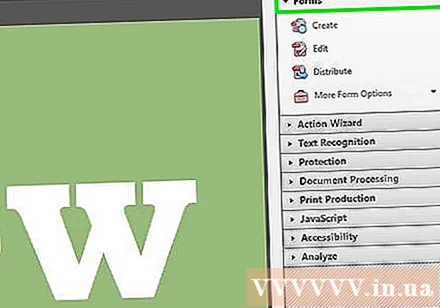
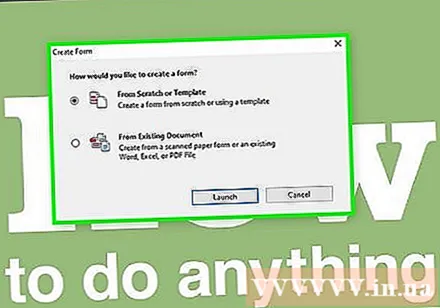
Click Select a File (Select file). This allows you to import a form from another file into Acrobat, eg Word, Excel or a PDF file that cannot be filled out.- If you want to scan a paper document, click Scan a document, and then follow the onscreen instructions to import the document from the scanner.
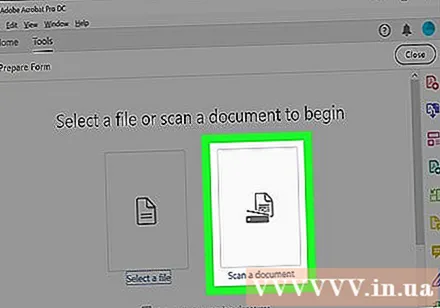
- If you want to scan a paper document, click Scan a document, and then follow the onscreen instructions to import the document from the scanner.
Select the document you want to import. You can proceed by double-clicking on the document name.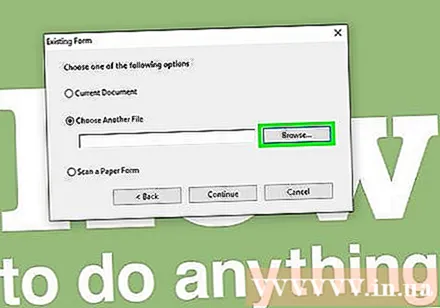
- If you want to request a digital signature, check the box next to the "This document requires a signature" option.
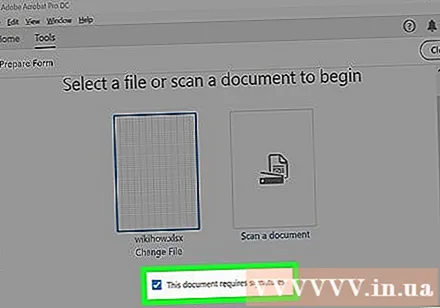
- If you want to request a digital signature, check the box next to the "This document requires a signature" option.
Click Start (Get Started) to create a form by importing documents into Acrobat. The application will start creating fillable fields based on the document layout. You can edit and add more fields if needed. advertisement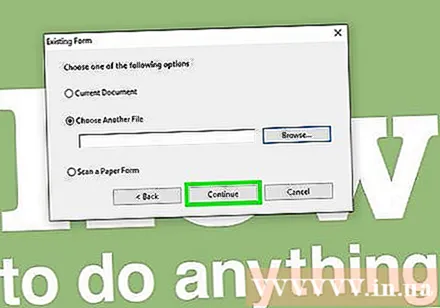
Part 2 of 3: Editing fields in the form
Click the menu Tools and choose Prepare Form (Prepare form). This option is at the top of the screen. You will switch to form editing mode. Now that we have imported the form, we can edit the existing fields, create new fields or add other elements like menus and lists.
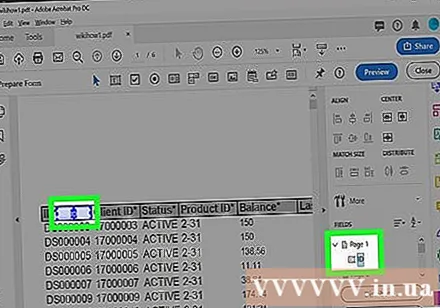
Edit existing text fields. Acrobat will create a field based on the document layout. A list of fields will appear in the right pane, below the "Fields" heading. Here are a few ways you can change an existing field:
- To resize the field, click the object so that the handles appear around, then drag the handle to the size you want.
- To delete the field, you click to select the object and then press Delete on the keyboard.
- See step 5 to learn more about text field customization ideas.
- To resize the field, click the object so that the handles appear around, then drag the handle to the size you want.
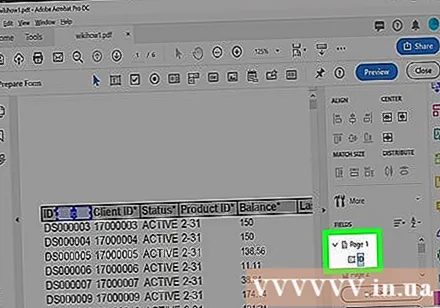
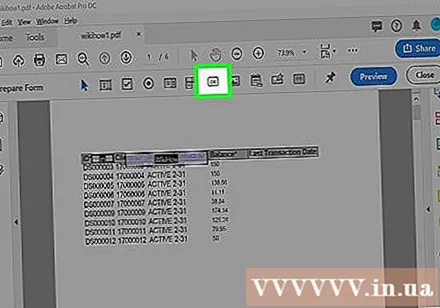
Click the Text Field tool to add a new field. This tool has a "T" symbol with the mouse pointer and is located in the toolbar above the document.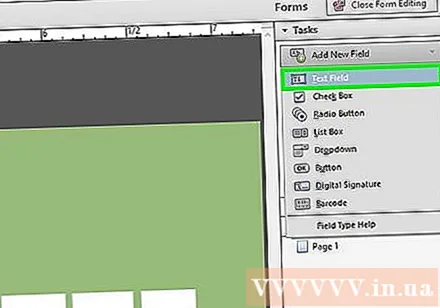
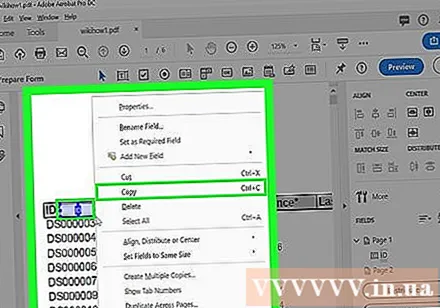
- To copy an existing field, right-click it and select Copy.
- To copy an existing field, right-click it and select Copy.
Click where you want to add the text field. A field with default size will appear at this location. If you want to draw a frame with a specific size, you can click and double the mouse pointer to the desired size. Once the field is established, a yellow box will appear.
- To paste the copied field, right-click the location and select it Paste.

- To paste the copied field, right-click the location and select it Paste.
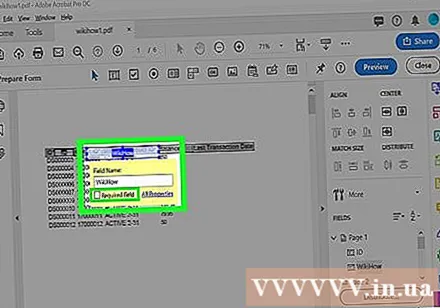
Enter a name for the field in the "Field Name" field. This customization is specific to you and will not show up in the final version of the form.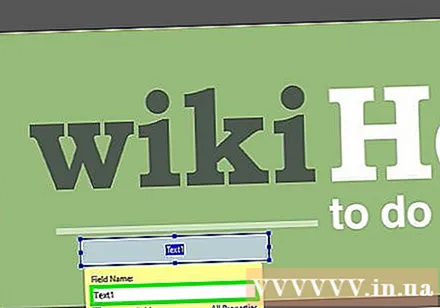
- If you want this field to be filled in, you can check the box next to the "Required field" option below the "Field Name" box.
- If you want this field to be filled in, you can check the box next to the "Required field" option below the "Field Name" box.
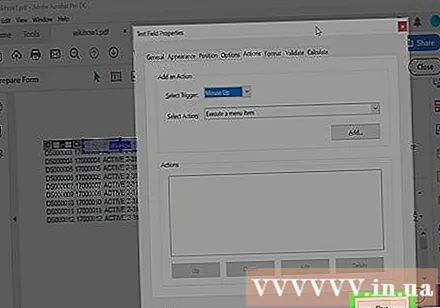
Click All Properties (All properties) to access editing tools for data fields. This is a new dialog where you can edit the look of the field and add special options.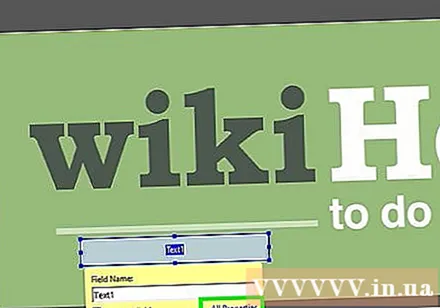
Edit the text field. In the "Text Field Properties" dialog box, you can click on different tabs to see ways to format the field.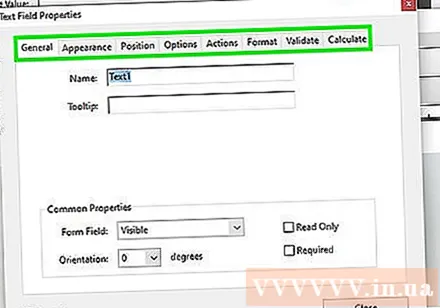
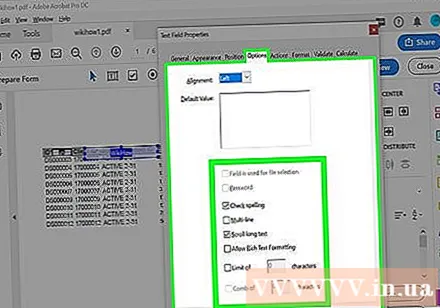
- Click the card Options (Optional) to add features like spell check, multi-line entry, and character limit.
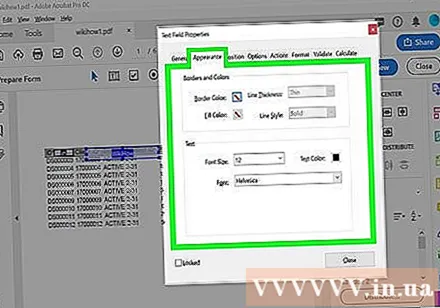
- Click the card Appearance (Layout) to adjust colors and font options.
- Click Actions (Actions) to set up certain features that the field will perform based on the text entered.

- Click Close (Close) after you have finished editing this text field.
- Click the card Options (Optional) to add features like spell check, multi-line entry, and character limit.
Add buttons, menus and other options. The icons next to the Text Field tool above the document represent other features that you can add to the form. Hover over each different tool to see what kind of objects the tool can add. You can consult: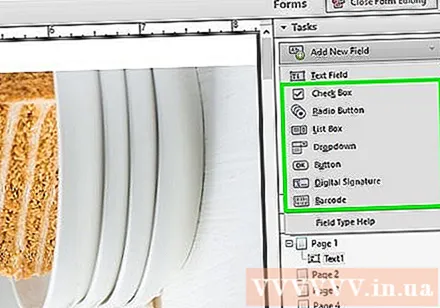
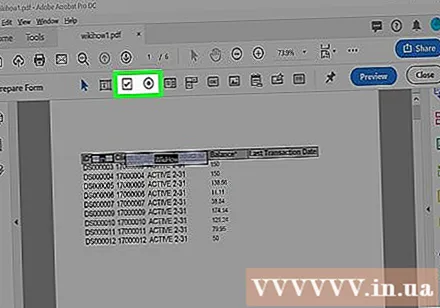
- To add the list, click the tick box or radio button in the toolbar, then click the location where you want to place the object. You can click Add Another Button to add more items or All Properties to adjust the behavior of the list.
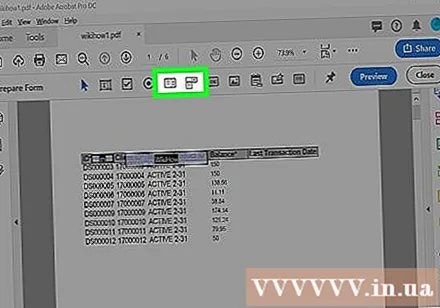
- To add a drop-down menu, select one of the menu options with the arrow in the toolbar, then customize it as you like.
- To request a digital signature, click the pen and ink icon and click where you want your signature to be placed.
- To add a button, you need to click on the icon OK in the toolbar, set where to show the button, then click All Properties to customize.
- To add the list, click the tick box or radio button in the toolbar, then click the location where you want to place the object. You can click Add Another Button to add more items or All Properties to adjust the behavior of the list.
Part 3 of 3: Save and use the form
Click Preview in the upper right corner to review the form. This allows you to view and test fillable PDF files.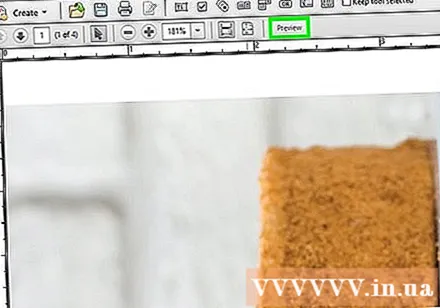
Click Edit in the upper right corner to return to edit mode. You will return to edit mode and be able to make your final changes if needed.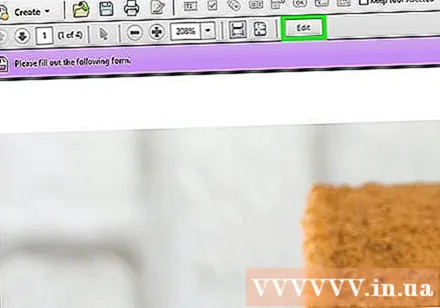
Save the form to your computer. To proceed, click the menu File (File) in the upper left corner and select Save As (Save as). Then proceed to select a save location and click Save.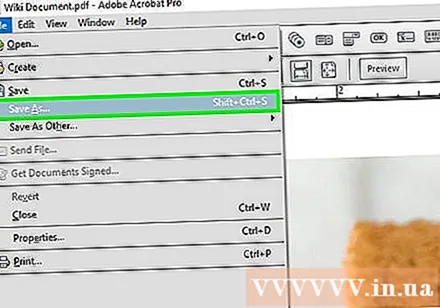
- You can reopen and edit this form at any time.
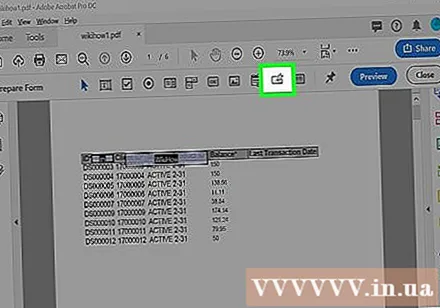
Click Distribute (Distribution). This button is in the lower right corner of the right panel in Acrobat editing mode. If you choose to send the form to a recipient using this feature, the final file will automatically be collected in the format you want.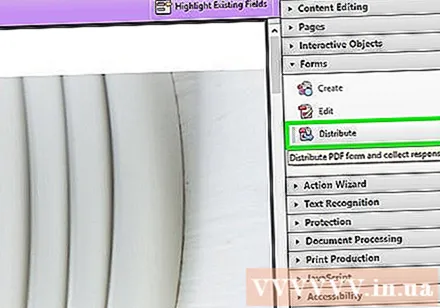
- If you don't see an option Distributeyou have to click Edit in the top right of the screen to return to edit mode.
- Depending on the type of element added to the form, the program may prompt you to make further adjustments at this step. Follow the on-screen instructions if prompted.
Select how you want to receive the edited file. If you want to receive the file via email, you can choose Email. If you have a web server set up for crawling, select Internal Server and follow the on-screen instructions to specify the server.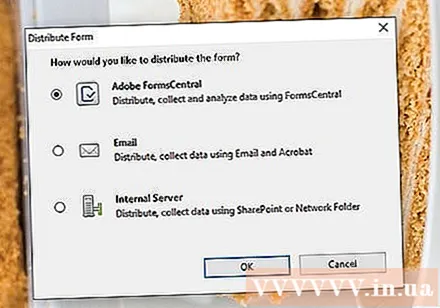
Click tiếp tục (Continue). With the option to send the form by email, the program will ask you to enter some additional information.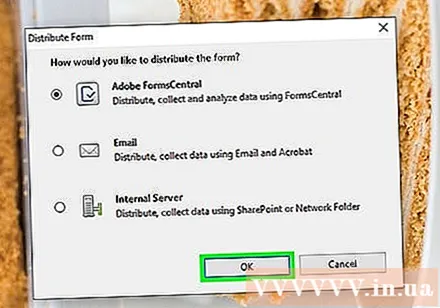
Enter the recipient's email address. Each email address will be separated by a comma (,). If you aren't planning to send the form to others right away, you can enter your own email address.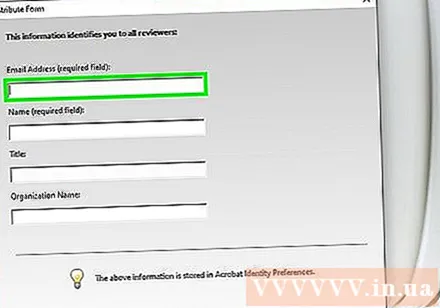
Enter the text you want to display in the email with the form.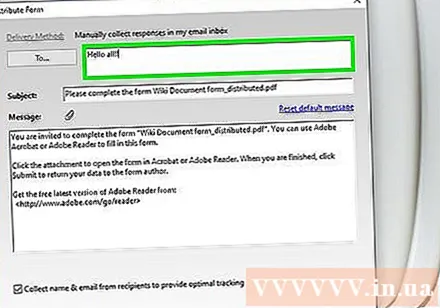
Choose custom tracking. Select "Collect Name & Email from Recipients to Provide Optimal Tracking" if you want to see the recipient's name and email address in the email to which they respond to the form. You can also enable or disable the anonymous sending feature.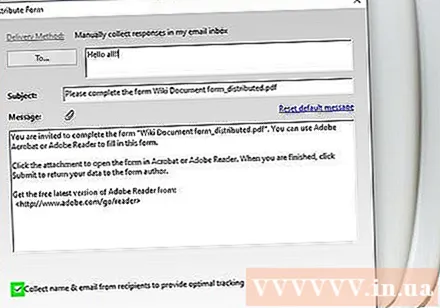
Follow the instructions on the screen to submit the form. The form appears in the recipient's inbox as an attachment. advertisement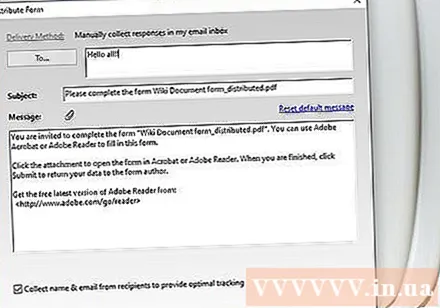
Advice
- If a user gets the error "This operation is not permitted" when filling out the form, it may be because the form contains hidden objects or fonts are not embedded. Please open File> Properties> Font to check for characters that are not embedded.


