Author:
Peter Berry
Date Of Creation:
16 February 2021
Update Date:
1 July 2024

Content
This article shows you how to create and install subtitle files for videos that have been downloaded to your computer. After creating your caption file with a text editor, you can add it to your video using free programs like VLC or HandBrake.
Steps
Part 1 of 4: Creating subtitle files on Windows
. Click the Windows logo in the lower left corner of the screen.
. Click the magnifying glass icon in the top-right corner of the screen. The search bar will be displayed here.

Import textedit. This will find the TextEdit program on your Mac.
Double-click TextEdit. This is the selection that shows up above the list of search results. With this action, the Mac's default text editor - TextEdit will appear on the screen.

Enter the number of the subtitles first. Please enter 0, then press ⏎ Return to start a new line.- You will enter 1 for the second subtitle, then use 2 for the third subtitle, and so on.

Create timeline for subtitles. Each part of the timeline must have the format HH: MM: SS.TT, with the start and end times separated by a space and the arrow has two dashes like this: HH: MM: SS. TT -> HH: MM: SS.TT.- For example, if you want the first subtitle of the video to appear between seconds 5 and 10, type 00:00:05.00 -> 00:00:10.00 here.
Press ⏎ Return. This will create a new line for you to enter your caption text.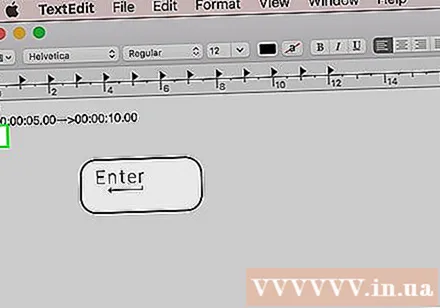
Enter subtitle content. The subtitles will be displayed on the same line if you do not press ⏎ Return until the text of that line has been entered.
- You can also create a second subtitle line by pressing ⏎ Return once and enter the text of the second line.
Press ⏎ Return twice. This will create some space between the previous subtitle and when the next one will start.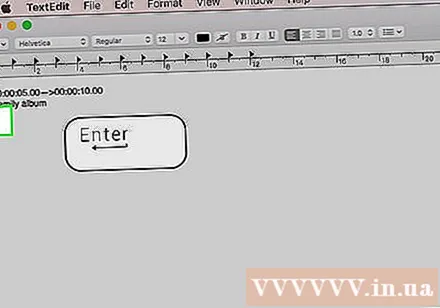
Create subtitles for the rest of the video. Each caption should have a number, timeline, at least one line of body, and a blank line between the caption line and the next number.
Click Format (Format). This is the option at the top of the screen. Another menu will appear after the click.
Click Make Plain Text (Create plain text). This option is available from the menu Format is showing.
Click File (File). You will see File in the upper left corner of the screen. This brings up a selection list.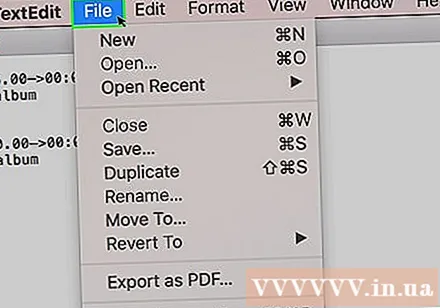
Click Save As (Save as). This is an option in the currently displayed File menu. The Save window will appear on-screen.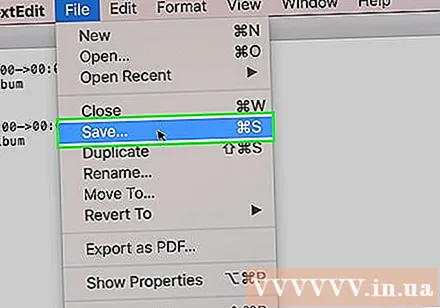
Enter the name of the video. You will enter the name of the video to be captioned in the name field of the subtitle file. This name must match the video's display name on the computer (including capital / lower case).
Add extension for subtitle file. After entering the name of the video, you will change the extension .txt Fort .srt here.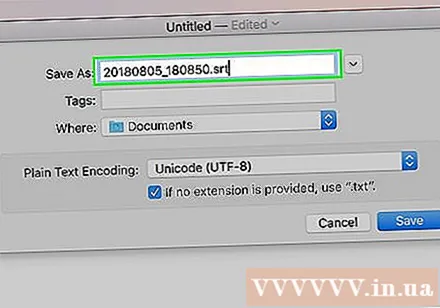
Click Save (Save). This is the button displayed at the bottom of the window. This will save the SRT file to the directory of your choice. Now that you have created your subtitle file, the next thing is to add subtitles to the video. advertisement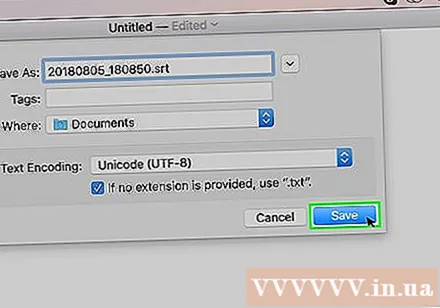
Part 3 of 4: Add subtitle file to video using VLC
Save subtitles and video files in the same folder. You can do this by selecting your subtitle file, press Ctrl+C (on Windows) or ⌘ Command+C (on Mac) to copy the file, then open the folder where the video is saved and press Ctrl+V (on Windows) or ⌘ Command+V (on Mac).
Open the video in VLC. This action will be slightly different depending on the operating system you use:
- Windows - Right click on the video, select Open with (Open with) and click VLC media player in the currently displayed menu.
- Mac - Select the video, click File, choose Open With and click VLC in the currently displayed menu.
- If your computer does not have VLC Media Player installed, you can download and install this program for free.
Click the card Subtitle (Subtitle). This is the option at the top of the VLC window. A menu will appear here.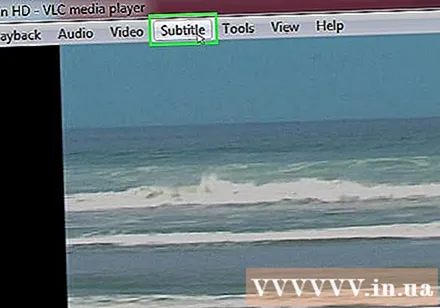
- On Mac, select Subtitle is displayed at the top of the screen.
Choose Sub Track (Track subtitles). This option is available from the currently displayed menu. You will see another menu appear here.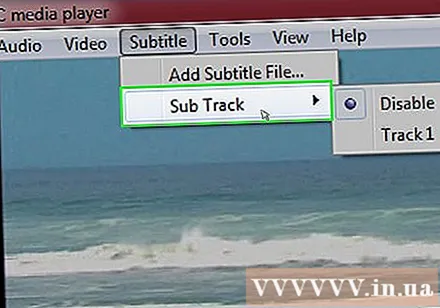
Click Track 1. This is an option in the currently displayed menu. Now your subtitles appear in the video.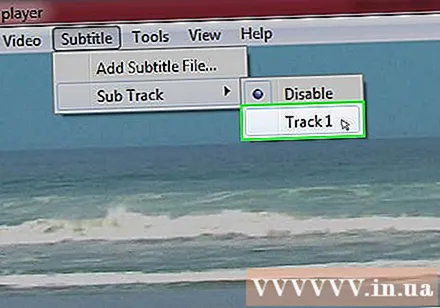
Manually insert the subtitle file. If the video doesn't show the subtitles, you can manually add the subtitle file to the video so that the subtitles are visible until you turn off VLC:
- Click Sub Track
- Click Add Subtitle File ... (Add subtitle file ...)
- Choose your subtitle file.
- Click Open (Open).
Part 4 of 4: Adding subtitle files to video using HandBrake
Open HandBrake. This is an app with a pineapple icon next to a glass of wine.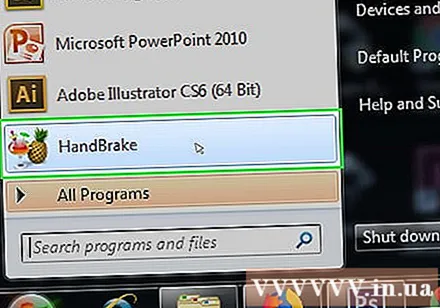
- If your computer doesn't have HandBrake, you can download HandBrake for free from https://handbrake.fr/.
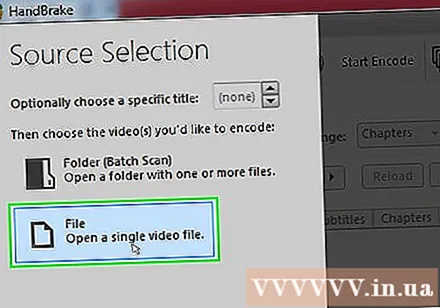
Click File (File) when asked. This is an option from the menu displayed on the left hand side of HandBrake. This will open a File Explorer (on Windows) or Finder (on a Mac) window.- If you don't see this menu, click Open Source (Open Source) in the upper-left corner of the window and click File in the currently displayed menu.

Select video. You will open the folder where the video needs to be added, then click the video.
Click Open (Open). This is the option in the lower-right corner of the window.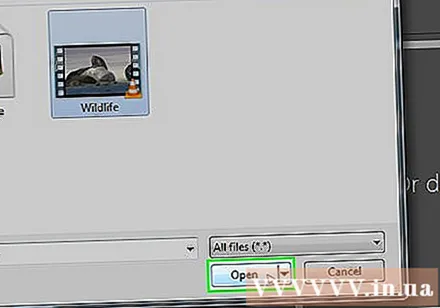

Click Browse (Browser). This option is displayed in the center of the page. Another window will appear on the screen.
Enter a file name and select a save directory. Enter the name you want to give the video to add subtitles to, and then select a folder (for example Desktop) to save the video.
Click OK. This button is displayed in the lower-right corner of the window.
Click the card Subtitles (Subtitle). You'll find this tab below the HandBrake window.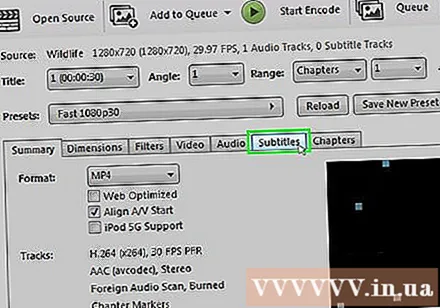
Click Import SRT (Import SRT file). This is the option shown on the left side of the window.
- On a Windows computer, you must first remove the default subtitle by clicking the mark X the red color to the right of that subtitle.
- On a Mac, click the selection box Tracks and click Add External SRT ... (Adding external SRT files…) in the displayed selection list.
Select the SRT file. Find the SRT file you created already, and click it.

Click Open (Open). This will add the SRT file to HandBrake.
Check the box "Burn In". This is the option to the right of the subtitle file name. This ensures the subtitle file is always visible on the video and makes the video compatible with all video players.

Click Start Encode (Encoding starts). This is the option at the top of the HandBrake window. Thus, HandBrake program will add subtitle file to the video.- When the encoding is complete, the video with subtitles inserted will appear in the save folder you selected.
Advice
- You can also use YouTube to add an SRT file to your video, if you want to post the video online.
- Caption files can take a lot of work to create, but will be more accurate than captions automatically generated on sites like YouTube or third-party services.
Warning
- Be patient as adding subtitles to the video can take a lot of time.


