Author:
Lewis Jackson
Date Of Creation:
8 May 2021
Update Date:
1 July 2024

Content
This wikiHow teaches you how to reorder pages in Microsoft Word documents. Although Word does not support simple methods, you can still rearrange the order by setting a title for each page, or cutting content from one page and pasting. Unlike Microsoft PowerPoint, there's no mainstream way to organize pages in Microsoft Word.
Steps
Method 1 of 2: Use headers
Open the document. Double-click the Word document you want to rearrange to open the file in Microsoft Word.
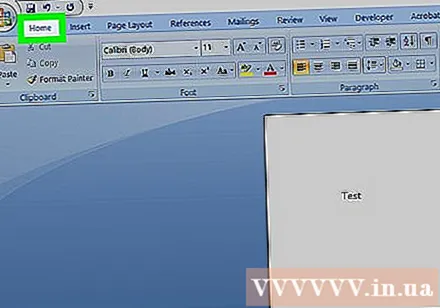
Click the card Home (Home page). The tab is in the blue ribbon at the top of the Word window.
Add a title at the top of every page. To add a title to the page, enter a title (such as "Page 1") at the top of the page and press ↵ Enter, then click Heading 1 in the "Styles" section of the toolbar.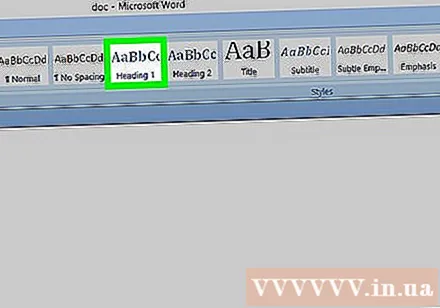
- On a Mac, you may need to click the drop-down box Styles on the right side of the toolbar.
- Depending on the format of the document, you may need to scroll on the "Styles" menu to find the option Heading 1.

Click the card View (View mode). This option tags the way Home several tabs to the right.
Check the box for the "Navigation pane". This box is located in the "Show" section of the toolbar. Once you have checked it, a "Navigation" window will pop up on the left side of the Word window.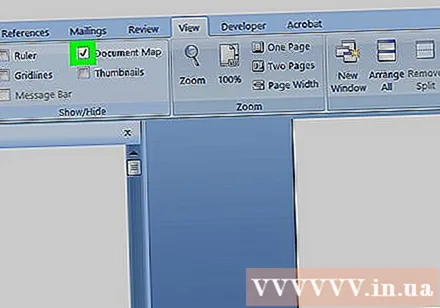

Click Headings. This tab is at the top of the "Navigation" box. A list of all headers in the Microsoft Word document will appear.
Rearrange title list. Click and drag a title in the "Navigation" box up or down to the desired position and release the mouse button. The pages on the Word document will change accordingly.
Save document. Press Ctrl+S (Windows) or ⌘ Command+S (Mac). advertisement
Method 2 of 2: Use a cut and paste operation
Open the document. Double-click the Word document you want to rearrange to open the file in Microsoft Word.
Find the page you want to move. Scroll down until you find the page you need to move up or down.
Select text on page. Click in front of the first word on the page and drag the mouse pointer to the last word on the page. When you release the mouse button, all of the text on the page becomes highlighted.
Cut text on the page. Press Ctrl+X (Windows) or ⌘ Command+X (Mac) to perform. "Cut" copies the selected text and deletes it from the document, so don't worry about text disappearing.
Find where to place the text. Scroll up or down until you find the page where you previously wanted the page to crop.
Click the top of the selected page. The mouse pointer will be at the position where you want to insert the cut page.
Add truncated text again. Press Ctrl+V (Windows) or ⌘ Command+V (Mac), then press ↵ Enter. The cut text will appear, the first word of the cut page will start at the position of the mouse cursor.
Save document. Press Ctrl+S (Windows) or ⌘ Command+S (Mac).
- You can repeat this process with multiple pages across the Word document.
Advice
- Clicking a title on the Word document minimizes the item, causing all information between one header and the next to disappear. You can zoom in by clicking on that title again.
Warning
- Unfortunately, there is no way to change the order of Word pages as a grid by clicking the page, dragging the mouse, and repositioning the slide in PowerPoint.


