Author:
Laura McKinney
Date Of Creation:
10 August 2021
Update Date:
1 July 2024

Content
- For tight curls, you need a small, high temperature roller. Use a low-temperature, large roller if you want softer, looser curls.

- Continue with the mohawk hairline, which goes from front to back. Divide the hair into small sections and wrap it in curls, then use clips to fix the hair.
- For taller curls, wrap the upper sections of the head diagonally. If you want your hair to puff very high, wrap each section at a 90 ° angle.
- Do not pull or pull the curler out of your hair, as this will tangle the locks and possibly damage the hair. Let the roll of the roll pull itself out of the curl.
- If you want your hair to be more bulky, bend over to let it go down. Shake your head a few times and gently stroke the curls with your fingers. This will make your hair appear more voluminous and fluffy.
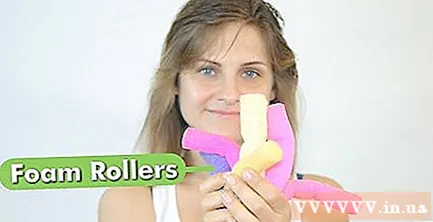
Method 2 of 3: Use a foam roller
Apply the foam evenly throughout your hair. Using a hair styling product is especially important for thin or very straight hair; otherwise, your curls will flatten in just a few hours. Use the amount of foam glue as directed on the product packaging and smooth evenly over damp hair after blotting with a towel.
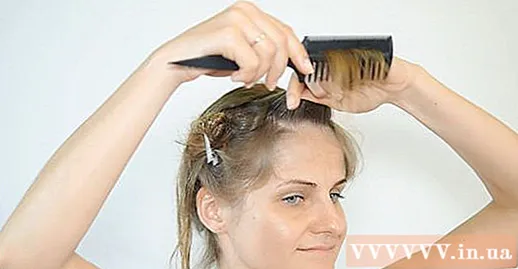
Divide hair into 4 parts. Use the comb to make this step easy. Divide your hair so that you have a hair that runs from the center of the head to the back of the head (like a "mohawk" hairstyle), 2 parts above the ears, and one part behind the head. Keep each section in place with a clip.
- You can use any type of hairpin to hold the sections of your hair, but the platypus that hairdressers use are available at beauty stores or online. This type of clip helps you to separate the hair sections easily and quickly.
Roll the hair into sections. The length of the strands will be based on the roll size: no wider than the curl width and not thicker than 5 cm ..- Comb each part of hair before wrapping. Use the ends of a split comb to remove tangles and gently pull the hair away from the scalp.
Start rolling from the front of the "mohawk" hair (near the forehead). Roll your hair away from your face, toward the back of your head. One hand holds the ends of hair, one hand wraps the hair to stretch the hair while wrapping. After wrapping twice, insert the ends of your hair into the roll and wrap it tightly.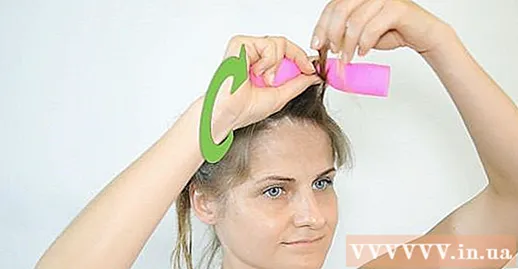
- If you want the curl to puff from top to bottom, start at about 2.5 cm from the ends and wrap it close to the scalp. Fix the curl with a clip.
- If you prefer straight hair close to the scalp, you can start with hair about 7-8 cm from the scalp and wrap it to the ends, then wrap the hair curl down to close to the scalp. Clamp fixed the hair just curled.

Continue to curl the hair on the sides of the head. Divide each hair in half horizontally, using the ends of the comb to separate hair just above the ear. Wrap 2 parts of each hair on the sides of your head (wrap it away from your face towards the neckline) and secure with a clip.- You may want to use a larger batch at the bottom and a smaller one above to create a variety of curls.
Divide the hair behind the head into 3-4 sections, depending on the thickness of the hair. Wrap each section of hair in the foam roller toward the back of the nape and fix it in place.
Blow-dry to create curls. Dry until hair is dry and warm. You need to blow-dry your hair warm to create curls. Leave the strands for about 15 minutes, then gently remove them by hand.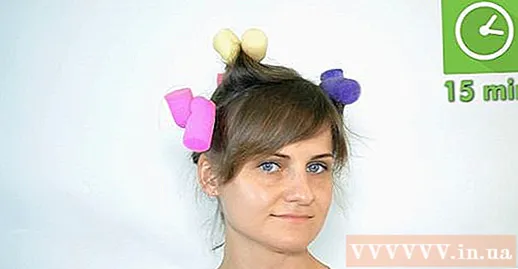
- Do not use a hair brush after removing the curler! You will damage the curls by doing so. If necessary, only use your fingers to gently separate the curls.
- If you want your hair to be more bulky, bend over to let it hang out. Shake your head a few times and gently run your finger through the curls. This way, you will have more puffy and fluffy hair.
Spray hairspray. Especially if you have naturally straight or very thin hair, hairspray will help keep your hair curled longer.
- For more puffy hair, turn it upside down before spraying.
- You can also finish individual strands with hair wax. Take some wax between your fingers and run it through the curls.
Method 3 of 3: Use a wet hair curler
Wash your hair and condition your hair with conditioner. Hair dries out under tension, so use a moisturizing shampoo and conditioner before wrapping wet hair. You can squeeze the water out of your hair in the bathroom, but don't dry it with a towel. Comb your hair while it is still wet.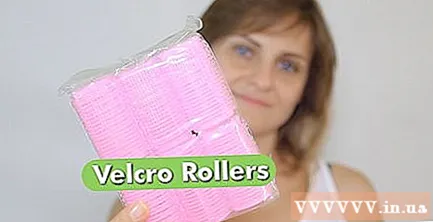
Divide hair into sections. Divide the left and right hair on either side of the temple. You should divide your hair into 3 parts: 2 on the sides of the ears and 1 on the top of the head. Leave the hair behind your head for this step.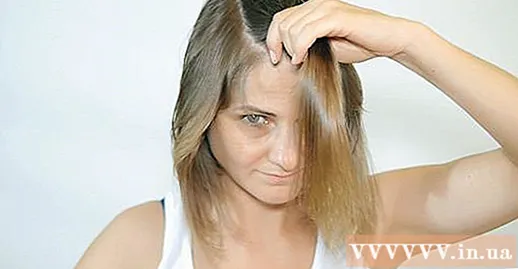
Begin wrapping your hair at the hairline contour. Comb a section of hair that is full width using a hair roller and pull it up and away from your head. Rub a little gel or smoothing cream all over the hair, then wrap the hair away from your face, curling it down close to the scalp. Fix your hair with a toothpick or a speculum clip.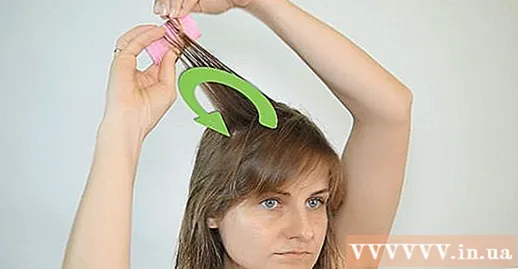
Continue to curl the hair. Break your hair little by little, rub your hair gel or cream, and wrap the curls away from your face. If you want very small and tight curls, use a small roll and wrap them together. If you prefer larger curls, use a large roll.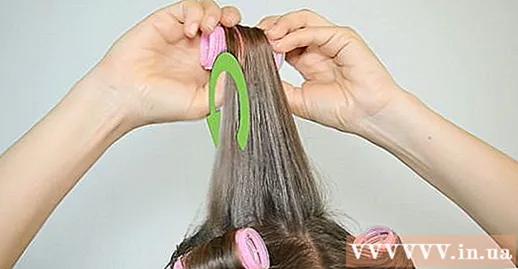
Dry curls. If you don't want to use heat, you can wait for your hair to dry naturally before removing the curler. This can take several hours, even overnight. You can also use the blow dryer to blow dry the curled hair. If you dry your hair, let it sit for 15 minutes after it dries to cool it down and create curls. advertisement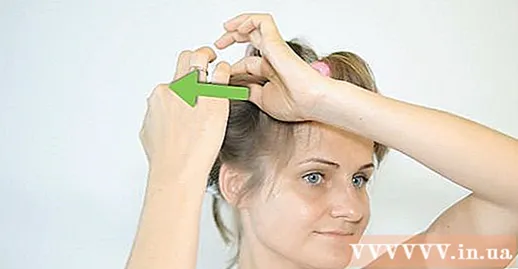
Advice
- Comb your hair before wrapping it in the roll.
- Gather the tiny strands that fall off as they curl and get into the curl.
- Experiment with different roller sizes - and also the temperature if you are using the roller - to get the effect you want. The curler is easier to wrap than the hairpin or curling iron, so feel free to play around with the different curls!
- Regardless of the curl style you use, the batch size determines the size of the hair curl sections. Use the curl width to measure and divide the hair into rows and sections as wide as the curl width.
- You can also apply method 1 with the hemp roll or self-adhesive Velcro batch. However, you should avoid using the Velcro roller if you have thick or curly hair. They can get in the hair and damage the hair.
What you need
- A pointed comb to separate hair into sections
- Hair rollers
- Platypus hairpins or toothpicks to hold the curls in place
- Hairspray
- Hairdryer


