Author:
Louise Ward
Date Of Creation:
8 February 2021
Update Date:
1 July 2024
Content
Dark colored hair is difficult to dye for many reasons. Sometimes the dye does not change at all, sometimes brass or orange. The bleaching step will help you get the best results, but not everyone wants to take extra effort and risk damaged hair. Luckily, you can successfully dye your hair are not Hair removal must be done if the right products are chosen correctly. Remember that you can only lighten your hair to a certain extent.
Steps
Part 1 of 3: Predict the results
Understand that you cannot lighten your hair without bleaching. If you have dark hair, you can dye it to another color of the same intensity, such as a dark brown or dark red. You cannot turn dark brown hair a blond without using a bleach set, such as a hair bleach set or peroxide.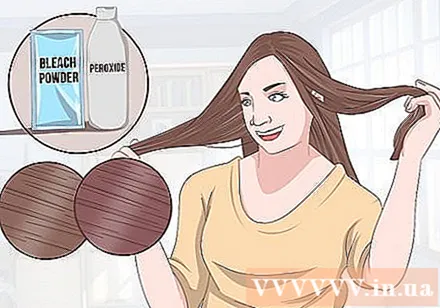
- You can use products that contain bleach or peroxide, but be aware that it may only lighten your hair to a certain extent.
Forget the pastel colors if you don't want to bleach your hair, as this is impossible. Even blond hair needs bleaching and toner to balance the hair color.
Remember that hair dyes have transparency. Some of the natural hair color will still shine out. For example, if you were to dye your blond hair blue, the result you would get might be green. Since your hair is a dark color, any dye color will be darker than the one printed on the box when dyeing is finished. If you have dark brown hair that you want to dye red, eventually your hair will be dark red.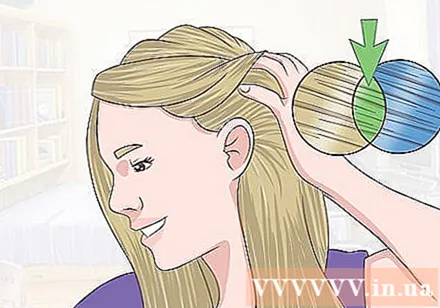
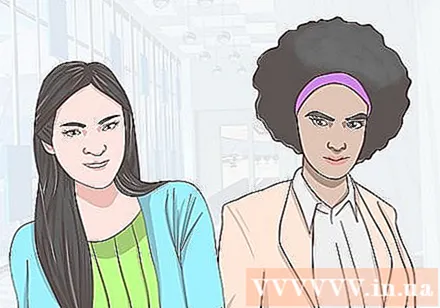
Note that some hair types and textures are more likely to pick up the color than others. There are different hair types available in different thicknesses and sponges. All of the above factors affect the hair's ability to absorb color. For example, Asian hair is often difficult to dye because the cuticle is too strong. African hair is also difficult to dye because it is quite weak and easily damaged.- Even if you have the exact same color as your friend's hair, there's no guarantee that the dye she uses will be as effective as your own.
Part 2 of 3: Choosing the right product
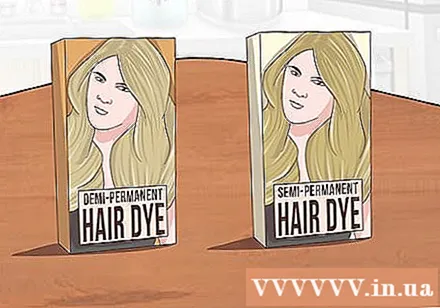
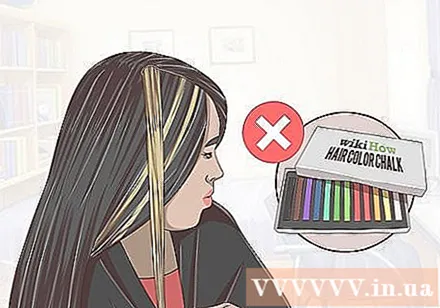
Choose a permanent or a demi-permanent dye instead of a semi-permanent one. Semi-permanent dye contains a small amount of peroxide, so it may lighten hair color to a certain extent. This is a good option if you want to dye your hair a little lighter. Permanent dyes are much stronger and can lighten hair up to 4 levels; Unfortunately, this also causes more damage.- Semi-temporary dyes will not take away hair color but only add color.
Try a bright, concentrated dye, but understand that the effect will not be noticeable. Light colors will sometimes not show up in dark hair. Brighter colors such as blue or purple may pick up but will be very dark. You can see these colors in sunlight, but not in other lights.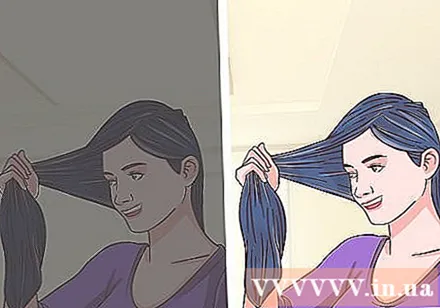
- Look for "temporary" hair dyes such as Directions, Manic Panic, and Special Effects.
Use specialized products for best results, but be aware that you won't have many options. There are hair dyes that are specific to chestnut brown hair, such as Splat. These products are still quite new and are limited to a few colors such as purple, red, and blue. When buying hair dyes, look for a label that says: For dark hair.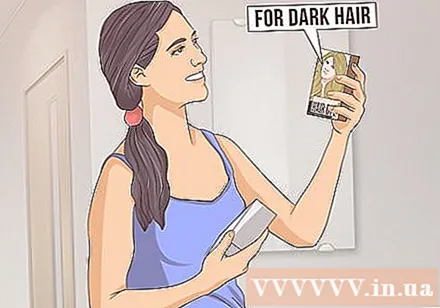
- You could also try using a complementary hair color, such as Splat or Manic Panic.These are concentrated dyes and can be better on darker hair than other hair dyes.
Choose cool or ash tones. Dark hair usually turns brassy when it is dyed brightly. Warm-toned dyes will give your hair an even warmer color, and in some cases even turn orange. Cool or ash-toned colors help remove red tones and get a more accurate color rendering.
Have toning shampoo ready to keep it from turning brass. This step is optional, but a good idea. As mentioned above, dark hair usually turns a brass or orange color after lightening. You can remove brass or orange tones with purple or blue shampoo. advertisement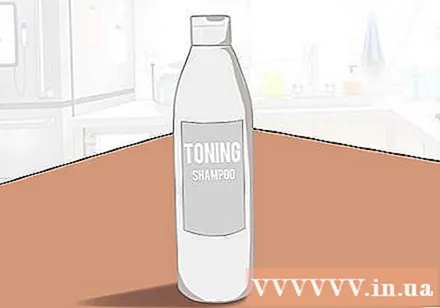
Part 3 of 3: Coloring your hair
Choose dye, preferably cool tones. Permanent dyes will work better than semi-temporary because they contain ingredients that lighten hair. Semi-permanent dyes will open the hair cuticles and allow more color, but not lighten hair. Cold tones are also recommended, as it helps to reduce the risk of hair turning brass.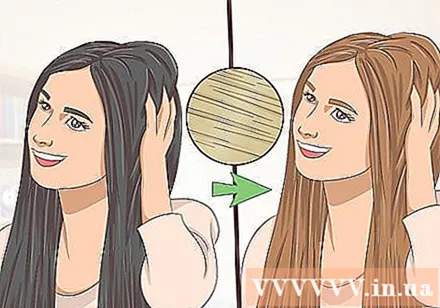
- If you have black hair that you want to dye brown, you should choose a color yellow bright or medium.
Divide hair into sections. Gather all of your hair, except for the hair below (about the middle of the ear down). Wrap it in a loose bun at the top of your head and hold in place with a hairpin or hair tie.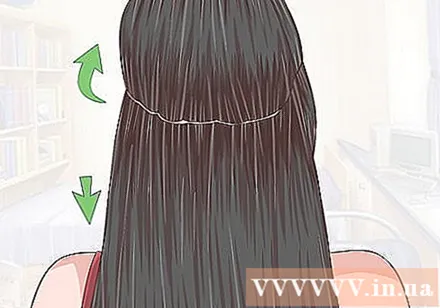
Protect skin, clothing and work surface. Cover the table top with newspaper or nylon. Put an old towel or haircut over your shoulder. Apply Vaseline cream to the skin along the hairline, behind the nape of the neck, and the ears. Finally, wear plastic gloves.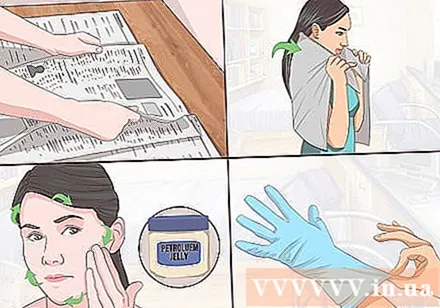
- You can also put your old T-shirt in place of a towel or haircut.
- You may not need to buy plastic gloves. Many sets of hair dye already have gloves available.
Prepare your hair dye according to the instructions. Usually, you just need to pour the dye into a dye bottle that already contains foundation and shake well. Some hair dyes have other hair care products that you will need to pour into your dye bottle, such as hair shine oil.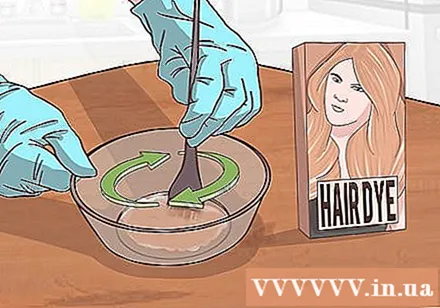
- You can also use a dye brush to mix the dye in a non-metallic bowl.
Apply the dye to your hair. Begin to apply the dye to the roots of your hair, brushing it down with your fingers or a brush. If necessary, add more dye.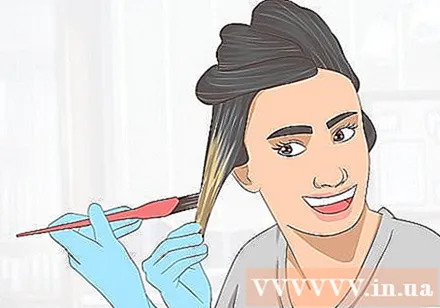
- You can also use the tip of the blended dye bottle to apply the dye directly to your hair.
- If you are mixing the dye in a bowl, you can use a dye brush.
Dye the rest of the hair in layers. Remove the bun from the top of the head and drop another layer of hair. Squeeze the rest of your hair and apply more dye to the newly dropped hair. Keep doing this until all the hair on the top of your head has been treated.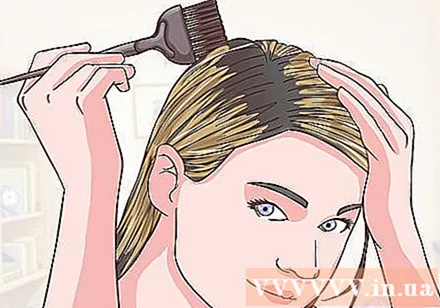
- Be sure to dye both side and temples.
- You should dye the hair on the top of your head last, as this is the part of the hair that can be processed fastest.
- If you have thick hair, you may need to split your hair into small sections and apply the dye one at a time to ensure that all hair is absorbed.
Wrap your hair in a bun and wait for the dye to color. The waiting time for a dye to color depends on the type of dye. Most brands of hair dyes require a 25 minute wait, but some require a longer wait. Please read the product label for sure.
- Cover your hair with plastic wrap, plastic bags or a shower cap. This step helps to hold the heat inside for more effective dye.
Rinse off the dye with cool water and use conditioner. When the time is up for the dye to finish, use cool water to rinse your hair. Continue rinsing until the water is clear. Apply conditioner made for dyed hair, wait 2-3 minutes, then rinse with cool water to close the hair cuticles. Do not use shampoo.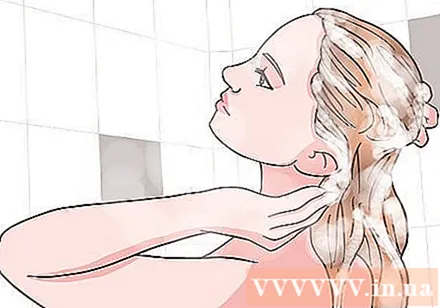
- Many hair dye sets come with conditioner.
Dry hair and style as you like. You can let your hair dry naturally or blow dry it with a hairdryer. If your hair turns a brassy or orange color that doesn't look what you want, don't worry. You just need to wash your hair with purple or blue shampoo to remove the color; Use according to the instructions on the shampoo bottle. advertisement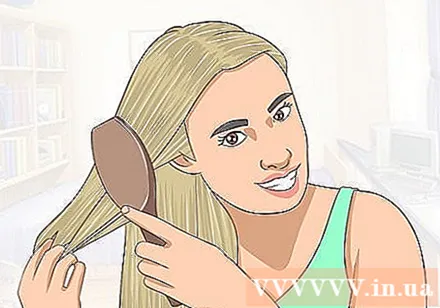
Advice
- Consider adding a color corrector for red, orange, or yellow hair to the dye. This product will help remove the brass color caused by the hair lightening process.
- You could also try using a set of highlight dyes for dark hair. Mix with 30 volume dyeing aid solution.
- Nourish hair healthy before and after dyeing by using a hair conditioner and hair mask.
- Lightens hair slowly to avoid damage. It's best to dye your hair slowly, a little brighter each time, instead of dyeing it brightly all at once.
- Use shampoo and conditioner specifically designed for dyed hair to retain color, maintain shine, and keep hair healthy.
- If you can't find a shampoo and conditioner that are safe for dyed hair, you can try a sulfate-free product.
What you need
- Bright-colored dye set with cool tones
- Old towels, old T-shirts or hair clippers
- Non-metal bowl (optional)
- Shower cap (optional, but recommended)
- Dye comb (optional, recommended)
- Plastic hairpin
- Vinyl gloves


