Author:
Randy Alexander
Date Of Creation:
4 April 2021
Update Date:
1 July 2024

Content
This is an article to guide you how to receive email from Gmail right in the Outlook 2016 application on a Windows or Mac computer. If Outlook is not installed on your computer, you must first purchase and install Microsoft Office 365.
Steps
Part 1 of 5: Enable IMAP on Gmail
in the top-right corner of the page to open a drop-down menu.
Click Settings in the middle of the drop-down menu to open this page.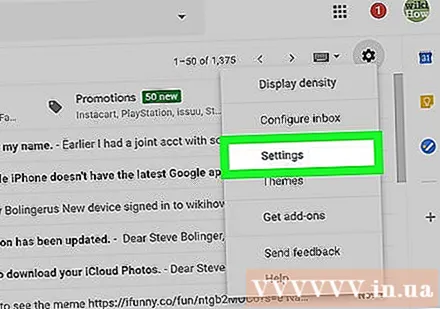
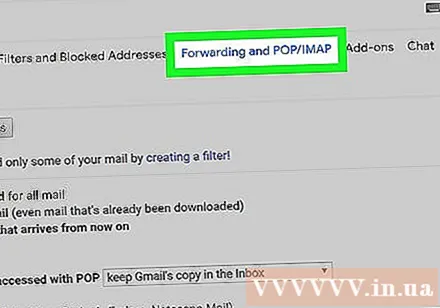
Click the card Forwarding and POP / IMAP (Forward and POP / IMAP) at the top of the Settings page.
Check the "Enable IMAP" box in the "IMAP Access" section of the Settings page.
- This box may already be checked. If so, move on to enabling two-step verification in this article.
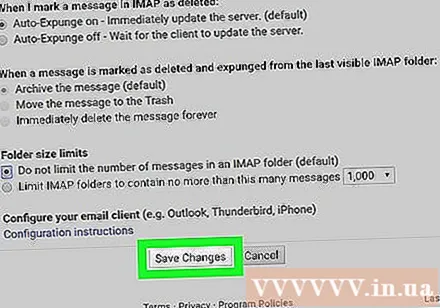
Click the button Save Changes (Save Changes) is gray at the bottom of the page. This will enable IMAP for your Gmail mailbox and allow email to show up in Outlook. advertisement
Part 2 of 5: Turn on two-step verification for Gmail
Click "Google Apps" (Google apps with icon ⋮⋮⋮ in the upper-right corner of the Gmail page to open a drop-down menu.

Click My Account (My Account) with the shield icon in the drop-down menu to open the Google Account page.
Click on the title Sign-in and security (Login and security) in the top left corner of the page.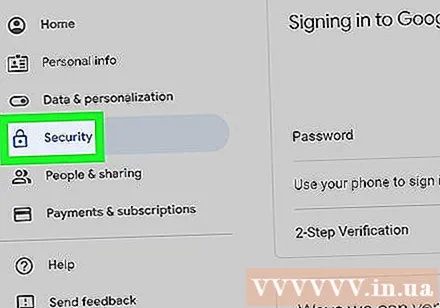
Scroll down the screen and select 2-Step Verification (2-Step Verification) is near the bottom-right corner of the page.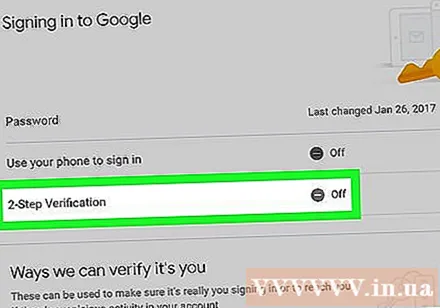
Click the button GET STARTED The blue (Start) bottom right corner of the page.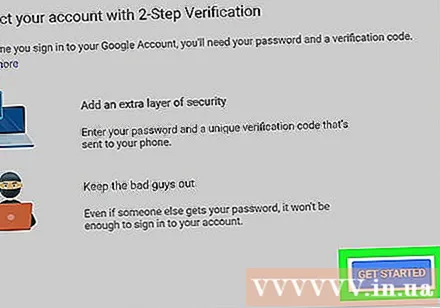
- You may have to scroll down a bit to see this button.
Enter your password when prompted. Type in the password that you use to log into the email address.
Click NEXT (Continue) at the bottom of the page.
Click the button TRY IT NOW (Try Now) in blue in the bottom-right corner of the page. This will send a notification to the phone number.
- If you don't see your phone displayed on this page, you'll need to sign in to your Gmail account on the Google app (on iPhone) or sign in with your Google account in the Settings section of your Android phone.
- On iPhone, you need to download the free Google app from the App Store.
Follow the instructions. Open the tutorial on your phone by swiping the screen to the right when the phone is locked, or tap the tutorial when the phone is unlocked, then select. YES (Agree) or ALLOW (Allow).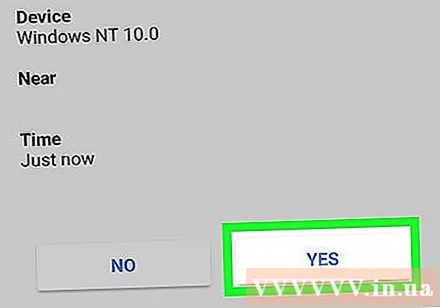
Check your phone number. See phone number at the top of the page; If that number matches the selected recovery number, you can continue.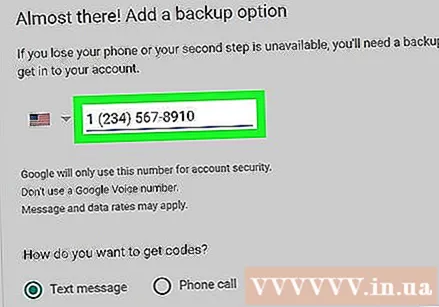
- If the phone number is not correct, you need to change it before proceeding.
Click the button SEND (Submit) in blue in the lower-right corner of the page. Google will send a verification code to the phone number provided.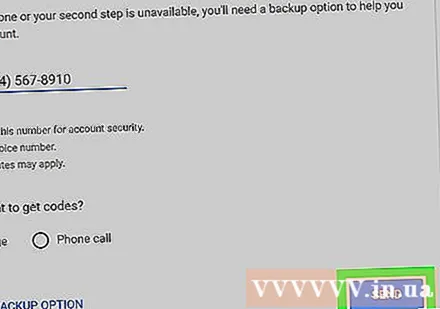
Enter the verification code. Get the word code in the text of your phone, then type in the field in the middle of the page.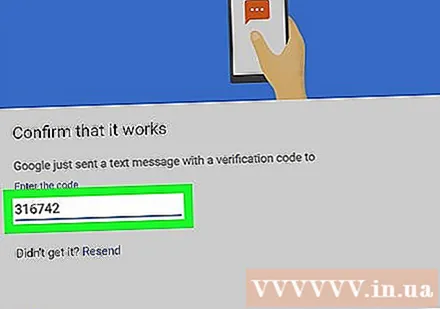
Click the button NEXT (Continue) in blue at the bottom of the page.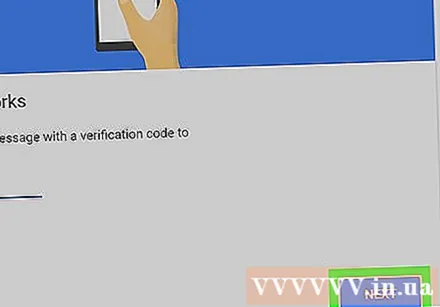
Click the button TURN ON (On) is in blue on the right side of the page. This will turn on 2-Step Verification for your Gmail account. Now that 2-Step Verification is set up, you need to create an app password for your Gmail account. advertisement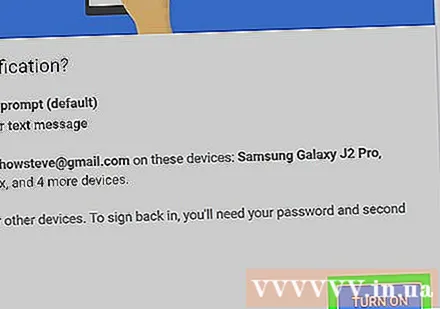
Part 3 of 5: Generating an App Password for Gmail
Click "Google Apps" with the icon ⋮⋮⋮ in the upper-right corner of the Gmail page again to open the drop-down menu.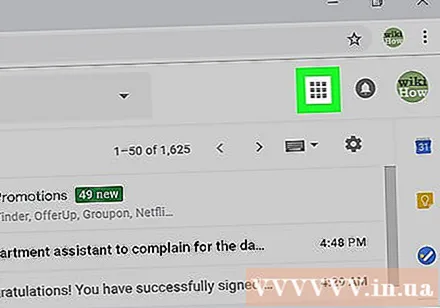
Click My Account (My Account) with the shield icon in the drop-down menu to open the Google Account page.
Click Sign-in and security (Login and security) on the left side of the page.
Scroll down and click App passwords (App Password) is on the right side of the page, above the section where 2-Step Verification is turned on.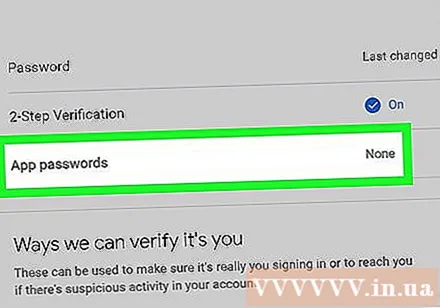
Enter your account's password when prompted. Type in the password that you use to sign into your Gmail account.
Click NEXT (Continue) below the password field.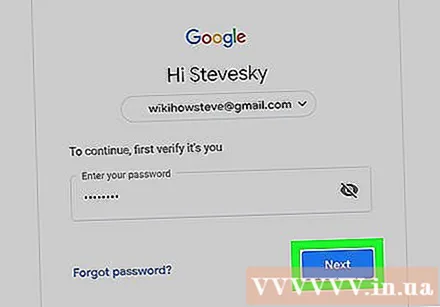
Click on the data frame Select app (Select app) is grayed out on the left side of the page to open the selection list.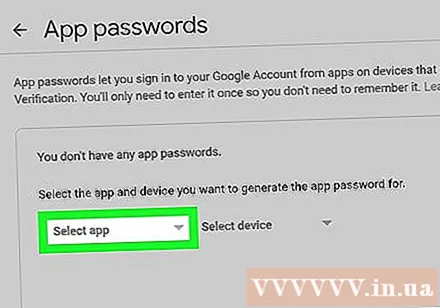
Click Other (Custom name) ((Name) other) at the bottom of the drop-down menu to open an additional input field.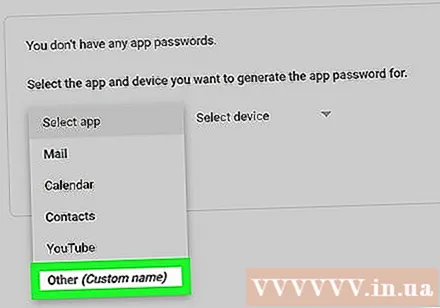
Enter name. Type Outlook (or similar application) into the data entry box.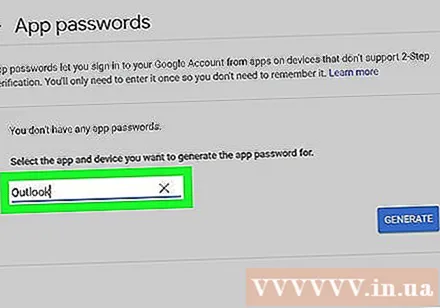
Click the button GENERATE (Create) the blue color on the right side of the page. This will generate a 12-character code on the right side of the page; you can use this code to sign into Outlook.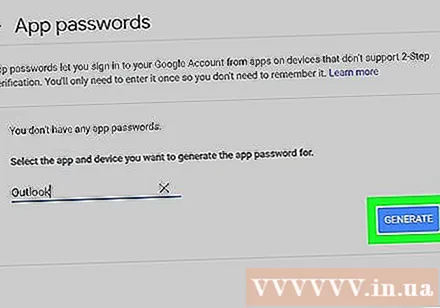
Copy your app password. Click and drag the mouse pointer over the code on the yellow background, then press Ctrl+C (on Windows) or ⌘ Command+C (on Mac) to copy the code.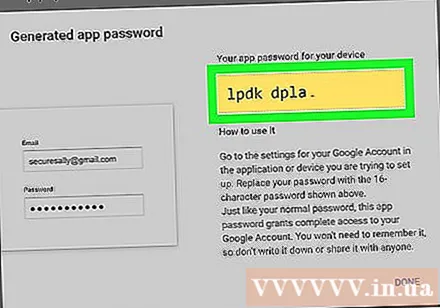
- You can also right-click the selected code and click Copy (Copy).
Part 4 of 5: Add Gmail account to Outlook
Open the Outlook desktop app. The Outlook application icon is a blue box with a white envelope behind the white "o".
- If you're not signed in to Outlook, you'll need to enter your Microsoft email address, enter your password when prompted, and follow the on-screen instructions.
- The Outlook application looks different from the Outlook website.
Click File (File) in the upper-left side of the Outlook app window to open a drop-down menu.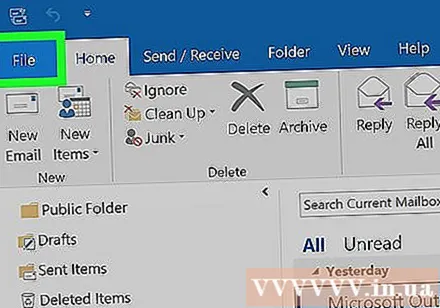
- Without a choice File In the upper-left corner of the Outlook window, you may be using an Outlook website or a version of Outlook that doesn't allow adding other accounts.
- On a Mac, you'll click Tools (Tools) at the top of the screen.
Click Add Account (Add an account) in the top-left corner of the page File to open the drop-down menu.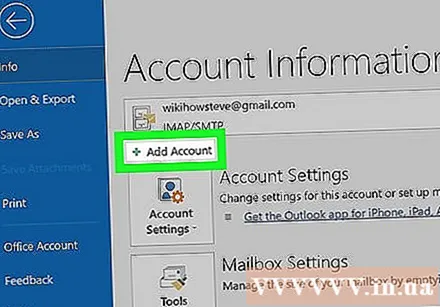
- On a Mac, you'll click Accounts ... (Account) in selected list Tools.
Enter your Gmail address. Type the address of the Gmail account you want to sync with Outlook.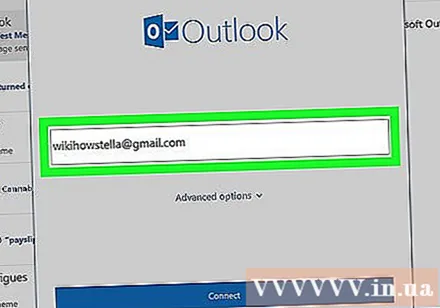
Click Connect (Connect) below the email address input field.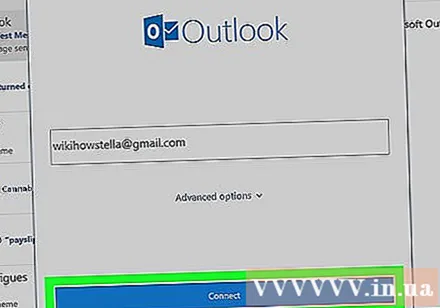
Enter the app password. Click the "Password" field, then press Ctrl+V (on Windows) or ⌘ Command+V (on Mac) to enter the app password you copied earlier.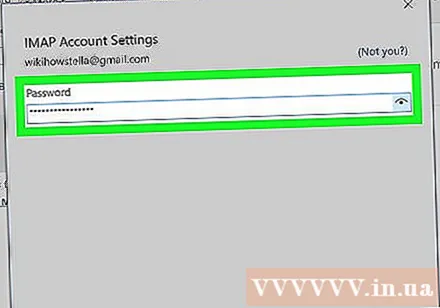
- You can also right-click in the "Password" field and click Paste (Paste) in the drop-down menu to do this.
Click Connect (Connect) at the bottom of the window. The Gmail account will begin to be integrated into the Outlook app.
Click OK when requested. This is a sign that the Gmail account is connected to the Outlook app. You'll see your Gmail account name on the left side of the Outlook window.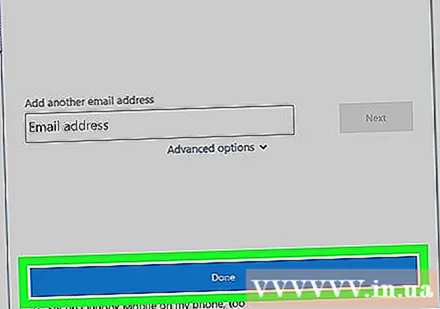
- You may first need to uncheck the "Also set up Outlook on my phone" checkbox (Also set up Outlook on my phone).
Part 5 of 5: Importing Google contacts
Download Gmail contacts. Go to https://www.google.com/contacts/ from your web browser, sign in with your Gmail address and password when prompted, and do the following: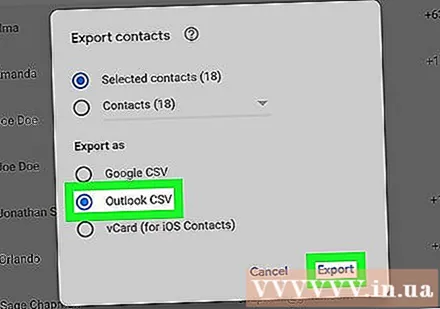
- Click the box in the upper left corner of the page to select all contacts.
- Click on the selection list More (More).
- Click Export ... (Export) in the selection list.
- Check the box "All contacts".
- Check the box "Outlook CSV format". If using a Mac, check the box "vCard format".
- Click Export below the window.
Open an Outlook window. You need to open Outlook to import contacts into it.
- On the Mac, you will have to click on the downloaded vCard file, click File (File) in the upper left corner of the screen, select Open With (Open with), click Outlook and follow the instructions on the screen. This will import your Gmail contacts.
- If Outlook is closed, you need to reopen it before continuing.
Click File in the upper-left corner of the Outlook window to open the menu File.
Click Open & Export (Open and export) in the menu File to open the Import / Export page.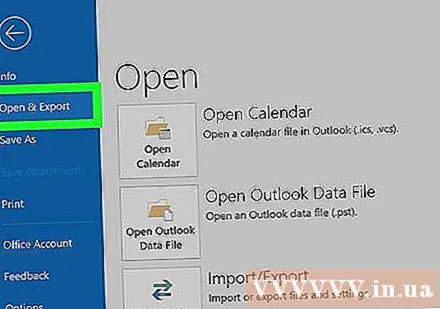
Click Import / Export in the middle of the page to open the Import / Export instructions.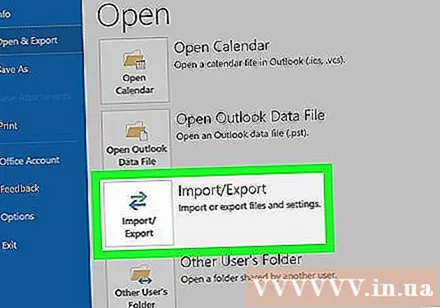
Click on options Import from another program or file (Import from another program or file) in the middle of the window.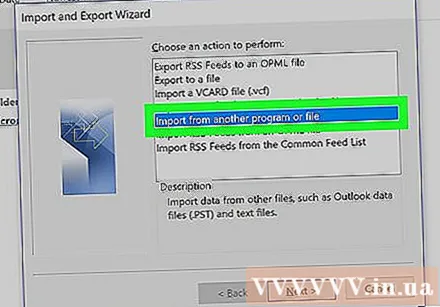
Click next (Continue) in the lower-right corner of the window.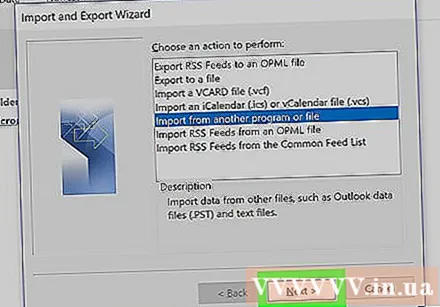
Click Comma Separated Value (Separate comma separated values) near the top of the window.
Click next (Continue).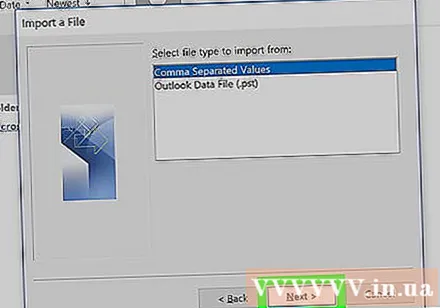
Click Browse ... (Browse) in the upper-right side of the window.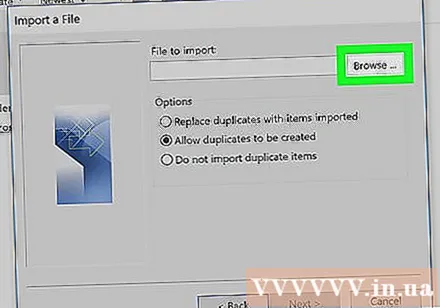
Select the downloaded directory file. Go to where to save the downloaded contact file, then click to select the file.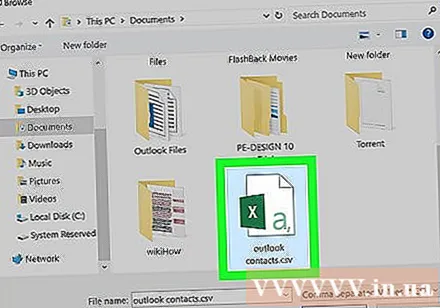
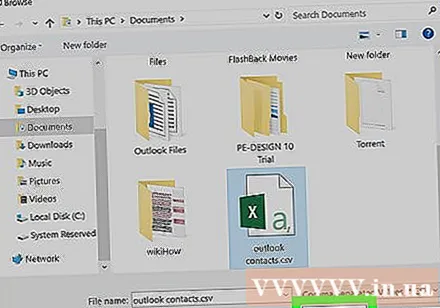
Click Open (Open) in the lower-right corner of the window. The directory files will be uploaded.
Click next (Continue). You also have the option of making a copy of your contacts (for example Allow duplicates to be created (Copies allowed)) in the middle of the window before continuing.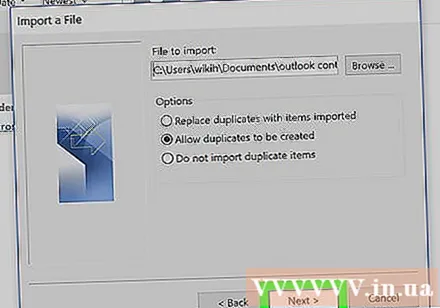
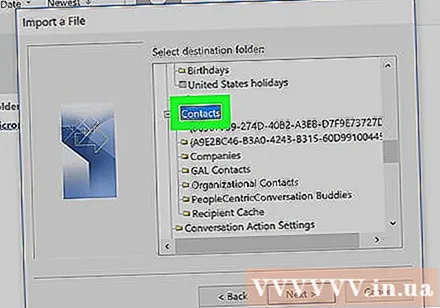
Select the "Contacts" folder. Drag the screen up or down until you find the folder Contacts (Contacts) in the window, then click to select.- You usually find the directory Contacts near the top of the window.
- Folder Contacts not like the actual directory.

Click next (Continue).
Click finish (Done) at the bottom of the window to import contacts into Outlook.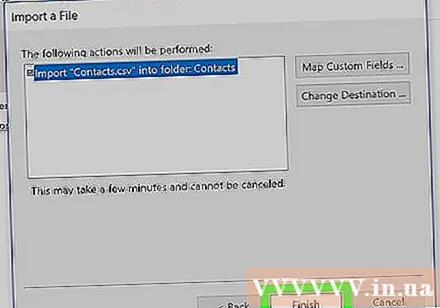
- Once done, you can view Outlook contacts by clicking Address Book (Address Book) in the "Find" section at the top of the Outlook window.
Advice
- "2-Step Verification" is Google's 2-Factor Verification. That means when you sign in to your Gmail account on a new computer, you need to verify your login through 2 steps of verification on your phone.
- The latest version of Google Contacts does not support exporting contacts, so you need to use the old version to do this.
Warning
- Marking "Read" in the Outlook app will not automatically mark "Read" for new email messages in Gmail.
- Gmail does not allow emails to attach an.exe file. Additionally, attachments have a maximum size of 25 MB.


