Author:
Randy Alexander
Date Of Creation:
26 April 2021
Update Date:
1 July 2024

Content
Cleaning the house seems like an undisputed task. But when you sit down and think about cleaning, you probably won't know where to start, and how to clean the toilet. We will follow in a reasonable and simple sequence to process the work and deliver satisfying results quickly. Once you start cleaning, you won't want to stop until the house is neat and tidy.
Steps
Part 1 of 6: Planning
Determine how clean you want your home to be, and how much time you have for cleaning. This will help you schedule the cleaning. Be realistic about what you do, the time you have, and how motivated you are.
- Clean from top to bottom, if possible. You probably don't want to finish vacuuming and have to remove debris scattered all over the floor, or dust on the bottom of something that flies down when you move up to unsanitary areas. If you don't have a lot of time, start with the messy things first and then move on to the more important ones.
- For the “average” busy person, it is best to clean a little a day so that the work does not pile up and clean up a few times a month. Whichever style you prefer (unless you share a roommate, of course).
- Pay attention to areas in the kitchen that are prone to grease and oil that need to be cleaned but not too often, for example the top of the cabinet and the exhaust fan. It is easy to overlook areas where the kitchen is too high, but grease will all stick to it and accumulate dirt and insects.

Always have a checklist and work plan. Determine which rooms you plan to start and finish cleaning (usually working from the back door to the front door is best). This will make it easier for you to go through and avoid duplication of the task twice, especially if two or more people are involved in cleaning.- Make a plan so you can vacuum, sweep and wipe all the rooms at once and not ramble from one thing to the next.
- The list below is considered a general one, although it does not have to be completed in order.
Try to assign the task. If you live with other people, cleaning is not just your responsibility! You can schedule a rotating cleaning for everyone, but that would be much better than carrying this hard work alone.- Make sure assigned tasks are age-appropriate for everyone - elementary kids can clean the floors in their rooms, for example; Older children can clean garage or bathroom, etc. The task must be fair too - cleaning the bathroom is almost incomparable to cleaning the table and drinking water.
Part 2 of 6: Cleaning the bathroom
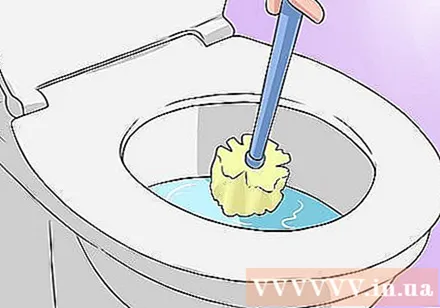
Clean the toilet bowl. God, that's terrible. Cleaning the toilet is one of the most frustrating things to do, so it's best to get over it as quickly as possible. Wear rubber gloves (not dishwashing gloves) to help protect your hands from dirt and bacteria, then use a sponge to gently wipe it off with hot water. Soak it in hot water as you move to the inner toilet treatment.- Next, add detergent to the inside of the toilet bowl and around. Soak for one minute, then rinse with a toilet brush. Splash the water when finished.
- Return to the outside side after finishing the toilet bowl. Spray disinfectant with water and dry with a rag or paper towel.

Sanitize the shower or tub. These places are notoriously dirty. Bath and brush cleaner (and a little bit of effort) will work just fine. If bathtub scouring water is not available, dish soap is also a great way to remove yellow stains that build up on the bottom of the tub, just as it removes grease from your dishes. Then continue rinsing as usual with Lysol spray or other antiseptic sprays.- Use car polish to apply in the shower to keep it clean longer (but not on the floor as it will be slippery). For glass, use 120 ml of ammonia and 8 drops of dishwashing liquid mixed with 3.8 liters of water to rinse.
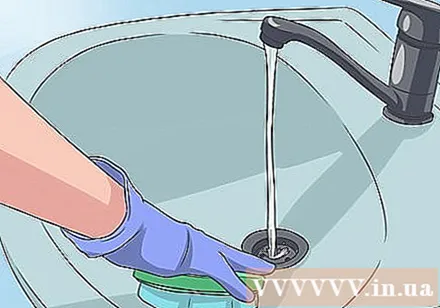
Clean the sink. Sinks are usually very durable, but you will also need to use the right detergents. When you are sure what detergent to use, spray it in the sink. Let it sit for a minute to let them fight off bacteria and mold, then scrub it off with a hard sponge. Rinse with lukewarm water when the sink looks clean and shiny. Dry with a rag or paper towel.- For stubborn stains, you may need a brush brush. A stiff brush (like the one used for brushing the shower and shower) is fine.
Wash the glasses / mirrors. Glass cleaner is generally believed to be effective.However, glass cleaner is only for lightening the glass, not for cleaning. There's really no substitute for soapy water, especially if your mirror is really dirty. Here's what you should do when cleaning your glasses and mirrors:- First, use a rag or sponge to wash the glass with warm or hot water mixed with dish soap. Scratch-free detergents are great for washing mirrors, glass, ceramic tiles and metals as they dislodge the residue of hard water without scratching the surface of furniture. Then use a soft cloth or a soft, dry paper towel to wipe.
- If you want to clean it and be environmentally friendly, wash it with vinegar and water, dry it with a fine cloth, and scrub it with newspaper. No more stains! Remember to use strength - it takes some force if you want to clean your glasses.
- Alternatively, you can spray glass cleaner on a paper towel and wipe the glass surface. Glass cleaner will be the outer coating to help dirt and smudges easy to clean. If used incorrectly, the glass cleaner will leave streaks of water. You can also use old newspapers to clean your glasses after washing them; The glass surface will no longer be streaked by water, and this is also a great way to reuse old newspapers.
Part 3 of 6: Kitchen cleaning
Wash dishes. You will save a lot of effort if done correctly. Your dishwasher is most effective when you fully load the dishes and run it right after using it.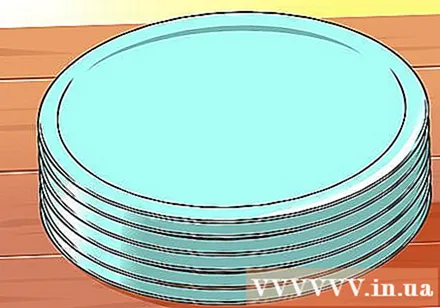
- For large items like pots and pans, it's best to wash by hand as they won't fit the machine.
- Dishwasher-washed dishes will wear faster because dishwasher liquid is abrasive; Precious porcelain, fine wine glasses and other fragile items need to be carefully washed by hand.
Try washing dishes by hand. You will find it much easier to wash the dishes right after eating; you hardly have to soak or scrub hard because the marks on the dishes have not yet dried and hardened. Simply wet the sponge, rinse it through hot water, pour some dish soap (both sides!), And rinse thoroughly with hot water.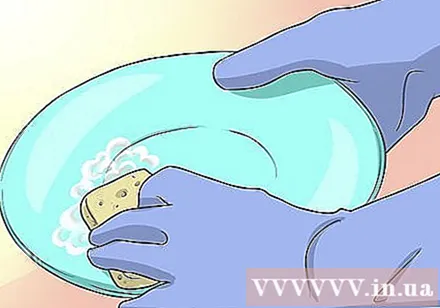
- If you choose to soak your dishes, imagine this scene: A bucket of cloudy water with grease, food crumbs, millions of germs and so much more from the dirty dishes. Now you know how terrible the water is (and how unhygienic) is. It's fine if you need to soak the steak for 10-15 minutes, but if possible, wash the dishes right away and avoid soaking is best.
Dry the dishes. If you don't dry the dishes, the water will leave stains on the glass or bacteria will spread in the water. When you are finished washing dishes (if you are washing by hand), arrange the rinsed dishes well on the shelf and allow to air dry.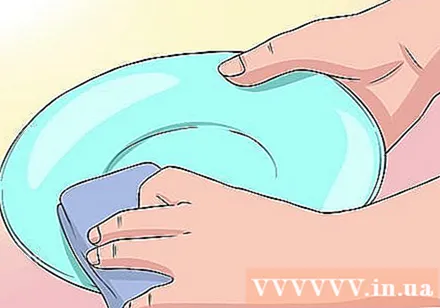
- Make sure dishwashing pads, brushes, and dishcloths are dry between uses to prevent germs from accumulating.
Oven cleaning and microwave. One not so much fun task is cleaning your microwave and oven, especially if you don't do it very often (these are easy to forget). But this is one of the quests where you will notice the most difference; Your kitchen can become more fragrant when you cook because there are no food crumbs left. The steps for cleaning are as follows:
- With the oven, check to see if there is a self-cleaning mode, as it will take up the majority of the work for you. If so, remove the baking tray and soak it in soapy water, turn on the self-cleaning mode and wipe off the bottom ash, then spray the cleaning solution and wipe with a wet cloth. If your oven does not have a self-cleaning mode, you need to remove the inner baking trays to soak in soapy water, spray the detergent inside the oven, leave for a while and then scrub with a sponge and shaving tools.
- With the microwave, you can use a bowl of vinegar, lemon and water, dish soap or glass cleaner. Just put in the microwave, turn it on for a few minutes, then wipe off with a rag. Any burns will come off easily, and your microwave will look new.
- Sanitize the kitchen sink; This step you can read again in the section Cleaning the bathroom above. Any sink is a sink!
Arrange the drawers. After you've done the heaviest part, it's time to move on to the drawers. This step is really up to you and your liking friend feel how is justified. Just make sure you create a fairly convenient and affordable system.
- Sometimes taking everything out and putting it together is easier. Put bowls into bowls, cups and glasses in cups and baking utensils into baking utensils; You will see everything clearly. Make sure your most commonly used items are in the most easily accessible position.
- Once everything is removed, please clean the cabinet. Just cleaning, also wet or dry or mixed method.
- Put everything back in the closet. Put the bowls in a group, the glassware in a group, just like the bakeries in groups. Make sure what you use is in an easily accessible place.
- If there are a lot of unnecessary items, think about where to put them. You can throw away unnecessary things to make things easier. You should not keep trash indoors, but also do not throw away useful items.
Part 4 of 6: Bedroom cleaning
Rearrange miscellaneous items. We'll also have to start from top to bottom. The first step is to remove or rearrange small items. What about all the papers thrown around, the clothes on the floor, and the wrapping paper thrown beside the bed? Eliminated all. Later You can really get started with cleaning.
- Carry a garbage bag or laundry basket around the house while cleaning. This way you can pick up your stuff while walking and not turning around.
Make the bed. Sure, making the bed seems pointless - after night you'll be messing around again - but once you make the bed, you'll realize that this will make your room you look much cleaner and feel how pleasant. The neat bed will motivate you to get the rest of the work done, because the room will look great once you're done.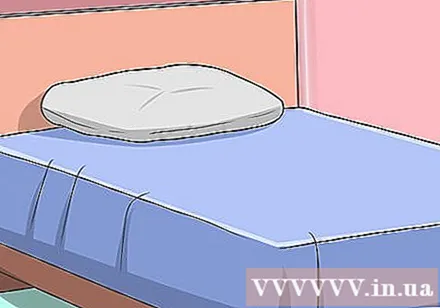
- Of course you can wash the sheets and later just made the bed. Wash pillowcases and blankets as well. Jumping into the cleaned bed every night is great feeling, but hop into the neat and tidy bed clean even better.
Organize your wardrobe. This is probably something you do every day, but it is also very easy to get confused. Think about how the wardrobe is organized - where to put clothes, where to accessories, where to put underwear. Then began to arrange, putting similar items together and the best clothes on top.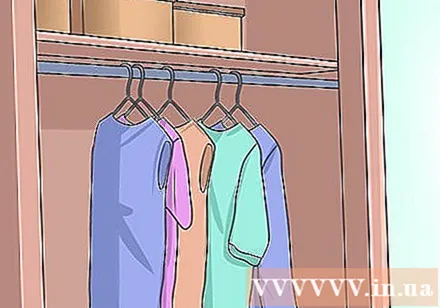
- It's not a bad idea to go through the entire wardrobe and find the things you want to get rid of (including fashionable clothes and accessories). Chances are you will have at least a few things you no longer like taking up space in your closet. But don't throw it away because you can give charity.
Dust, vacuum or dust, then spray the pleasant scent in the room. Bookshelves, nooks and crannies (not to mention under the bed and behind the bed) is a paradise of dust. A cleaning glove or dust pad works great, but you can also use a spray or antiseptic solution to get the job done. Once everything has been swept, including the corners of the room and under the floor, you can vacuum or mop.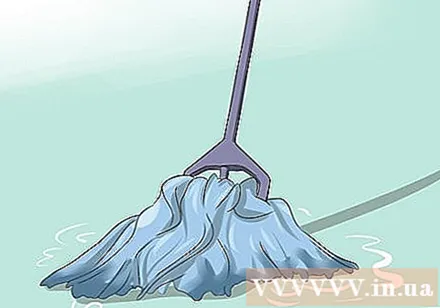
- Be gentle with certain objects such as lampshades or curtains. With these, you can grab a hairdryer and carefully blow off the dust.
- When you're done cleaning, complete the job with a pleasant, refreshing scent like lemon or lavender.
Part 5 of 6: Cleaning common areas
Clean the floor. This depends on the type of floor: wood, ceramic tiles, linoleum and carpet (Those are just a few of the common materials) all require different cleaning methods. Which method is right for your floor?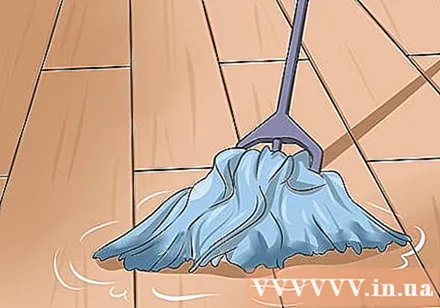
- Vacuuming is the most effective way to get rid of dirt and grime that builds up if your floors are carpeted (especially this is a daily must-do if you have pets with hair loss).
- Alternatively, you can try using a mop (the one made with microfiber that works well) if your floor is paved or tiled.You can use a carpet broom (non-electric tool, with a broom underneath, press down when using it) if your floor is carpeted. Both tools are not as noisy as a vacuum cleaner and will help keep the floor clean longer between vacuums.
Mopping the floor. Many of the newer, innovative mops are useful, but they still won't replace them with a good rag to wipe away any sticky residue. Kitchen and other areas need rags to clean floors. With a tile floor or a wooden floor, other than a rag, nothing can clean cracks and ditches.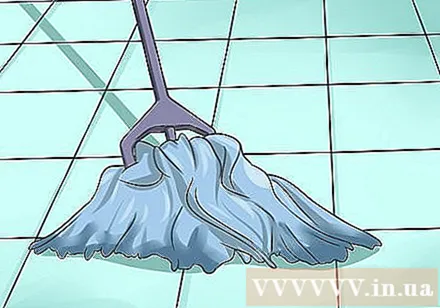
- There are many types of rag mops. Natural mops are better and more durable than mops. With a good rag mop, you are guaranteed one thing: with a little effort your floor will look great. Use hot water and a suitable detergent to clean the floor (again, be sure to read the label).
If you have a pet, you need flea protection. The best weapon for flea protection is a vacuum cleaner. Carpets are a breeding ground for fleas (not to mention that it's also a shelter for other things). If you have pets, you need to vacuum every day. This will prevent the fleas from multiplying (in order to breed, they need the flakes of the skin from humans or pets).
- To get rid of fleas without using poison, sprinkle borax on the carpet after vacuuming and let the borax get to the bottom of the carpet. This way, a flea will never stay in your home. You can find borax in the laundry detergent section of the supermarket, usually on the top shelf.
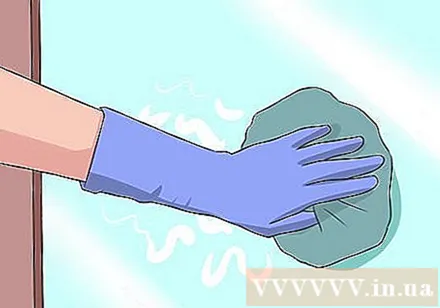
Wipe dust off furniture. Tiny house dust mites are everywhere, if we see them, we probably have to vacuum all day. Dust mites can be found anywhere in the home and can cause sneezing, coughing and asthma attacks. In addition to dusting, vacuuming and dusting also help.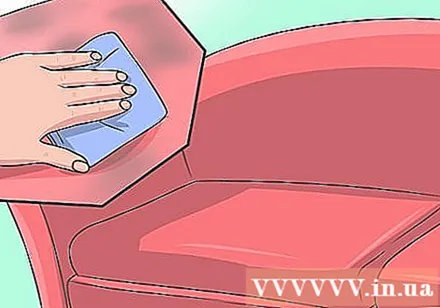
- To remove dust from furniture, you need to use a damp rag or dust gloves. Wipe all surfaces continuously so that nothing is left out and move in only one direction around the house. You may need to use a furniture scented spray like Pledge to get the job done.
Furniture polish. Similar to glass cleaner, furniture polish is not intended for cleaning. However, it may used for cleaning. If you like to use furniture polish, be sure to read it carefully label the product and find the right one you need.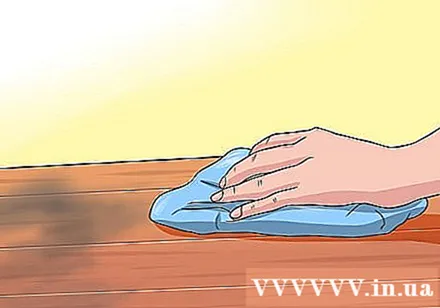
- Some furniture can be treated with water; You can use soapy water as in step 2. Make sure all surfaces are dry quickly.
- Next, polish the furniture with the same amount as directed and wipe it off. This makes it difficult for your furniture to cling dust.
Be careful when using multi-purpose detergents. In general, all-purpose cleaners are not safe for all purposes. Remember to read the product label carefully before buying to ensure it meets the requirements. You do not want to damage your precious wood furniture, right?
- Another general rule of thumb is not to mix cleaning chemicals. Doing so can be very dangerous. Use each item separately and follow the directions on the product label.
Arrange decorations and puff pillows. Once you've cleaned every surface, including the floor, you can move on to miscellaneous items, as you are now almost done cleaning. Clap pillows, smooth blankets, and rearrange everything in the room as if you had a house ready for sale. If there are too many things, put them in the container and label them outside so that you don't forget where you left them.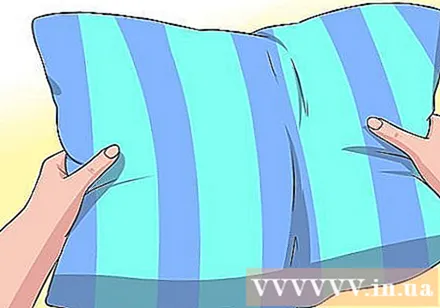
- When everything is done, spray the fragrance to scent the house, sit back and watch your work. Did you miss anything? Oil on the door hinge? Wipe the wall? Replace the bulb?
Part 6 of 6: Complete the cleaning
Don't forget to clean the outside of the house. Cleaning outdoors can provide a better living environment but is easy to overlook. Raking and removing leaves will help prevent the growth of mold that often occurs in humid climates and after rain. This work done regularly will also help reduce the number of insects that live in the yard; Your yard also looks tidy and cleaner. Have we said that thanks to that, sunlight can shine on the lawn, helping the grass grow faster and green better? That is also a benefit.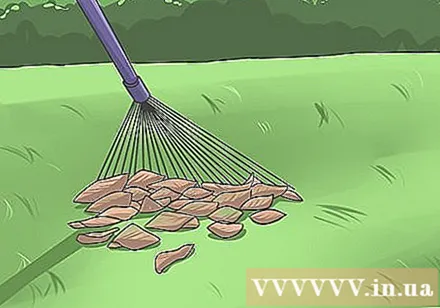
- If you have no scratching or are not interested in doing this job? The blower is another way to save time.
- Cut / prune backyard plants (hedge plants, rose bushes, etc.) to prevent water and dirt from hitting the wall.
Wash clothes in a washing machine or by hand. Pile of dirty clothes on your bedroom floor must be disposed of. The following are general guidelines for using a washing machine:
- First, adjust the water level and temperature accordingly.
- Next, add an adequate amount of detergent to the running water.
- If you like using fabric softener, then fabric softener is a great tool. Simply pour fabric softener onto the ball and throw it in the washing machine in the first place. (That way you don't have to wait until the exhausting process). If using this ball, use it with laundry detergent. If you put clothes in first, there is a chance that the garment will stain with the color of the detergent or softener.

Dry clothes. The way you switch clothes from washing machine to dryer can lead to different results. When washing is finished, shake clothes that are wrinkled or twisted together. later put in the dryer. This prevents the garment from getting wrinkled and the garment is also easier to dry out.- You should remove the clothes from the dryer while it is still warm. Enjoy the comfort of holding a stack of clean, warm clothes in your hand.

Inspect the house and finish the rest. The list is quite long, but it is not too exhausting. Other jobs include:- Empty the trash and take out the trash
- Clean the kitchen table
- Change sheets, pillowcases, and blankets
- Clean the wall
- Clean the refrigerator
Advice
- Wipe the inside of the refrigerator with baking soda to remove odors.
- Many people like to use crumpled newspaper to clean glasses with glass cleaner (instead of using paper towels).
- If you have friends willing to help, cleaning together can help you forget your time and have someone to talk to while at work.
- Rag socks make great rags and can save you money. Old t-shirts can also be cut into rags.
- You may want to clean the living room first because people will usually see the living room before looking at the rest of the house.
- Don't stress over the mess! Just slowly clean up. Make sure your home is quiet and peaceful!
- Sprinkle baking soda over the carpet for 15 minutes or more. This will make your carpet fragrant; Then remember to vacuum.
- Clean up anything that is rancid and musty from the refrigerator.
- Do the main things first if you don't have a lot of time. Settling the sink is more important than arranging the drawer.
- Listen to music, and the cleaning will be enjoyable; you can turn work into a game.
- Chicken feather brushes are very useful.
- Sometimes rearranging bedroom furniture and moving pictures can help with housekeeping.
Warning
- Some detergents are unsafe for skin, linoleum floors, parquet floors and more. One thing is not too difficult read the product label. This only takes a few seconds, but you can save hundreds of thousands of dong compared to accidentally buying the wrong one. If you are still unsure even though you have read the product label, try first on the hidden areas.
- Be sure to moisten the sponge before microwave it. And remember to be careful when removing the sponge from the microwave. It will be very hot!
- Do not mix detergents. Doing this can create very dangerous chemicals. Use each one at a time and follow the directions on the label.
What you need
- Glass cleaner water
- Furniture polishing solution
- Bathroom cleaning water
- Dishwashing liquid
- Paper towels, rags, old newspaper or sponge
- Rubber gloves
- Brushes, hard brushes, etc.


