Author:
Monica Porter
Date Of Creation:
17 March 2021
Update Date:
27 June 2024
Content
Have you ever tried to install Ubuntu but your computer doesn't have enough space to run Ubuntu? This article will guide you on how to create a virtual machine like VirtualBox to use another operating system without changing settings on your current computer. This article will focus on installing VirtualBox and setting up the first virtual machine, how to download, prepare and install Ubuntu.
Steps
Part 1 of 6: Download Ubuntu
Go to the Ubuntu homepage and open the download.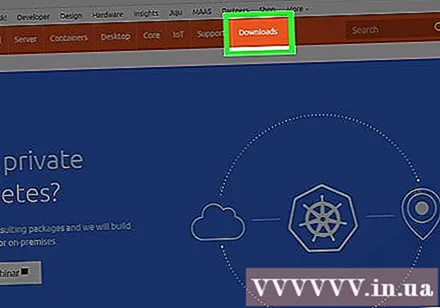
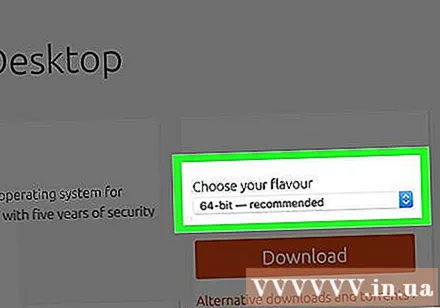
Choose the appropriate structure in the dialog box.
Click on the "Begin Download" button to begin downloading Ubuntu (gnome). advertisement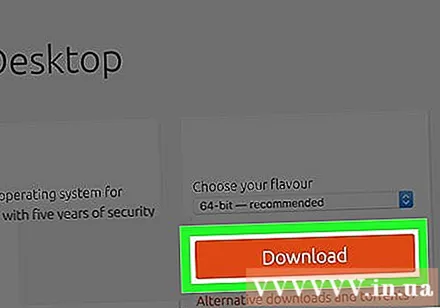
Part 2 of 6: Installing VirtualBox
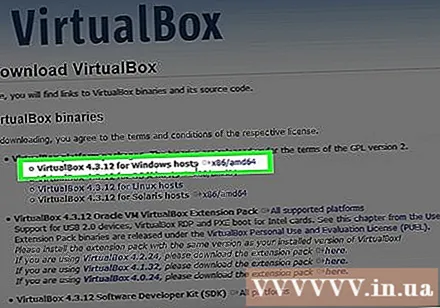
Download the latest version of VirtualBox. Visit the VirtualBox website and open the download. There are versions that are compatible with Windows, Mac and Linux. If you are unsure which operating system is running, download the Windows version from the start by clicking on “x86 / amd64”.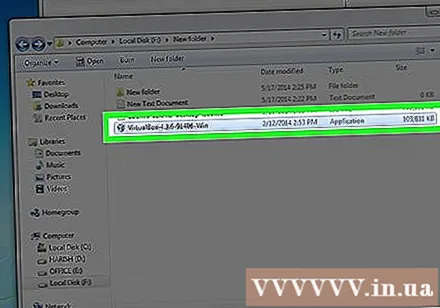
Installation starts. Read and agree to the license agreement. Newer versions of the installer (since 4.3.16 released on "September 9, 2014") do not show the license agreement during installation.
Select “I accept” then click “Next” to continue.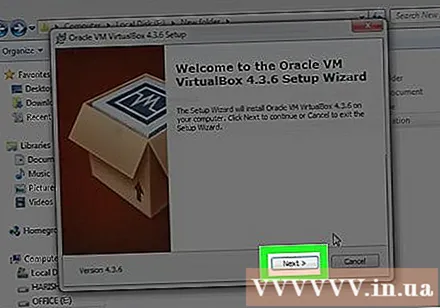
Choose not to install USB, network, or Python support. Click on the gray icon next to each option and select the red X or “Entire feature will be unavailable”. Click on “Next” to continue. If this is your first time using a virtual machine, it will eliminate the need to install custom drivers, making it easier to install and uninstall VirtualBox. If you have ever worked with a virtual machine, you can choose these options.
Uncheck the Quick Launch Bar dialog box and click “Next” to continue.
Click on “Install” to install VirtualBox.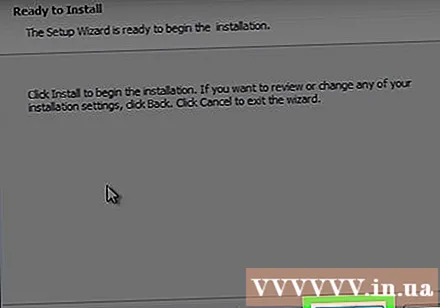
Click “Finish” to open VirtualBox. advertisement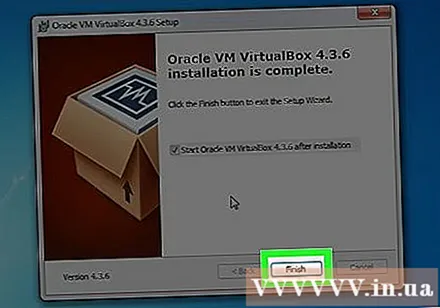
Part 3 of 6: Creating a new virtual machine
In VirtualBox, click the "New" button to launch the wizard to install virtual machines.
Name the virtual machine and choose the operating system. Click on “Next”. In this example, you will install Ubuntu.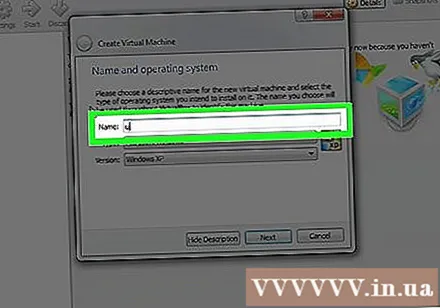
- Type any name in the Name field (eg Ubuntu or Linux). For “Operating System”, select “Linux”. The version will automatically default to "Ubuntu". Click on “Next” when done.
Select the amount of memory used by the virtual machine and click "Next". When selecting the operating system in the previous step, VirtualBox will automatically suggest the right amount of memory. If the number is not correct, you can drag the slider or enter a new number in the dialog box. Click on “Next” when done.
Click “Next” to create a new virtual hard drive, then click “Next” again. This is the second wizard opening to create a new virtual hard drive.
Select "Fixed-Size Storage" or "Dynamically Expanding Storage" depending on your needs. A fixed capacity repository would be the amount of virtual hard drive on the host operating system (for example a virtual hard drive of 8 GB would be 8 GB on the host OS hard drive). The changeable capacity repository is just the size of Ubuntu on the hard drive, but the size will change as files are added until the limit is reached (eg a virtual hard drive contains a 1 megabyte file. The virtual hard drive is 1 megabyte. Then you add another 1 megabyte file to the hard drive. This is 2 megabytes in size. This process will continue until the size limit of the hard drive is reached.)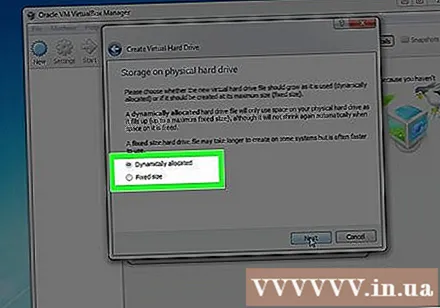
Click on “Next” to accept the default name and virtual hard drive capacity. Once again, VirtualBox will recommend the right amount of space for the virtual hard drive. If you feel that this size is not appropriate, you can move the slider or type the number into the dialog box. Click on “Next” when done.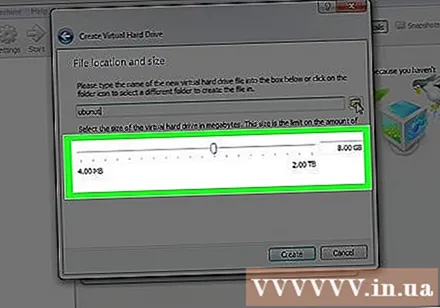
Click on “Finish” and wait for VirtualBox to create a new virtual hard drive. You should see the new virtual machine in the list. advertisement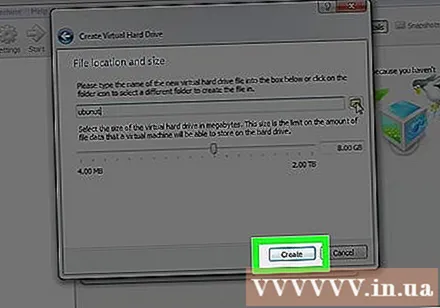
Part 4 of 6: Boot CD Setup
Choose a new virtual machine. Once done, click the "Settings" button.
Click the “Storage” tab.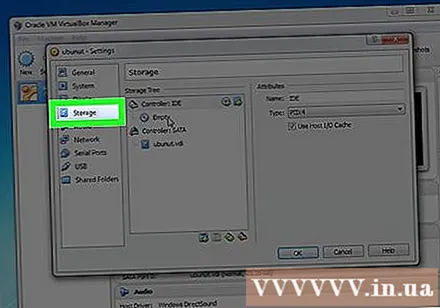
Click on the "CD / DVD icon" (CD / DVD icon) marked "+" and choose the ISO to install.
Ubuntu ISO will be installed under the control device.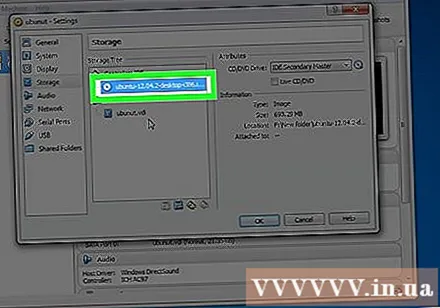
Click on the system tab on the left. Choose the boot order and keep the CD / DVD at the top of the list, as the top priority.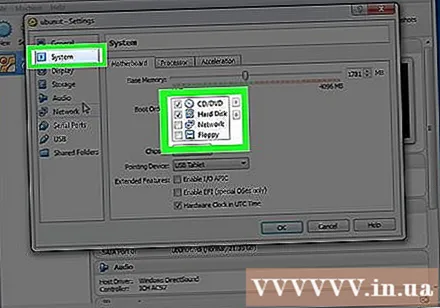
Now you can close the settings window and return to the main window. The ubuntu machine is ready to boot. advertisement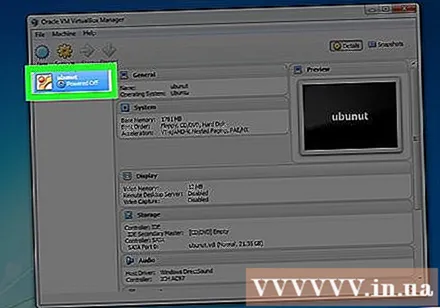
Part 5 of 6: Installing Ubuntu
Select virtual machine. Then click the “Start” button.
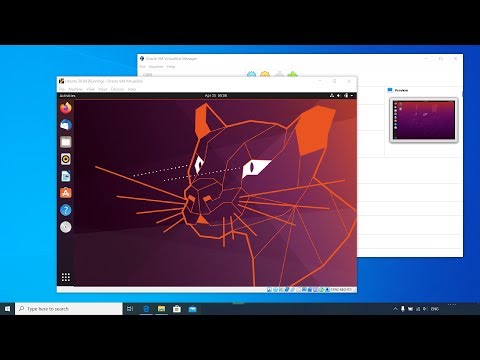
The Ubuntu virtual machine will start up in a separate window.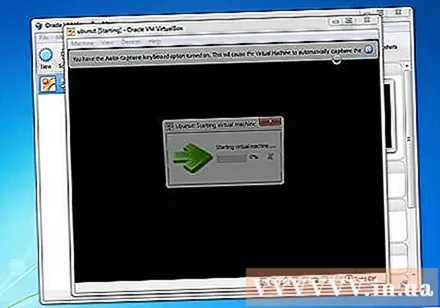
The machine will boot from the selected ISO and you will see the language option. Select the language you want to use and press Enter.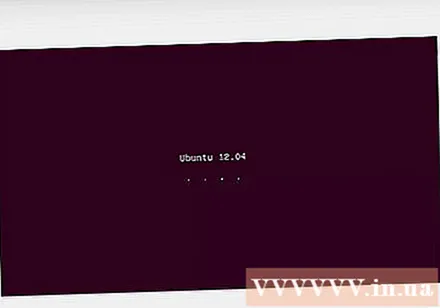
You will see "Install Options" in the next window. You can choose to try ubuntu without installation, or choose to install ubuntu. You can check for disk and memory errors and errors, and choose to boot from your current hard drive. Select INSTALL ubuntu here.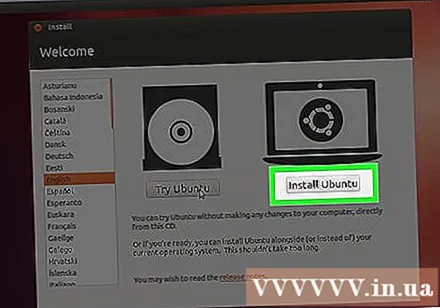
After downloading ubuntu, select your language and click “Continue”.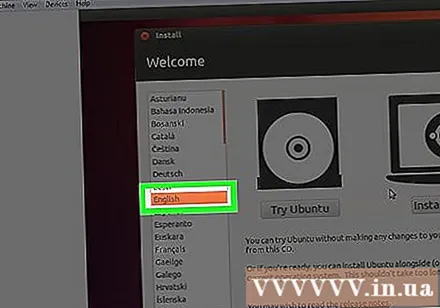
On the next screen, ubuntu will provide a checklist and ask you to update during the installation. Select the option according to your preference and click "Continue".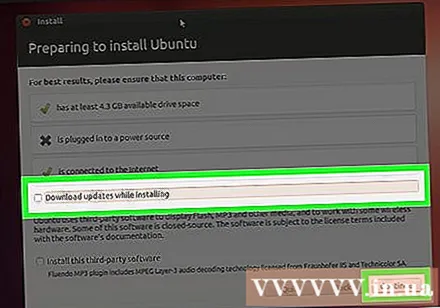
The next option will ask if you want to delete all data and install or create your own partition from the "Something Else" option.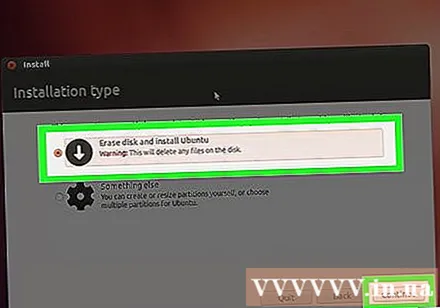
Select the time zone in the map, click on “Continue”.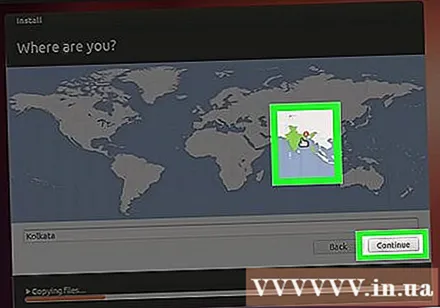
Click on “Continue” to keep the default keyboard interface or choose the desired one.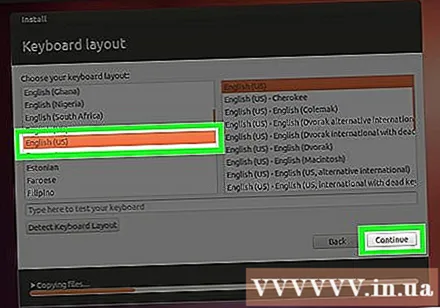
Enter the username in the first dialog box. Username and computer name will be filled in automatically. Enter the password and confirm the password, then click "Continue".
Ubuntu will begin the installation process.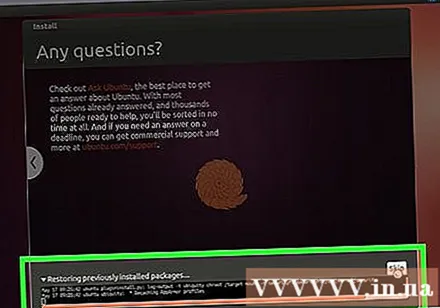
Once the installation is complete, click “Restart Now” to finish the installation.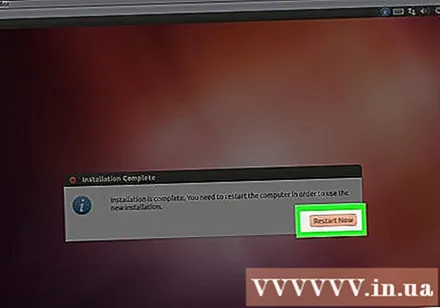
The virtual machine will restart and Ubuntu just installed will be loaded from the hard drive, providing the password to log into the main ubuntu window. advertisement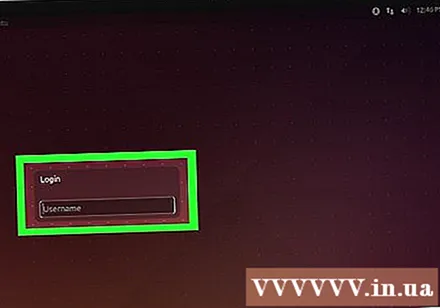
Part 6 of 6: Installing additional guests
After logging into Ubuntu, click on the "Devices" tab in the virtualbox. select "Insert Guest Additions CD Image ...".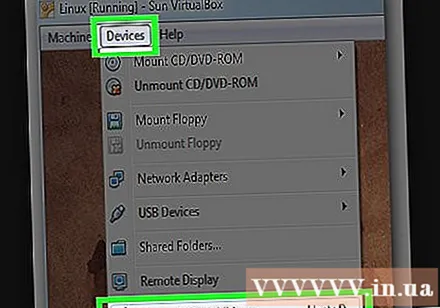
When Ubuntu asks to install the program and needs a password, enter the password. Click "Install Now".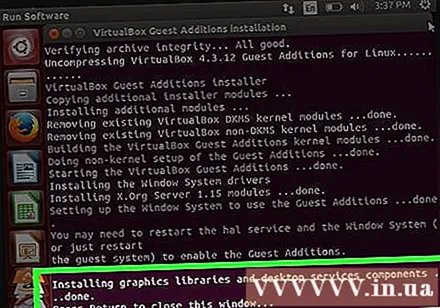
Allow the terminal program to start and, when finished, press Enter.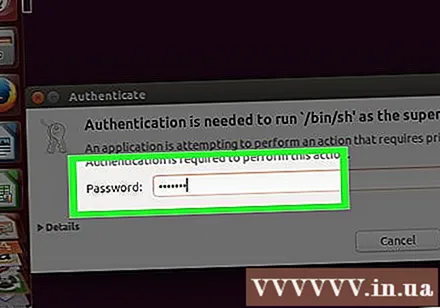
Restart the virtual machine, once it's turned on, click the menu "View"> "Auto-resize Guest Display" and you can now use the virtual machine Ubuntu maximum resolution. advertisement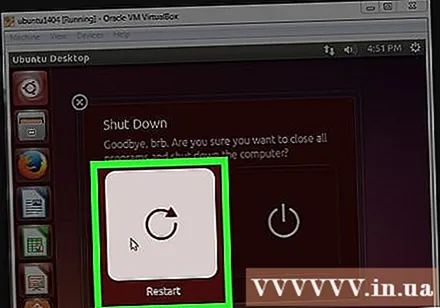
Advice
- You may have to enable Virtualization from the host's BIOS menu, before the virtual machine can run successfully. If the error message "This kernel requires an x86-64 CPU, but only detected an i686 CPU. Unable to boot - please use a kernel appropriate for your CPU" this kernel requires x86- CPU. 64 but only i686 CPU detected. Unable to boot - please use the kernel suitable for your CPU) when starting the Virtual Machine. Try installing Ubuntu 32-bit version.
- If the USB driver is not installed, every time you visit the virtual machine settings, you will receive a warning warning that VirtualBox cannot access the USB subsystem. This is normal and should not affect the virtual machine. Just click on "OK" and go.
- When concentrating on virtual machine, VirtualBox automatically connects keyboard to virtual machine. To release the keyboard, just press the right Ctrl key.
- When you click in the virtual machine, VirtualBox automatically connects the mouse to the virtual machine. To release the mouse, just press the right Ctrl key.
Warning
- Make sure the hard drive has enough free space to create the virtual hard drive. If VirtualBox recommends an 8 GB virtual hard drive, the hard drive on the computer must be more than 8GB of free space.


