Author:
Robert Simon
Date Of Creation:
22 June 2021
Update Date:
24 June 2024
Content
- To step
- Part 1 of 3: Measure and cut materials
- Part 2 of 3: Sew it together
- Part 3 of 3: Decorating and using the scrunchie
- Warnings
- Necessities
Complete outfits and keep your hair up loosely with homemade scrunchies. Say goodbye to broken hair with a '90s accessory that is easy to make (in about 30 minutes). Sew a few by hand or with a sewing machine. It's perfect if you have some fabric left over from other projects.
To step
Part 1 of 3: Measure and cut materials
 Cut the elastic to size. Use elastic that is between 1/2 inch and 1 inch wide. It should be about 10 cm long, or an inch more if your hair is very thick.
  Measure the fabric. Your last piece of fabric should be about 8 '' long and 4 '' wide if you're using elastic. If you added 2.5 cm to the length of the elastic, add 5 cm to the length. There is no need to adjust the width of the fabric. Fold the longest side of a rectangular piece of fabric about 10 cm from the edge to cut along the fold.
 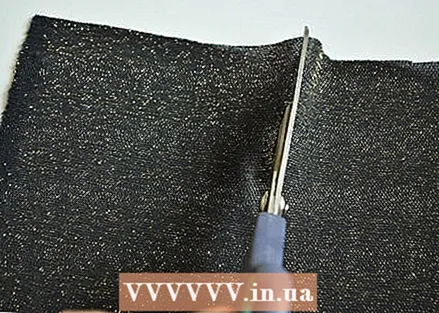 Cut along the edge of the fold with a pair of sharp scissors. Don't forget to always cut a little extra fabric in case you need more fabric to sew. Feel free to cut wider than your first stated measures. Often you can take in fabric, but you can't cut fabric with it.
Part 2 of 3: Sew it together
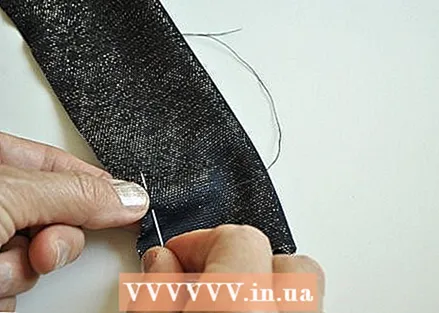 Sew the fabric right sides together. Fold the cut fabric in half lengthwise so that the printed or colored side is facing in. Pin and sew a straight line by hand or with a sewing machine, leaving about 1/2 inch seam allowance.
 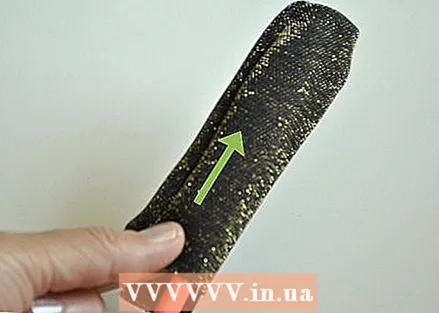 Turn the fabric right side out. After sewing the long side of the fabric you should be left with a tube with two open ends. Turn the tube so that the printed sides are facing out.
 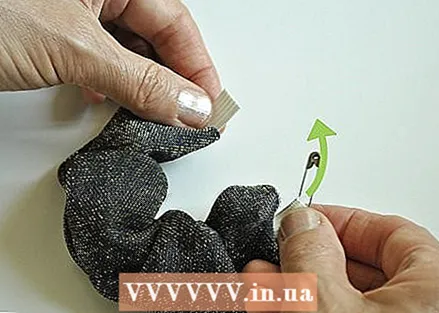 Add the elastic. Attach a safety pin to one end of the elastic and feed it through the fabric tube. Make sure to hold the other end of the elastic so it doesn't get pulled through the tube. Pin the two ends of the elastic together so that they overlap slightly.
 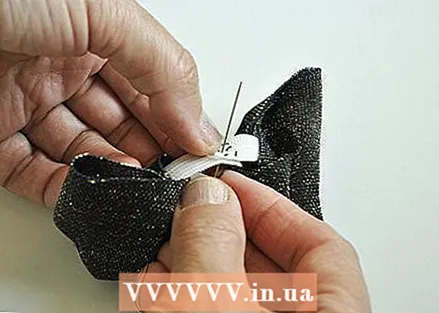 Sew the elastic together. Sew stitches in the shape of a square so that the square covers the overlap, then sew a diagonal through this box. The x stitch will keep the elastic from falling apart when you pull it.
 - Sew this part by hand or use a sewing machine.
- Make sure that the fabric is not sewn to the elastic during this step.
- Sew this part by hand or use a sewing machine.
 Sew the fabric ends together by hand. Use a whip stitch so that the seam cannot be seen from the outside. To make a whip stitch, first line up the raw edges of the fabric and fold the ends in slightly. Sew the stitches around the ends, alternating each stitch between the fabric ends.
Part 3 of 3: Decorating and using the scrunchie
 Decorate your scrunchie. Tie or sew harmonious ribbons, bows and other accessories to add a unique flair to your scrunchie. Use bells for Christmas, dangling hearts for Valentine's Day or red, white and blue ribbon for Liberation Day. Be creative by attaching silk flowers or sequins.
 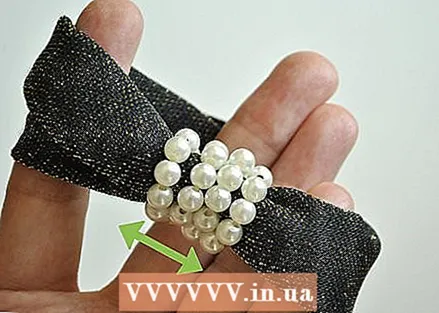 Test the power. Gently pull your hair into a loose ponytail. The scrunchie should be able to be put on like a normal elastic. If the scrunchie rips, don't give up right away! Try making another one, but focus on sewing the elastic together strongly.
 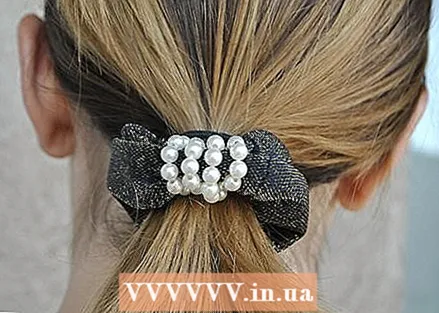 Wear your scrunchie! Sweep your hair off your shoulders or neck and show off your new scrunchie. Wear a loose ponytail, or pull your hair up with a regular elastic and put your homemade scrunchie on top if you want it extra tight.
Warnings
- Keep the scrunchie away from small children if you have used ribbon or small parts.
Necessities
- Elastic (recommended)
- Fabric (about 13 cm)
- Needle
- Wire
- Sewing machine (optional, but recommended)
- Ribbon (optional)
- Bells, pendants and other decorations (optional)


