Author:
Tamara Smith
Date Of Creation:
25 January 2021
Update Date:
1 July 2024
Content
- To step
- Part 1 of 3: Making a design for your scrapbook
- Part 2 of 3: Come up with pages for your scrapbook
- Part 3 of 3: Assemble and store your scrapbook
- Tips
- Necessities
Designing and creating a scrapbook is a fun way to capture your memories. A self-made album makes a wonderful gift and keepsake for family members, friends, children and grandchildren. This innovative art form has few rules and guidelines, but you will need to carefully plan your scrapbook to tell a good story with it.
To step
Part 1 of 3: Making a design for your scrapbook
 Choose a topic and select materials. In a scrapbook you collect photos, mementos and stories that belong to a particular subject. The subject can be very general, such as a photo album with family photos, or very specific, such as an album about a wedding. It's important to think of a topic before you buy your supplies and start crafting. Your subject determines which materials you use and how many, the type of album and your color scheme.
 - General topics include family, children or a particular child, pets and further family.
- Specific topics are, for example, a wedding, a birthday, a school year, a sports season, a holiday, a holiday and pregnancy / a baby.
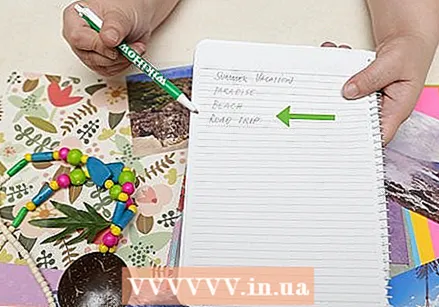 List stories and events to include in your album. When you have chosen a topic, think about which stories you want to tell and record. Take the time to write down these stories — write down catchwords, short descriptions, or full stories. When your list is finished, view it and decide how you want to organize the stories.
 - Do you tell the stories in chronological order or do you group them by sub-topic?
- How many pages do you need for each story?
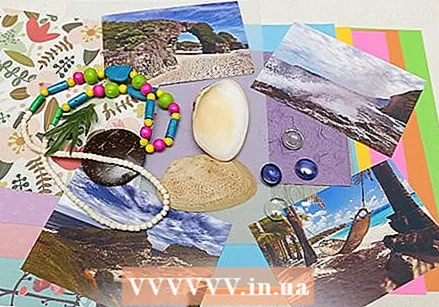
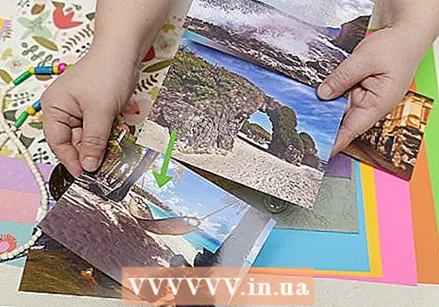 Select photos and mementos for your album. Before you start scrapbooking you will have to make a selection several times from your collection of photos and mementos. Don't be afraid to be very selective.
 - Create a collection of photos and items related to the subject of your album.
- Sit at your workplace with your ordered list of stories, your photos, and your mementos.
- Organize the stuff into categories based on the stories you want to tell. Put the photos and keepsakes in labeled folders or envelopes.
- View the contents of each folder or envelope and pick out the mementos and photos that don't match your story.
 Choose papers, embellishments and tools for your scrapbook. After you've compiled a list of stories and selected photos and mementos, it's time to come up with a color scheme. Browse the supplies at your favorite craft store and look for crafting cardstock and decorations that match your subject and stories. Also bring along tools you need to make your scrapbook.
 - To ensure that everything fits together neatly, buy paper and decorations such as stickers and stamps of the same brand and color line.
- Buy acid-free and lignin-free craft cardboard with a protective layer. Using this paper will keep your homemade scrapbook looking good.
- Buy pigment ink pads and pens. Look for water-resistant ink that will not fade.
- Buy repositionable stickers that are easy to remove. These stickers can be moved relatively easily on a page.
- Look for a paper cutter, multiple scissors, and / or ready-to-use templates, if you don't already have one.
 Select an album. Scrapbook albums come in a variety of sizes, and not every size will suit every subject. Choose an album in a size that suits your subject, the number of stories you want to tell, the amount of photos and keepsakes you want to use, and the amount of decorations you want to add.
 - Most albums measure 12 by 12 inches. This size is ideal if you want to fit multiple photos, keepsakes, texts and decorations on a single page. Such an album is also very suitable if you have a general subject.
- An album measuring 22 by 30 centimeters is ideal if you have a little less material and decorations. You can paste one or two photos on a page. This size is very suitable for an album on the subject of a holiday, a school year, a child or pets.
- Other common sizes are 20 by 20 inches, 15 by 15 inches, and 13 by 18 inches. These albums are very suitable to give as a present or to use for a very specific subject. You can paste 1 photo on a page.
- While searching for an album, see how the different albums are bound. There are generally 3 types of albums: albums with screws, albums bound with bands or straps, and ring binders. With each of these three types of albums you can move the pages, remove them and add extra pages.
Part 2 of 3: Come up with pages for your scrapbook
 Design the pages for your scrapbook. Before cutting and pasting material into your album, take the time to think of some possible page layouts. Not only will this save you a lot of time, but your album will become a coherent whole and you won't waste any materials.
 - Remove some pages from your album.
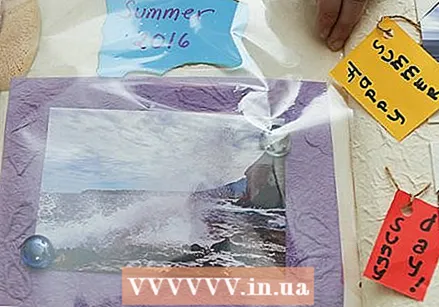
- Place photos, keepsakes, pieces of text, headings, captions, and decorations on the pages in a variety of ways.
- When you've come up with a layout that you're happy with, write down all the relevant dimensions (such as the size of the photos) and take a photo of your layout to use as a guide later.
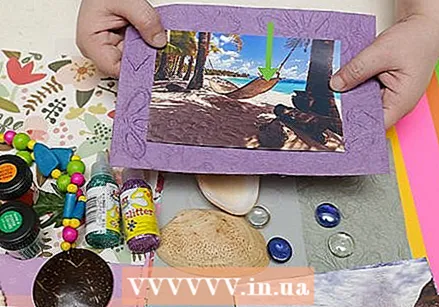
 Fill your page. Choose a story from your list and get the folder or envelope with photos and keepsakes. Remove a page from your album and choose one of the layouts you have come up with. Place the photos, keepsakes and decorations on the pages. Move the materials until you are happy with the layout.
 - Because you haven't cut or pasted anything yet, you can always choose a different layout if necessary.
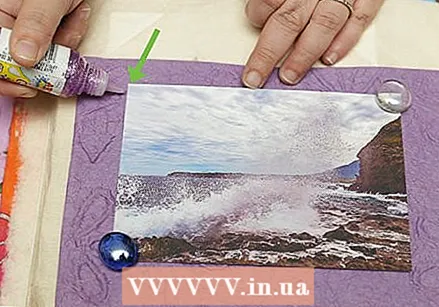 Trim, mount and glue the photos and mementos. After you have a final layout, you can get started with your photos and mementos. Trim them, decorate them and stick them on.
 - If you want to crop or trim a photo or keepsake, lightly draw the cut or trim lines with a pencil on the back of the photo or keepsake. Cut or trim the photo or keepsake with scissors or a paper cutter.
- If you want to make a photo or keepsake stand out, consider adding a border or mat for it. Use paper, fabric, ribbons or ready-made borders and mats to frame your photo or keepsake.
- After you've trimmed the items and edged them, use acid-free glue to stick them to the page.
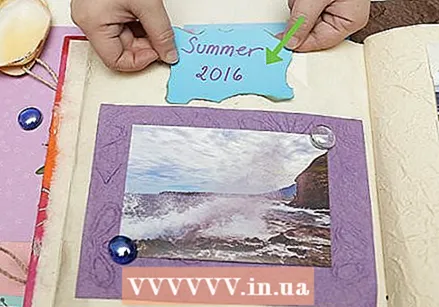 Add a title for any story, event, or page. A title introduces the story to your audience. Make sure the titles for the stories and pages are short and to the point. You can use the following items to create titles:
 - Pens
- Stamps
- Stickers
- Templates
- Computer and printer
- Clippings
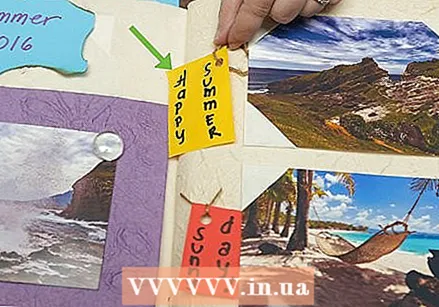 Make captions with your photos and mementos and / or write diary entries. Without a description, pictures and mementos have little or no meaning. Memento collages and photos become meaningful stories by adding captions and journal entries. Take the time to come up with clear captions and write well thought out journal entries.
 - Captions can include names, dates, locations, and short descriptions.
- Journal entries can include anecdotes, quotes, poems, lyrics, and longer descriptions of an event.
- Use your list of stories to come up with captions and journal entries.
- Before you add a caption or diary text to a page, think about what exactly you want to write down. Correct the texts and correct spelling mistakes.
- You can write the captions and diary entries by hand or type them out, print them out and paste them on the page.
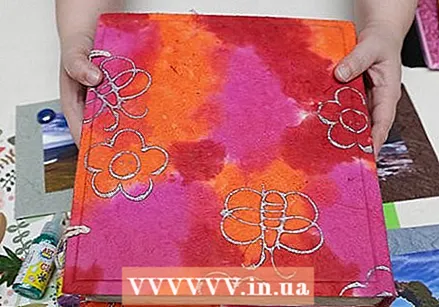
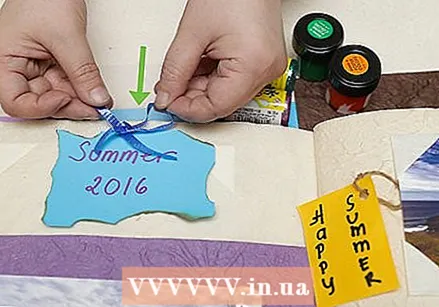 Decorate the pages. After you have pasted the most important materials onto the pages of your album, you can decorate the pages. Embellishments add shine, depth, and texture to your scrapbook pages and make them more interesting. It is not mandatory to add these decorative elements and you should not overuse them. You can use the following types of decorations:
 - Stickers
- Stamps
- Ribbons and fabric
- Craft Cardboard
- Clippings
Part 3 of 3: Assemble and store your scrapbook
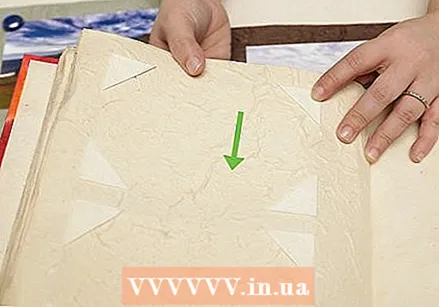
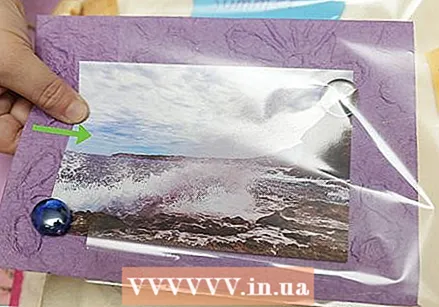 Place each page in an insert. To keep your photos and keepsakes beautiful, it is important to protect all pages in your album. Insert sleeves are in fact plastic sleeves. They are sold in different sizes and with different bindings. When your pages are finished and dry, you can protect them from dust, dirt and fingerprints by putting them in insert sleeves.
 - Buy insert sleeves that match the size and binding of your album.
- You can choose insert sleeves with an opening at the top or side.
- You can also opt for transparent or matte, non-reflective insert sleeves.
 Put the sleeves with the pages in them in your album. When you have more pages ready, you may want to swap them so that the storyline in your album comes out better. So you don't have to work on your stories in the right order.
 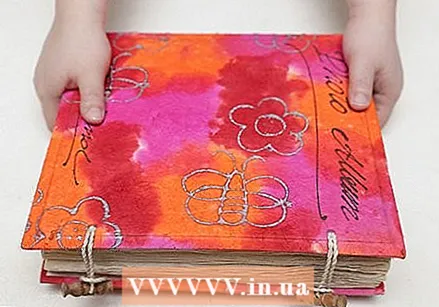 Keep your scrapbook in a dry place. To keep your scrapbook beautiful, you have to think carefully about where and how you keep the album. The ideal storage place is cold, dry and clean, and there are no changing conditions. Place your album in an archival-quality flat box.
 - Do not store your album near radiators, ventilation ducts or places that could leak.
Tips
- If you want to add an ultrasound to a page about a baby, copy it. After all, echoes fade. However, do not copy the ultrasound too often, as the heat will also cause it to fade faster.
- Use acid-free materials if you want to make your scrapbook last more than a few years. Acid eats up the pages and photos.
- If you are making a scrapbook about your school, include pictures of your friends, the school year and your school.
- If you're making a scrapbook about your baby, consider adding a copy of an ultrasound, the hospital bracelet, and a lock of hair.
- If you are making a scrapbook about your wedding, include materials from your bridesmaids 'and guests' suits / dresses, as well as fabric from your own dress. Also stick dried flowers from your bridal bouquet into the album.
- If you're making a birthday scrapbook, you can add a piece of wrapping paper, a popped balloon, party decorations, confetti, and a guest list.
Necessities
- An album
- Craft Cardboard
- Scissors
- Writing and drawing supplies
- Decorations such as stickers and ribbons
- Photos
- Mementos
- Colored pens, markers and wax crayons
- Glitters
- Glue


