Author:
Tamara Smith
Date Of Creation:
24 January 2021
Update Date:
1 July 2024

Content
- To step
- Method 1 of 3: Using a cable (Windows)
- Method 2 of 3: Wireless (Windows)
- Method 3 of 3: Using a cable (Mac)
Connecting two laptops via a LAN (Local Area Network) is a good way to quickly exchange data or play multiplayer games between two computers, over a reliable and constant connection. You can exchange data between two laptops over a LAN with a cable or via a wireless connection.
To step
Method 1 of 3: Using a cable (Windows)
 Make sure you have a crossover network cable. This is a type of Ethernet cable used for connecting two computers. If you have an older computer, you will need to use a crossover cable. A regular ethernet cable will not work on older computers. There is no difference in appearance between the two cables. To be on the safe side, ask for a crossover cable at the store.
  Connect each end of the cable to a network port on each laptop. The network port is where you usually connect an ethernet cable. The cable will click into place when it is successfully connected to the network port.
 - Note that some newer laptops do not have a network port. Some laptop manufacturers have decided not to include a network port, so that the laptop becomes thinner or lighter. If this is the case with your laptop, continue with the wireless connection method.
 On both computers, go to Control Panel. Depending on your version of Windows, you will find this in different places.
 - Windows 8: Press the Windows (Start) button to the left of the Alt key. Then type "Control Panel". Press the icon when it appears below the text field.
- Windows 7, Vista and XP: Press the Windows (Start) button to the left of the Alt key. Then type "Control Panel". Press the icon when it appears above the text field. You can also open the Start menu by clicking the icon in the lower left corner of your screen.
 Make sure both computers are on the same network and workgroup. In the Control Panel of both computers, search for "System" in the search field in the top right corner of the window. Click on the title of the system. You will now see information about your computer, such as manufacturer, model, etc.
 - Scroll down to the "Computer name, domain and workgroup settings". Click the "Change Settings" link under this category. A new window should now appear entitled "System Properties". In this window, click the Change button at the bottom of the window.
- Enter the same name for the workgroup on both PCs. It doesn't matter what the name is, as long as both computers use the same workgroup name.
 Windows 8 users: Go back to the Control Panel and click on "Network and Sharing Center". This category contains all the options for changing your network connection.
 - This is perhaps easiest to find using the search field in the top right corner of the Control Panel.
- In "Network and Sharing Center", click "Change adapter settings" in the left side of the window.
 Windows 7, Vista and XP users: Open "Network Settings" from Control Panel. Use the search field in the top right corner of the window to find it.
  Right-click on the Local Area Connection option in the "Network Connections" window and select "Properties".
 Under "This connection requires the following items", click "Internet Protocol (TCP / I4)". Click on "Properties"
  In the new window, click on the option "Use the following IP address". This allows you to manually enter an address. Enter the following values for each PC:
 - PC 1
- IP address: 192.168.0.1
- Subnet Mask: 255.255.255.0
- Default gateway: Do not enter a value
- Pc 2
- IP address: 192.168.0.2
- Subnet Mask: 255.255.255.0
- Default gateway: Do not enter a value
- PC 1
 Click "OK" to apply the settings. You should now be able to share files between two computers via the attached LAN cable. You may need to restart each computer for the changes to take effect.
Method 2 of 3: Wireless (Windows)
 On both computers, go to Control Panel. Depending on the version of Windows, you will be able to find it in different locations.
 - Windows 8: Press the Windows (Start) button to the left of the Alt key. Then type "Control Panel". Press the icon when it appears below the text field.
- Windows 7, Vista and XP: Press the Windows (Start) button to the left of the Alt key. Then type "Control Panel". Press the icon when it appears above the text field. You can also open the Start menu by clicking the icon in the lower left corner of your screen.
 In the search field in the top right corner of the window, search for "Homegroup". Click on the homegroup heading that appears after you complete the search.
  In the Homegroup window, click the "Create homegroup" button in the lower right corner of the window.
- The button will only be enabled if you are not currently signed in to a Homegroup. If so, leave your current homegroup.
 In the first window that appears, click "Next". The first window will simply tell you what a homegroup is all about.
  Choose the types of files you want to share with other computers. You will be able to choose from: photos, documents, music, printers and videos. Depending on your needs, select or deselect the file types. Click on Next.
  Write down the password from the next screen. This is the password that other devices must enter to connect to the homegroup. Then click on Finish.
  On the second computer, you should now be able to see the new homegroup, as shown in the Homegroup window. Instead of creating a new group, join the group and enter the password when prompted. You will now be able to share files with each other over the network.
Method 3 of 3: Using a cable (Mac)
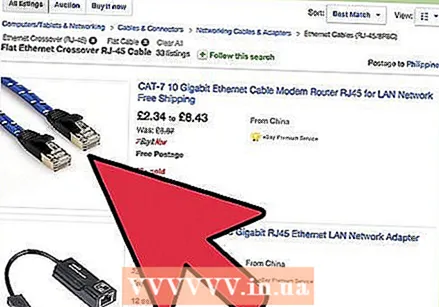 Buy a crossover network cable. This is a particular type of Ethernet cable used to connect two computers or routers of the same type. If you have an older Mac you will need to use a crossover cable. Find one online or at the local computer store. There is no external difference between regular Ethernet cables and crossover cables, so make sure you get the right cable.
  Connect the cable to the network ports of both laptops. Some newer Macs no longer have this port, so you may need to use an adapter to connect to a USB port.
 - The cable should "click" into place when properly connected.
 Go to the Network Preferences pane on both computers. You will see two drop-down menus at the top of the window labeled "Location" and "Show".
 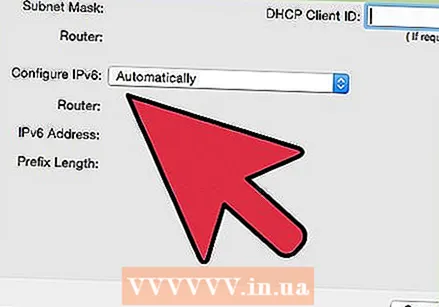 In the "Show" drop-down menu, select "Network port configurations". You will see a list of port configurations, such as "Internal modem" and "Built-in Ethernet". Make sure "Built-in Ethernet" is checked. Click apply for the changes to take effect.
  On one computer, open the Sharing preference panel. The computer name should be at the top of the window and a list of services below it.
 - Check the box next to the "File Sharing" service.
- Below the list of services there will be an address starting with "afp". Make a note of this address, as it is the address that other computers need to connect through the LAN.
 On the other computer, open the Finder window. There should be a Go category in the top menu. Click Go to select an option from the corresponding drop-down menu. You will see an option called "Connect to server". You can also just press "K to go to the" Connect to Server "window.
  Enter the afp address you wrote down to mark the other computer. A list of IP addresses will appear in the list under "Favorite Servers". Find the IP address of the other computer, tap it, then click Connect.
 - If you don't know the IP address of the other computer, read the wikiHow article Finding Your IP Address on a Mac to determine the correct address.
 After clicking Connect, you will be asked to enter a username and password. This information is the same as that you use when you usually log in to the computer.
  You will now be asked to select volumes to mount. All files in the other computer reside in different volumes. If you want, you can choose to mount all volumes from the other computer. Or, if you know which volume contains the files you want, select that volume.
 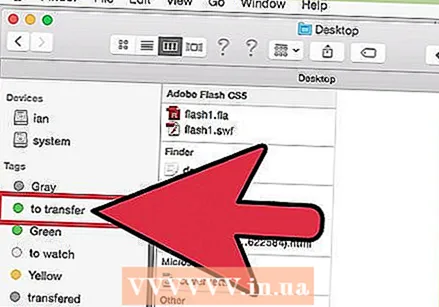 You should now be able to access the files on the other computer. You can now transfer the data between the two computers without external devices.


