Author:
Sara Rhodes
Date Of Creation:
11 February 2021
Update Date:
1 July 2024
Content
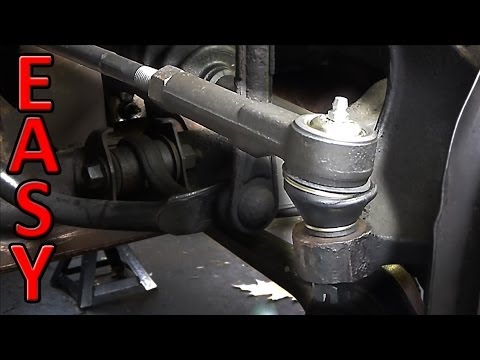
Replacement of steering rods refers to the repair of the entire steering mechanism of a vehicle. With a few simple tools and a little innovation, anyone with a little bit of automotive experience can do this procedure. Follow the steps below to replace the tie rods.
Steps
 1 Label the components on each side of the tie rods as they are not interchangeable.
 2 Unscrew the front wheel nuts slightly before lifting the vehicle.
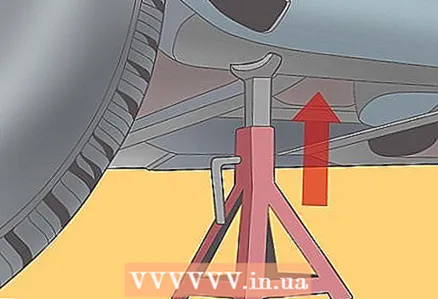 3 Raise the front of the vehicle with a jack, secure the vehicle and support the rear wheels.
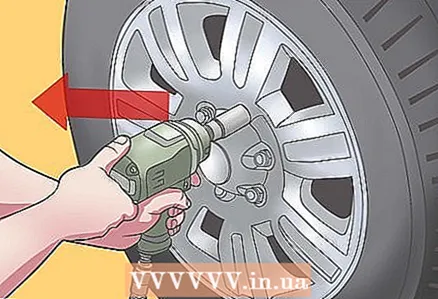 4 Remove the front wheels.
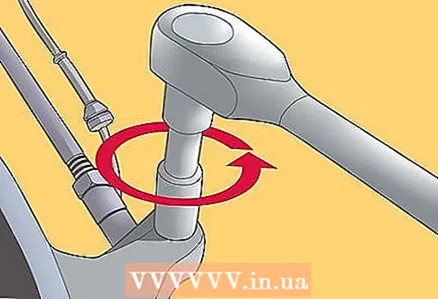 5 Remove the hold down bolts (using a spray lubricant to make it lighter) that attach the ends of the tie rods to the steering column.
 6 Remove the cotter pin and straps holding the dust cover to the inner rods.
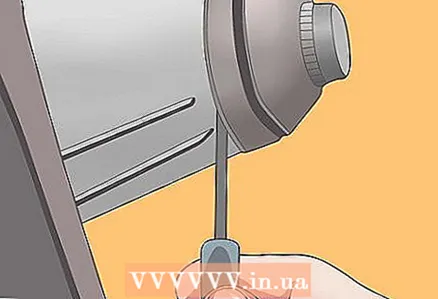 7 Remove the cover with a flat screwdriver.
 8 Use the correct size wrench to loosen the rod-to-wheel nut and turn the nut clockwise.
 9 Use a ball joint spacer to remove the end of the tie rod from the main steering joint.
 10 Turn the steering wheel until the wheels are straight.
- Make sure you remove the boot from the ball joint to access the inner steering rod.Mark the location of the end in relation to the steering column and make sure the marks are clearly visible.
 11 Using a wrench, disconnect the inner tie rod end from the steering gear and remove the dust cover from it.
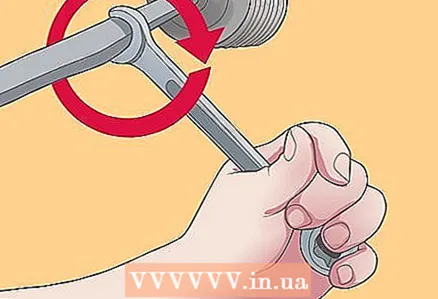 12 Assemble the tie rod mechanism, slide the cover and attach the bolt.
 13 Insert grease nipple if possible.
 14 Look at your marks and use the wrench to set the steering rod in place.
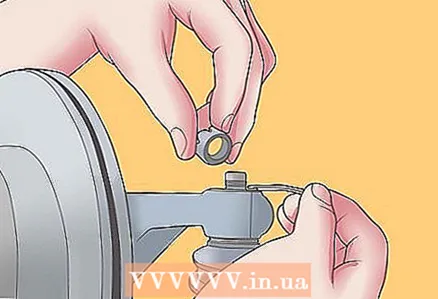 15 Install the corkscrew ring on the inner tie rod and attach the outer tie rod.
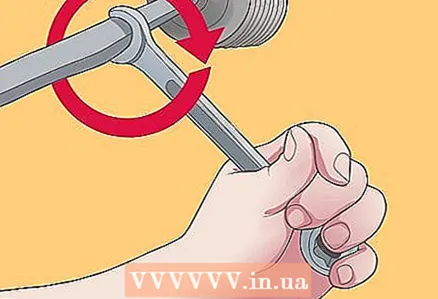 16 Make sure the locknut is tightened properly.
 17 Install the outer tie rod end on the wheels and make sure the bolt is correctly tightened.
 18 Check if pinch bolt and cotter pin hole are correctly aligned, replace cotter pin.
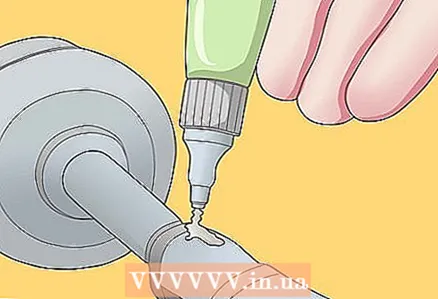 19 Apply (not a little) grease to the tie rod end mechanism until you see it.
 20 Clean up excess grease and fit the wheel.
 21 Repeat this process to install the tie rod ends on the other side.
 22 Remove the uprights, lower the floor jack, and professional leveling is complete.
Tips
- Turn the steering wheel towards you. This will make it easier to access the steering parts for the side you are working on.
- Some of these instructions may vary slightly depending on the make, model and year of your vehicle.
- As a rule, it is not recommended to reinstall all parts removed during installation.
- Choose a clutter-free work area that gives you plenty of room to move around your vehicle.
- For your safety, and to save the car, do not improvise with the instruments.
- An alternative to the marks for replacing steering rods is to measure distances on the steering gear as a whole.


