Author:
John Pratt
Date Of Creation:
17 April 2021
Update Date:
1 July 2024
Content
- To step
- Part 1 of 3: Prune in the right period
- Part 2 of 3: Rejuvenate or maintain by pruning
- Part 3 of 3: Design
Pruning a salix integra is similar to pruning any other dense hedge-like plant. Heavy pruning, such as thinning the plant, should be done in winter or early spring. You can also shape the plant in late summer and then prune it a bit to open the canopy to allow more light to come through. Targeted pruning and effective hedge shaping can help it get the necessary amount of light. If you want to heal a weakened or diseased plant, prune it all the way to the ground.
To step
Part 1 of 3: Prune in the right period
 Prune for rejuvenation in early winter. You can prune a salix integra already at the beginning of winter, when the plant is dormant. You can prune it when the weather in your area has completely turned to cold.
 - You could prune as early as the end of November.
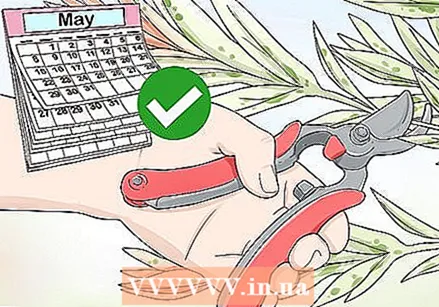 Prune for mid to late spring. You can wait until the end of winter to cut back the branches, but don't wait longer than early spring. Pruning should be done before new growth starts.
 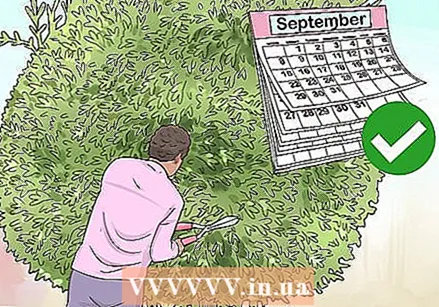 Trim the shape in late summer. If you are only trimming the top of the plant and are not going to remove more than 10 percent of the tree, you can do that in late summer. It is a good time because there is no new growth and you get a good idea of the shape of the plant while it still has its leaves.
Part 2 of 3: Rejuvenate or maintain by pruning
 Thin the salix integra for a natural shape. You can simply thin out the branches if you want to maintain the natural shape of the plant. Cut some specific branches to the ground every 1-2 years, then you will get a tall tree with beautiful flowers.
 - Use pruning shears or branches saw for this.
- First, choose the longest and oldest branches. The oldest growth is the thickest, heaviest branches. Cut it off to the ground. Try not to leave even a stubble above the ground.
- You can remove 1-5 branches, or about 1/3 of the plant.
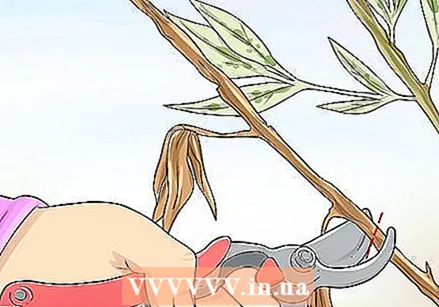 Cut away weak and diseased branches. Cut away any branches that are dead, diseased or weak with pruning shears. Also cut away split and crossed branches. Work from top to bottom.
 - If the branches are thicker than 1.5 cm, use a branch saw.
 Cut off grafts. This plant often has more grafts than others, meaning it produces new shoots at the base. Cut these offshoots to the ground 1-2 times a year.
 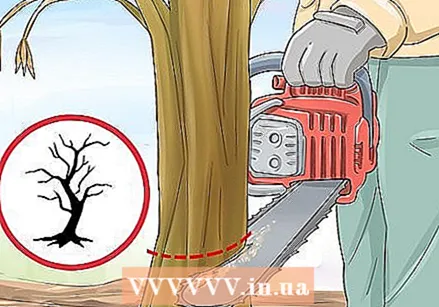 Prune the plant down to the ground if it has become irregular or unhealthy. Sometimes a plant has been neglected or the branches have weakened in some way, such as from a storm. In that case, it may be better to prune the plant back completely. Cut back all branches to a few inches above the ground and let the plant grow again.
 - After using this technique, you should pay extra attention to fertilizing and watering the plant.
Part 3 of 3: Design
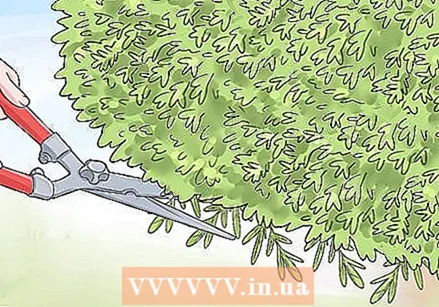
 Trim the tips of the branches to reduce the height. If you want to make a shape, you can cut the tips of the branches into a shape. Cut at lateral buds and side branches. You can shape every 4-6 weeks if you want.
 - Lateral buds are the buds that grow to the side instead of up. Cut just above the healthy bud, leaving 0.5-1 cm above the bud.
- It is important to cut away certain side branches, as these can become bare after thinning the shrub. Choose branches that grow at a 45-degree angle to the base branches and are about half the length. Cut them close to the base branch.
 If you want bare trunks, cut the branches at the bottom. The trunk will have side branches all the way to the ground. If you prefer a bare trunk, you can cut all the branches to a chosen height to create the desired shape. Cut the branches close to the trunk with hand trimming shears.
 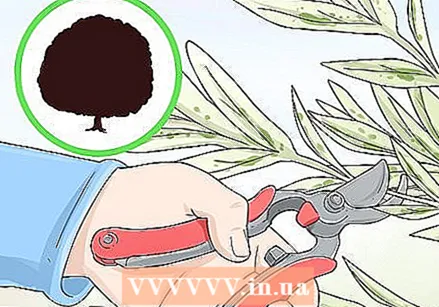 Cut light holes if you have a dense hedge. You can make a closed fence with this plant, but light must reach the bottom of the hedge. Cut some inconspicuous light holes in the top of the plant to let light through to the bottom.
 - If you prune at height, you can also cut some branches shorter than the desired height. That way you create space at the top.
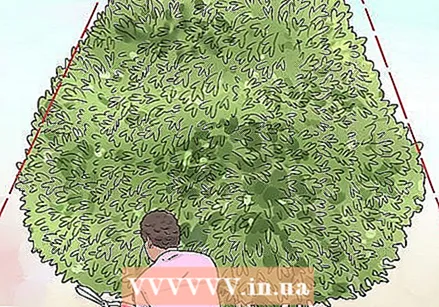 Keep hedges wider at the bottom. If you are making a hedge, shape it so that it is slightly wider at the bottom. That way, light can reach the entire plant more effectively.
 - If you are pruning for shape or pruning light holes, let the plant bend back in at the top, creating a ashape. This creates more space at the bottom for light.


