Author:
Eugene Taylor
Date Of Creation:
11 August 2021
Update Date:
1 July 2024

Content
RJ-45 connectors are mostly used for telephone and network cables. They are sometimes used for serial network connections. RJ-45 connectors were initially mainly used for telephones. Rapid technological developments created the need for a different size connector and the RJ-45 was tailor-made for this. Today you will find two different RJ-45 sizes, 1 for Cat 5 and 1 for Cat 6 cable. Thus, the user must ensure that the correct size is used for the job. The easiest way to keep them apart is to place them next to each other. The Cat 6 connector is larger than the Cat 5 connector. Below you will find instructions for clamping RJ-45 connectors to cable.
To step
 Buy your cable and RJ-45 connectors. Ethernet cable is usually sold in a variety of lengths, per roll, so you will probably need to measure and cut the correct length at home first.
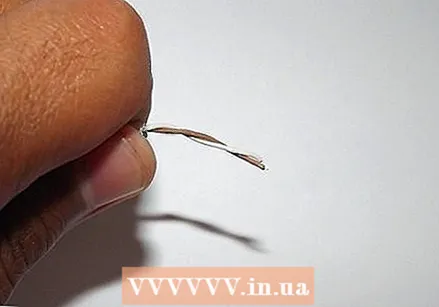
  Strip 2.5 to 5.1 cm of the outer jacket at the end of the cable by making a shallow cut in the jacket with a utility knife. Wrap the blade around the cable and the jacket should come off easily. 4 pairs of twisted wires are exposed, each with a different color or color combination.
 - Orange-white striped and orange

- Green-white striped and green

- Blue-white striped and blue

- Brown-white striped and brown
- Orange-white striped and orange
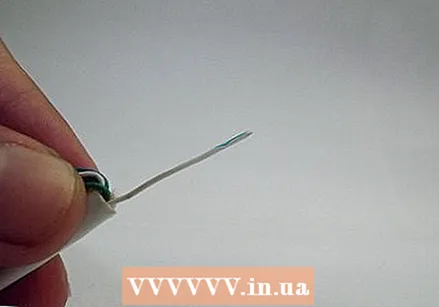
 Fold back each pair of wires to expose the core of the cable.
 Cut and discard the core.
 Straighten the wires using two tweezers. With tweezers, grab the vein just below one kink and use the other to remove the kink. The straighter the veins, the easier the job.
  Line up the straightened wires, in the order, from left to right, in which they will go into the RJ-45 connector:
- Orange with a white stripe

- Orange

- Green with a white stripe

- Blue
- Blue with a white stripe

- Green

- Brown with a white stripe

- Brown

- Orange with a white stripe
 Cut the disconnected wires to the correct length by holding the RJ-45 connector next to them. The cable insulation should be just inside the bottom of the RJ-45 connector. The wires must be cut so that they are flush with the top of the RJ-45 connector.
 - Always cut small pieces of the wires and make sure that the size is correct. It is better to cut the loose veins a few times than to start all over again, because you have cut too much.

- Always cut small pieces of the wires and make sure that the size is correct. It is better to cut the loose veins a few times than to start all over again, because you have cut too much.
 Insert the wires into the RJ-45 connector and make sure that they stay in the right place and that each color and the correct channel slides. Make sure that each wire goes all the way to the top of the RJ-45 connector. If you don't pay attention to this, you will soon find out that your newly clamped RJ-45 connector is not working.
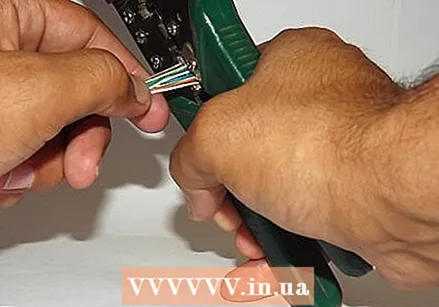
  Use the clamp pliers to clamp the RJ-45 connector to the cable by pushing the jacket and cable into the connector so that the wedge at the bottom of the connector presses into the outer jacket. Clamp the cable one more time for a good connection.
  Follow the instructions above to also put an RJ-45 connector on the other end of the cable.
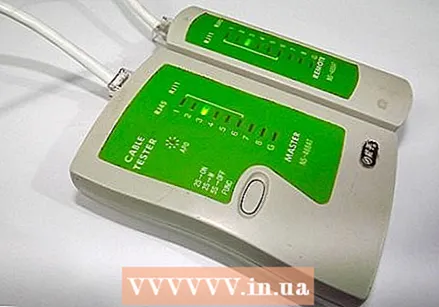 Use a cable tester to make sure your cable is working properly with both ends clamped.
Tips
- When pushing twisted wires into the RJ-45 connector, squeeze the cable flat underneath the twisted wires between your thumb and index finger to keep the wires straight.
Necessities
- Cable
- RJ-45 connectors
- Knife
- Crimping tool
- Cable tester
- 2 tweezers


