Author:
Charles Brown
Date Of Creation:
6 February 2021
Update Date:
2 July 2024
Content
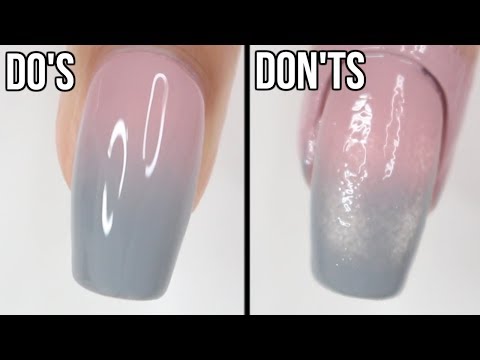
Ombré nails are a kind of nail art where the colors overlap. A light base color gradually fades into darker colors towards the nail edge. It may take some time and practice to get it right, but if you try hard, you can do it all by yourself.
To step
Part 1 of 4: Preparing your nails
 Ready.
Tips
- Paint your thumbnail last. By doing your thumbnail last, you can clean up minor flaws on your cuticle with the thumb of your other hand. Then remove any pieces of nail polish from your thumbnail with nail polish remover before painting it.
- You can also put petroleum jelly around your nails to keep spilled nail polish from sticking to your skin. Just be careful not to get it on your nail, because then the nail polish won't stick there either.
- You can create the ombré effect with a sponge. Put some white basecoat on your nails and then use a triangular sponge to apply the colors to your nail. Keep applying some nail polish on the sponge with the following nails for the best effect.
Necessities
- Soap
- Nail clippers
- File
- Cuticle pusher
- Basecoat
- Two contrasting nail polish colors
- Topcoat
- Small make-up sponge
- Paper plate, baking paper, sheet of plastic
- Fine brush
- Nail polish remover or acetone
- Cotton swabs
- Vaseline


