Author:
Morris Wright
Date Of Creation:
24 April 2021
Update Date:
1 July 2024

Content
- To step
- Method 1 of 5: Upload multiple photos to a new photo album
- Method 2 of 5: Upload multiple photos to an existing photo album
- Method 3 of 5: Upload multiple photos in a Facebook post
- Method 4 of 5: Upload multiple photos to a photo album using the Facebook mobile app
- Method 5 of 5: Upload multiple photos in a Facebook post using the Facebook mobile app
There are several ways you can upload multiple photos to Facebook at the same time. You can add photos to a photo album or you can place them directly on your timeline. Facebook has an upload function that is supported by Java, as well as a regular upload function. So you have several options when uploading your photos. You can also use the Facebook app on your mobile phone to upload photos.
To step
Method 1 of 5: Upload multiple photos to a new photo album
 Go to Facebook. Visit the Facebook website. You can use any browser for this.
  Log in. Use your Facebook account and password to log in. You can find the login fields in the top right corner of the Facebook page. Then click on "login" to continue.
  Go to your photos. Click on your name at the top of the taskbar of your Facebook page. This will take you to your personal timeline. Click on the "Photos" tab. You will find this tab below your profile picture. If you click on this, you will be redirected to your personal photo page.
  Click the "create album" button in the toolbar of your photos page. A small window will open in which you can see the files on your computer.
 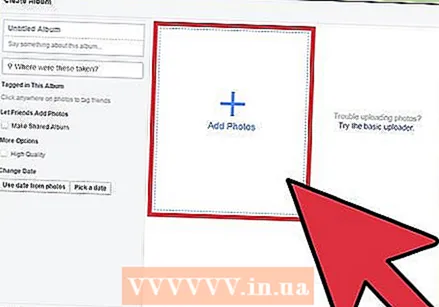 Select the photos you want to upload from your computer. To select and upload multiple photos at the same time, hold down the CTRL key (or CMD key on a Mac) while selecting the correct photos one by one.
 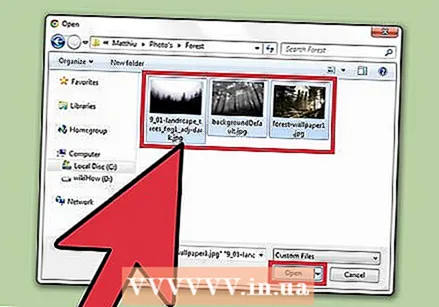 Upload your photos. Click the "open" button in the lower right corner of the open window. This will upload the selected photos to a new photo album on Facebook.
 - A "create album" window will appear while your photos are uploading. You can give the new photo album a name by entering it in the text field at the top of the page. In the text field below you can optionally give a description of the photo album.
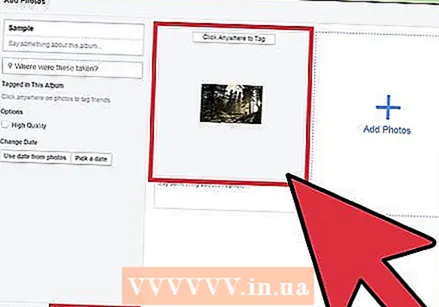
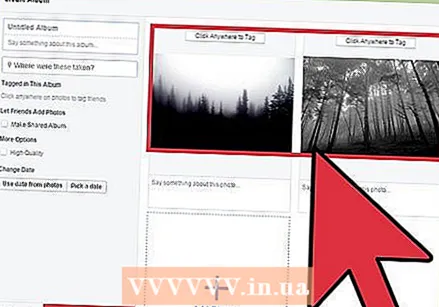 View your photos. Once all photos have been uploaded to the new photo album, the photos will appear as thumbnail images. On this page you can add a description to your photos or tag your friends if they appear in your photos.
 - Click the "Post" button at the bottom left of the "Create Album" window to save your new photo album and place it on your timeline.
Method 2 of 5: Upload multiple photos to an existing photo album
 Go to Facebook. Visit the Facebook website. You can use any browser for this.
 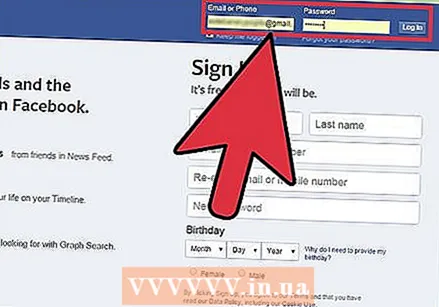 Log in. Use your Facebook account and password to log in. You can find the login fields in the top right corner of the Facebook page. Then click on "login" to continue.
  Go to your photos. Click on your name at the top of the taskbar of your Facebook page. This will take you to your personal timeline. Click on the "Photos" tab. You will find this tab below your profile picture. If you click on this, you will be redirected to your personal photo page.
  Select the album you want to add photos to. Click on "albums" in the subtaskbar of your photo page. This opens a page where all your photo albums can be seen. Scroll through the albums and click on the album to which you want to add additional photos.
  Add photos to the photo album. Click the "add photos" button in the top left corner of the album page. A small window will open in which you can see the files on your computer.
 - Select the photos you want to upload from your computer. To select and upload multiple photos at the same time, hold down the CTRL key (or CMD key on a Mac) while selecting the correct photos one by one.
- Click the "open" button in the lower right corner of the open window. This will upload the selected photos to your selected Facebook photo album.
- An "add photos" window will appear while your photos are uploading. On the left side of this window you can view the details of the photo album.
 View your photos. Once all photos have been uploaded and added to the photo album, the photos will appear as thumbnail images. On this page you can add a description to your photos or tag your friends if they appear in your photos.
 - Click the "Post" button at the bottom left of the "Add Photos" window to save your new photos and post them to your timeline.
Method 3 of 5: Upload multiple photos in a Facebook post
 Go to Facebook. Visit the Facebook website. You can use any browser for this.
  Log in. Use your Facebook account and password to log in. You can find the login fields in the top right corner of the Facebook page. Then click on "login" to continue.
  Start a new Facebook post. You can post a message on almost any Facebook page. You can do this by typing a message in the text field that you find at the top of your news overview, at the top of your timeline and on the Facebook page of a friend.
  Add photos to the message. In the text field where you type your message, you will find a few different options. For example, you can add photos, videos or your status to your Facebook message. To add photos, click the photo / video option in the text field. A small window will open where you can see the files on your computer.
 - Select the photos you want to upload from your computer. You can upload multiple photos at the same time.
- Click the "open" button in the lower right corner of the open window. This will upload the selected photos as part of your new Facebook post. The photos will appear in the field where you can also type a message.
 Post your photos. Once all the photos have been uploaded as part of your new Facebook post, the photos will appear as thumbnail images. You can choose to add a message or status to your photos or tag your friends if they appear in your photos. Click the "post" button to post your Facebook post with photos.
Method 4 of 5: Upload multiple photos to a photo album using the Facebook mobile app
 Open the Facebook app. Search for and open the Facebook app on your phone.
  Log in to your Facebook account. If you logged out the last time you used the app, you will need to log in again. In this case, enter your email address and password in the appropriate fields and tap "login" to access your account.
 - Skip this step if you are already logged in when opening the app.
 Go to your photos. Tap your name at the top of your Facebook app's taskbar. This will take you to your personal timeline. Tap "Photos" slightly below your profile picture. If you tap this, you will be redirected to your personal photo page.
  Select the album you want to add photos to. On the mobile Facebook app, your photos are organized in different photo albums. Tap the album to which you want to add additional photos. This opens the photo album and you can see which photos are already stored in the album. Tap the plus icon in the top right corner of the taskbar. The photo gallery on your mobile phone will open.
 - If you want to add photos to a new photo album instead of an existing album, tap "create album" in the top left corner of your photos page.
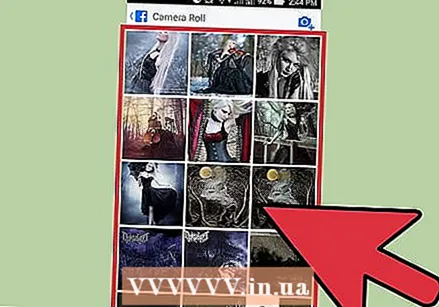 Select the photos you want to upload. Tap the photos you want to upload. You can upload multiple photos at the same time. The photos you have selected are highlighted.
  Post your photos. Tap the "done" button in the top right corner of your photo gallery. A small "update status" window will open with your photos and an empty text field. Here you can indicate who can see the photos or add a description or message to your photos.
 - Tap the "post" button in the top right corner of the "update status" window to upload and post your photos to Facebook. Your new photos and associated message will be posted on your personal timeline. They will also be stored in the photo album to which you have added the photos.
Method 5 of 5: Upload multiple photos in a Facebook post using the Facebook mobile app
 Open the Facebook app. Search for and open the Facebook app on your phone.
  Log in to your Facebook account. If you logged out the last time you used the app, you will need to log in again. In this case, enter your email address and password in the appropriate fields and tap "login" to access your account.
 - Skip this step if you are already logged in when opening the app.
 Go to your personal timeline. Tap your name at the top of your Facebook app's taskbar. This will take you to your personal timeline. You can post your photos directly to your personal timeline as part of a status update or message. So you don't have to create or edit a photo album.
  Tap the "share photo" button at the top of your personal timeline. The photo gallery on your mobile phone will open.
  Select the photos you want to upload. Tap the photos you want to upload. You can upload multiple photos at the same time. The photos you have selected are highlighted. Once you have selected all the photos, tap the "done" button in the top right corner of your photo gallery.
  Upload and post your photos. A small "update status" window will open with your photos and an empty text field. Here you can indicate who can see the photos or add a description or message to your photos.
 - Tap the "post" button in the top right corner of the "update status" window to upload and post your photos to Facebook. Your new photos and associated message will be posted on your personal timeline.


