Author:
Morris Wright
Date Of Creation:
26 April 2021
Update Date:
1 July 2024
Content
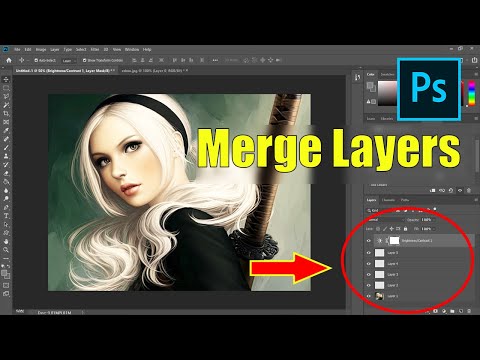
Layers in Photoshop allow you to work on an element of an image without disturbing the rest of it. Artists constantly use this to make design workflow easier. However, sometimes there is the need to combine and merge several layers - either to work on the merged image or merge all layers into a single layer for the final project. Fortunately, you have several options at your disposal for this.
To step
Method 1 of 2: Using Merge Options
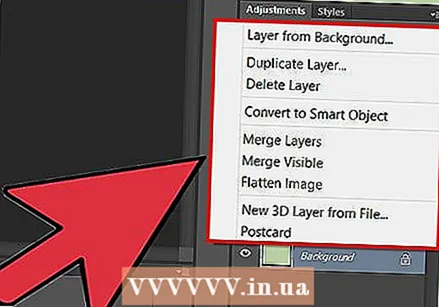 Right-click on a layer or multiple layers to open the merge options. Go to the layers panel and select the layer or layers you want to merge. Right click and go to the bottom of the menu that appears. You should see the following options:
 - Merge layers (or, if you only selected one layer, "Merge, Down")
- Unite, visible
- Make one layer
 Select "Merge, Down" to merge the currently selected layer with the layer immediately below it. The layers are merged, keeping the name of the bottom layer. Just keep in mind that you can't do this if either layer is invisible or locked.
 - This option is replaced with "Merge Layers" if you selected multiple layers.
- You can also press ⌘ Command+E or Ctrl+E to press.
 Select multiple layers and use "Merge Layers" to combine them all into one layer. Shift-Click or Ctrl / Cmd-Click on all layers you want to merge to select multiple layers. Then right-click on one of the layers and select "Merge Layers" to combine them.
 - The layers are merged in the top layer and keep that name.
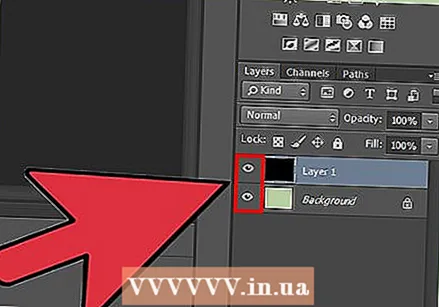
 Toggle layers on or off to use "Merge, Visible". This is a good way to quickly merge many layers. Instead of clicking all the layers you want to merge, just uncheck the little "eye" to the left of each layer you want to merge. not want to merge. Right-click on any visible layer in the panel and select "Merge, Visible". Only these layers with an active "eye" are merged, the others are left alone.
  Alt-click or Opt-click on "Merge, Visible" to merge the layers into a new layer, without making the old ones disappear. All visible layers are merged and copied into their own layer. The smaller layers remain intact and unaltered, so you can keep them in case you need them at a later time.
 - On a Mac you like ⌥ Option pressed.
- On a PC you keep Alt pressed.
 Choose "Create One Layer" to merge all layers except the ones that are not visible. Generate one layer is usually used at the end of a project, just before the final, finished image is saved. This will make one merged layer of all visible layers. If layers are not visible, you will be asked whether or not you want to merge them. Basically, the "Create Single Layer" feature creates everything you can see on the canvas and combines it into one layer, which is the only layer that remains.
 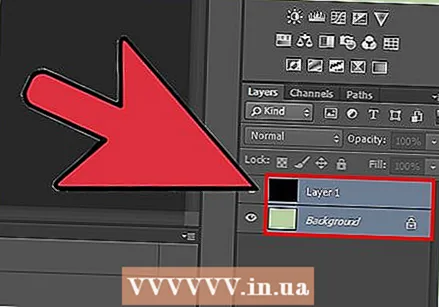 Understand that you cannot "undo" the merge. Merging layers is useful, but it gives you less control over the image. Make sure to merge layers only when you are done working on all individual parts.
 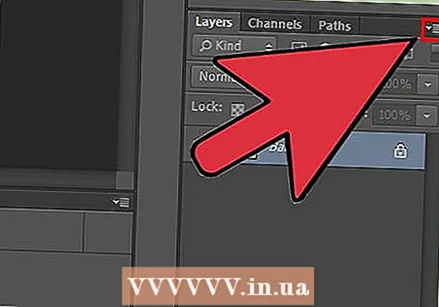 Know what other options there are to merge layers. There are two other ways to get the exact same menus, so use only the ones that are easiest to work with.
 - Click on "Layers" in the main menu. The options for merging can be found at the bottom of the submenu.
- Click on the small triangle and lines icon in the top right corner of the Layers panel. You can find merging at the bottom.
Method 2 of 2: Using Merge Alternatives
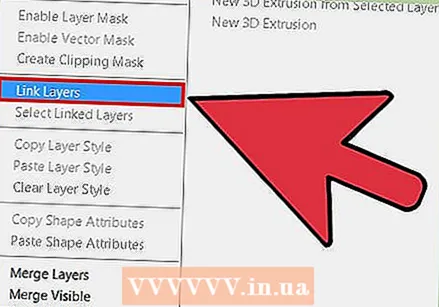 Link all layers to be able to move, edit and copy without merging. Linked layers remain untouched, which means you can edit them individually if you wish. However, if you click on a linked layer, you automatically adjust the layer or layers with which that layer is linked. This is a good way to make major changes to many layers without needing to merge them.
 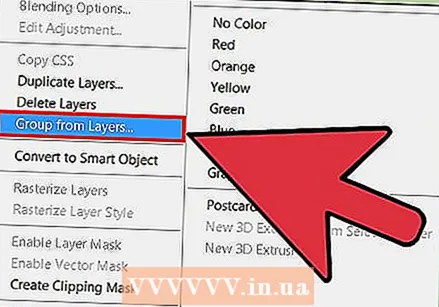 Group layers to work on specific sections at a time. If you have a series of layers that all belong to the same part of an image, such as shading, line art, and ink for a small animated character, you can group them together, making it possible to see only these layers of the larger image and to work on it. To group:
 - Select multiple layers in the layers panel.
- Right click and select "Group Layers". You can also drag the layers onto the little folder icon at the bottom of the Layers panel.
 Fix problems by converting layers that cannot be edited or grouped to pixels. This is only an occasional problem when merging. If no merge options do appear, try the following:
 - Right click and select "Convert to pixels".
- Make sure all layers are visible.
- Also make sure clipping masks are also selected - you must select them to merge them, otherwise merge may not be possible.


