Author:
Frank Hunt
Date Of Creation:
16 March 2021
Update Date:
1 July 2024
Content
- Ingredients
- To step
- Method 1 of 3: Cook canned chickpeas
- Method 2 of 3: Bake canned chickpeas
- Method 3 of 3: Heat canned chickpeas in the microwave
- Tips
- Warnings
- Necessities
- Cook canned chickpeas
- Bake canned chickpeas
- Heat canned chickpeas in the microwave
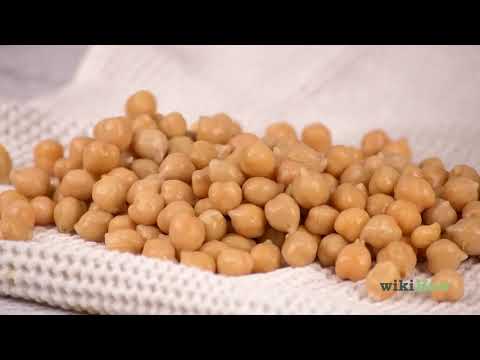
Chickpeas are healthy and versatile legumes. You can eat them as they are, add them to salads, chicken dishes, etc. Canned chickpeas are quick and easy to prepare. By cooking, baking or heating up canned chickpeas in the microwave you can prepare your own chickpeas!
Ingredients
- Canned chickpeas
- Season to taste
To step
Method 1 of 3: Cook canned chickpeas
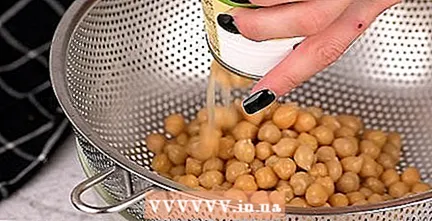 Open the can of chickpeas and drain over the sink. Pour the chickpeas into a strainer and shake gently to remove most of the aquafaba. This is the thick, sticky substance in the can. Then put the strainer in the sink and leave there until most of the aquafaba is gone.
 - Aquafaba is starchy and high in sodium.
- Place a can opener on the rim of the can and squeeze both arms together. Then turn the handle until you have cut through the outside of the can.
- If you don't have a can opener, use kitchen utensils such as a spoon to open the can.
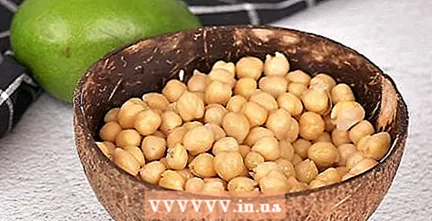 Serve the chickpeas or save them for later. You can add them to salads, eat them straight away, mix in sauces, etc. If you want to save them for later, put them in a plastic or glass container and keep in the fridge.
 - You can keep leftovers in the fridge for up to a week.
Method 2 of 3: Bake canned chickpeas
 Preheat the oven to 185 ° C. The process is accelerated by preheating your oven to 185 ° C. Set an alarm so you know when the oven is ready.
  Bake for 1 hour. Carefully place the baking dish in the oven. Then set a timer for 1 hour so you know when they are ready.
 - Watch the chickpeas while baking in case problems arise.
- If the chickpeas are not crispy after 1 hour, let them bake until crispier.
 Remove the chickpeas from the oven. Use heat protection when you take the baking dish out of the oven. Then place the bowl on a heat-resistant surface, such as on the stove or on a heat pad.
 - Don't forget to switch off the oven when you take out the baking dish.
 Let the chickpeas cool and serve. Once cooled, you can serve them straight away or add them to your favorite dishes! If you have leftovers, store them in the refrigerator in a glass or plastic container for up to 1 week.
 - You can reheat leftovers in the oven or microwave.
Method 3 of 3: Heat canned chickpeas in the microwave
 Season the chickpeas if you wish. While not necessary, it will add a lot of flavor. Try sprinkling the chickpeas with a little salt, pepper and paprika. Or you can sprinkle them with a dry dressing, such as cinnamon powder.
 - Use your hands or a spoon to spread the herbs over the chickpeas.
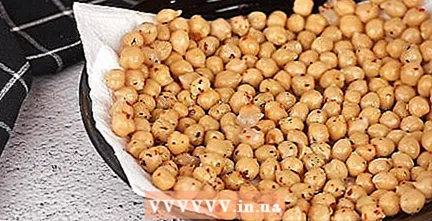 Place the chickpeas on a microwave safe plate. Arrange them into 1 layer so they will cook evenly. To make cleaning easier afterwards, you can put some kitchen paper on the plate before adding the chickpeas.
 - The more paper towels you put, the easier it will be to clean afterwards.
- Dishes that are not microwave safe may break or melt in the microwave.
 Serve the chickpeas or save them for later. Before eating them as a snack, let them rest for several hours so that they get crisper and cool. Or you can store them at room temperature in an airtight container.
 - Microwave heated chickpeas can be stored for up to 2 days.
Tips
- Dry the chickpeas as best you can when baking or heating them in the microwave.
- Drain the chickpeas completely.
- Keep the aquafaba and use it as a vegan substitute in other dishes.
Warnings
- The oven and stove are hot. Be careful!
Necessities
- Can opener
- Sieve
Cook canned chickpeas
- Pan
Bake canned chickpeas
- Kitchen paper or a clean kitchen towel
- Baking paper
- Oven
Heat canned chickpeas in the microwave
- Come on
- Microwave safe board
- Microwave oven


