Author:
Christy White
Date Of Creation:
6 May 2021
Update Date:
1 July 2024
Content
- To step
- Part 1 of 3: The preparation
- Part 2 of 3: Waxing your car
- Part 3 of 3: Getting the most out of your wax
- Tips
- Warnings
- Necessities
Some cars on the street look very dirty and worn, everyone can tell that the owner is not taking good care of his car. Of course you don't want other people to think that about you. Fortunately, you can keep your car looking neat without much effort by doing some maintenance every now and then.
To step
Part 1 of 3: The preparation
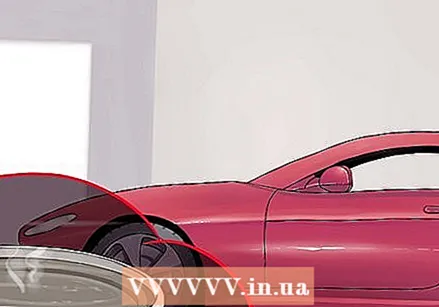 Wash your car. Thoroughly clean your car with a mild detergent and water in preparation for waxing. The car must be completely clean and dry before you can start waxing. Wax does not adhere well to dirt and moisture, but it does to clean car paint.
 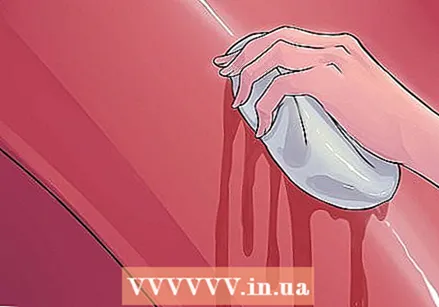 Treat your paint with polishing paste. If there are unsightly spots, scratches or other damage on your paint, you can treat those spots with scratch remover or polishing paste before waxing. These agents are slightly abrasive, which means that a thin layer of paint is rubbed off the car. The sanded varnish is spread until a new layer with an even color is formed.
 - Polishing paste is less abrasive than scratch remover, making it more suitable as a treatment for waxing. Gently apply the polish with a damp microfibre cloth, all over the car, then remove the paste with a second microfibre cloth.
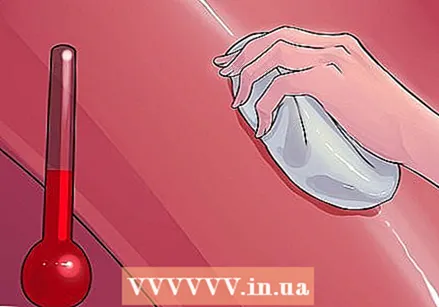 Wax your car when the temperature is between 13 ° C and 30 ° C. It fares better when it is on the cold side. When it is very hot, the wax dries immediately when it hits the car, and you can hardly rub it in. When it is colder than 13 ° C it is very difficult to make the wax supple and spread it on the car.
 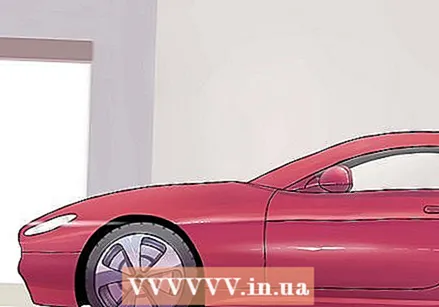 Wax your car indoors, in a garage, and out of direct sunlight. It's best to wax your car indoors to avoid direct sunlight (for the reason we described in the previous step). Sunlight heats the paint, if you wax in sunlight, a thin residue will remain on the car, which is very difficult to remove. Preferably do the waxing in your garage, where the temperature is more constant and where the sun doesn't shine. If you don't have a garage, you can find a spot in the shade of a tree or building, or you can do it on an overcast day or early morning or evening.
Part 2 of 3: Waxing your car
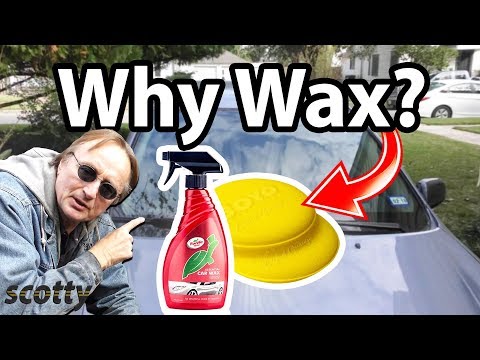
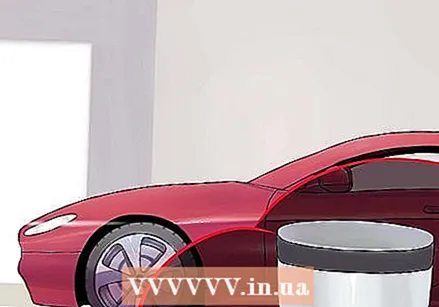 Choose the wax you are going to use on your car. The types of wax that contain carnauba wax work best, but they are usually a bit more expensive. There are also other types of wax that we can tell you about:
 - Some types of wax clean your paint and leave a wax layer at the same time. These products are often cheaper, but also a bit rougher. Cleaning wax products remove a clear coat from your car paint. If you are using a product that falls into this category, it is better not to polish first in preparation.
- Wax in a spray can is easy to apply, but there is a disadvantage: it does not last as long. A test showed that different types of wax from an aerosol can only stay on the paint for a few weeks.
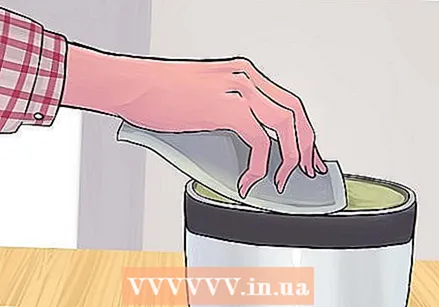 Put some wax on the sponge that comes with the wax. For a section of lacquer measuring 60 by 60 cm, put a drop of wax with a diameter of about 4 cm on your sponge. read the instructions for use first for more information about the specific amount.
 - How Much Wax Should You Use? Use before too little than too much wax. Many people make the mistake of applying too much wax. You then waste more, it is more difficult to remove and a dirty film remains. A thinner layer of wax will adhere better to the paint of your car.
- If no sponge comes with the wax, use your own damp sponge. It may not work as well, but it can be fine. Perhaps it is redundant information, but after waxing, do not use the sponge to wash the dishes.
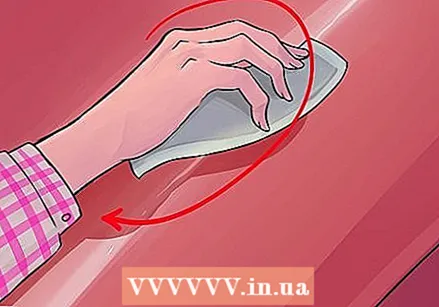 Stir gently and in a circular motion, spread the wax evenly over a small section of the paint. Divide the car into different sections and wax one section at a time, adding more wax if needed. Smooth, overlapping movements work best, with a pressure of about 1 to 2 kg.
 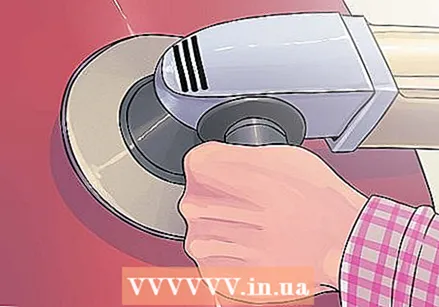 Use a polisher (optional). Use an eccentric polisher to apply more wax to your paint, this will help you rub unevenness out of the paint. Run the machine on low speed, apply wax to the machine or the car, and wax the car with the polisher by applying even pressure. Apply more wax if necessary.
  Leave the wax on the paint for a few minutes or follow the instructions. After waxing by hand and with the machine you have to let the wax sit for a while, keep to the time indicated by the manufacturer. You may have to wax, wait, and remove section by section.
 - This is a good way to know if the wax can already be removed: swipe your finger through the applied wax. If you can still spread it, don't remove the wax yet. When it is clear you can remove it.
 Remove the wax with a microfiber cloth to give it a nice shine. Wipe the wax off the paint in a circular motion with one side of the cloth. If the cloth becomes more difficult to move over the paint, there is now too much wax on it. Turn the cloth over and continue wiping for a smooth result.
  Keep rubbing the polish until the polish shines beautifully. Wipe the excess wax off the paint. You are done!
Part 3 of 3: Getting the most out of your wax
 Always wash your car with a cleaning agent that is suitable for cars that have been treated with wax. You can also clean your car with a mild dishwashing liquid if you want, but then your wax layer will not last as long. If you use a cleaner designed for waxed paint, your paint will last much longer, and you can then apply new wax as needed.
 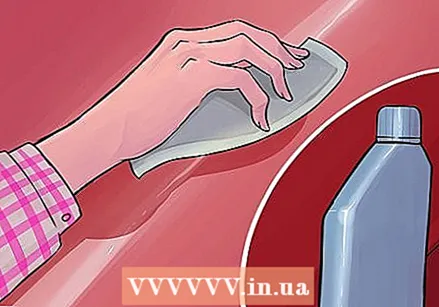 Use two types of wax for the best result. Some people go even further and use two types of wax to make the paint even more beautiful. They start with a synthetic wax and use a polisher to give it a nice shine. They wipe that off and then they apply a second layer of wax based on carnauba wax. That is also nicely polished and the end result does not look out of place at a car show.
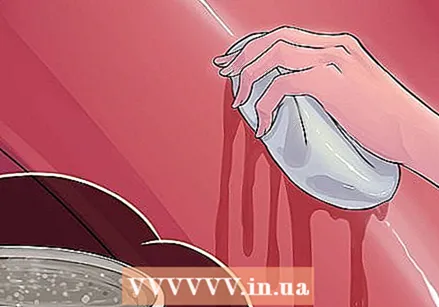
 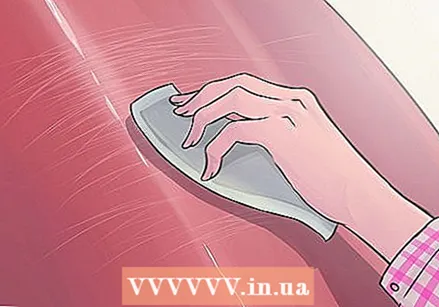 Eliminate smudges. If you still see smudges after removing the wax, we have a great tip for you. Fill a spray bottle with distilled water. Add a teaspoon of cleaning alcohol and mix well. Lightly spray some of the mixture where you can still see smudges, then wipe it off with a microfiber cloth.
 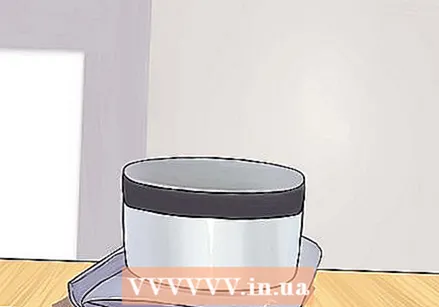 Understand that the wax layer can be left on for longer or shorter than the manufacturer specifies. That's another way of saying that every car is different, and that you should use your eyes and fingers to know when to start waxing again. Do not rely solely on the interval specified in the instructions.
 - Most manufacturers want you to use the drug more often than is actually necessary. If you wax your car more often, you will sooner need a new bottle, which is of course good for the manufacturer, but bad for your wallet.
- On the other hand, it can also happen that you have to wax much more often than prescribed.
 Never wax a car with a matt paint. Matt painted cars should not be waxed with agents that should make the paint shine.
Tips
- Several thin layers of wax give a better shine and offer better protection than one thick layer.
- By waxing your car, your car looks better and its value will be retained longer.
Warnings
- Don't wait too long to remove the wax. Then it will dry faster on your paint and you will see smudges.
Necessities
- Car wax
- Sponge
- Soft microfiber cloth


