Author:
Tamara Smith
Date Of Creation:
27 January 2021
Update Date:
1 July 2024
Content
- To step
- Part 1 of 3: Preparation
- Part 2 of 3: Removing the stitches
- Part 3 of 3: Aftercare
- Tips
- Warnings
- Necessities
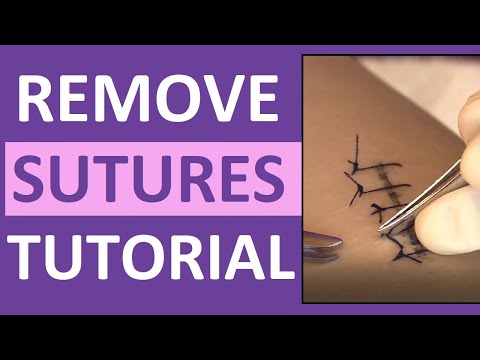
While it is recommended that you let your doctor or other healthcare provider do it, it's not always practical. When the recommended healing time is over, and the wound appears completely closed, you may want to remove the stitches yourself. Here you can read how to do that safely.
To step
Part 1 of 3: Preparation
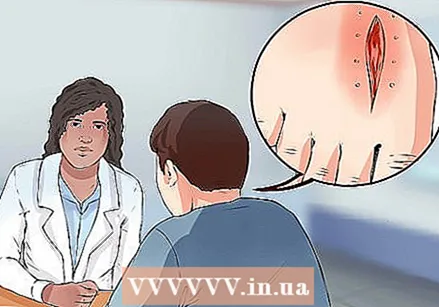
 Make sure it is safe to remove your stitches. In some cases you should absolutely not remove your stitches yourself. If you have had stitches after surgery or if the time for recovery indicated by your doctor (usually 10-14 days) has not passed, you are at high risk of infection and the wound will not heal properly.
 - Remember that the doctor usually applies adhesive strips to the wound after removing the stitches, so that the wound heals even better. If you do it yourself at home you may not have the care you need.
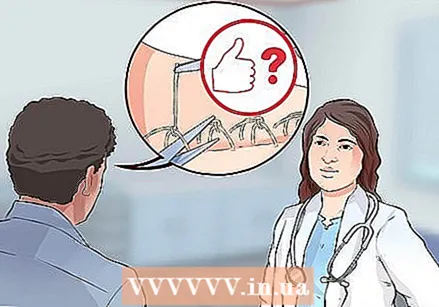
- If you want to know if it is okay for you to take the stitches out yourself, call your doctor. He or she will let you know if you can safely do it yourself.
- If your wound looks red or hurts, don't take the stitches out yourself. See your doctor as you may have an infection.
- Remember that you don't always have to make an appointment with your doctor to have the stitches removed. You can often also contact the assistant. Call your doctor and ask about this.
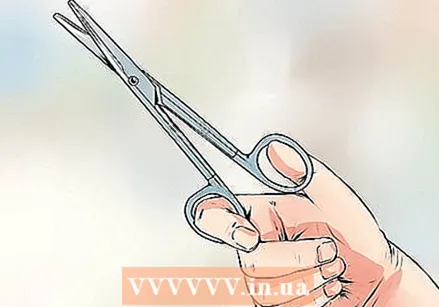 Choose a tool to cut the stitches. Use sharp surgical scissors if you have one. Sharp nail scissors also work well. Don't use anything that is too blunt, and don't use a knife - you'll slide off the stitches too easily.
 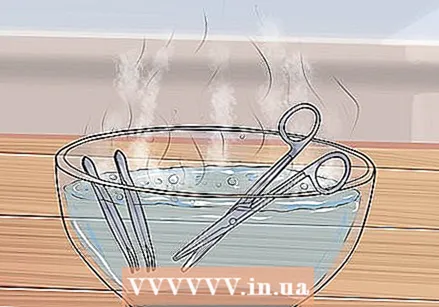 Sterilize your cutting tools and tweezers. Put them in a pan of boiling water for a few minutes and let them dry well on a clean paper towel. Then rub them all over with a cotton ball soaked in alcohol. This way you ensure that your tools no longer contain bacteria that you can transfer to your body.
 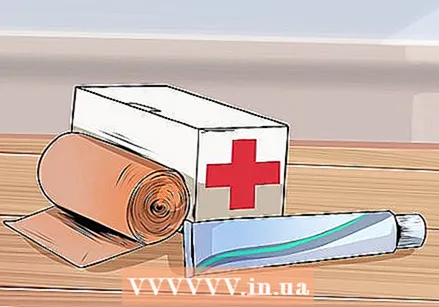 Gather the other supplies. There are some other things you should have on hand. Provide sterile bandages and antiseptic cream or liquid in case you need to treat a bleeding area. You shouldn't need it, because your skin should already be well healed, but make sure you keep it nearby.
 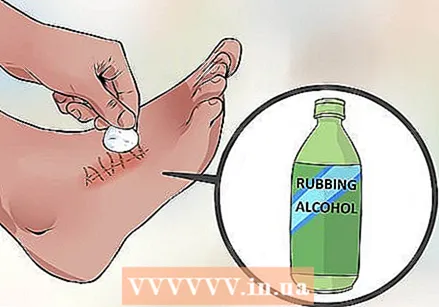 Wash and sterilize the area with the stitches. Use soap and water, then dry it well with a clean towel. Put alcohol on a cotton ball and clean the area around the wound even more thoroughly. Make sure it is completely clean before proceeding.
Part 2 of 3: Removing the stitches
 Sit in a well-lit area. You must be able to see each stitch very well. Never try to remove stitches in too dark a place, because you can hurt yourself.
 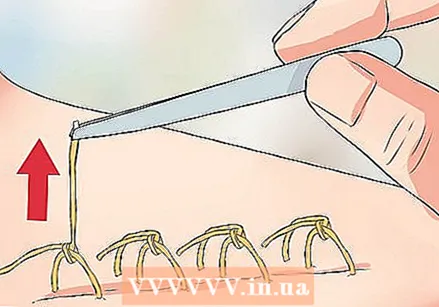 Lift the first knot. Using the tweezers, carefully lift the knot just above the skin.
 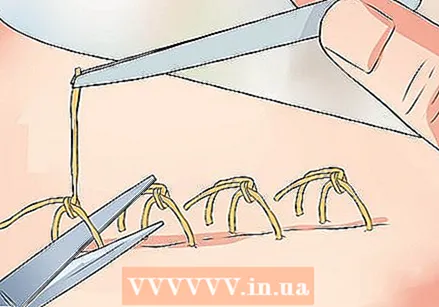 Cut the suture. Hold the knot just above your skin and cut the thread just next to the knot with your other hand.
 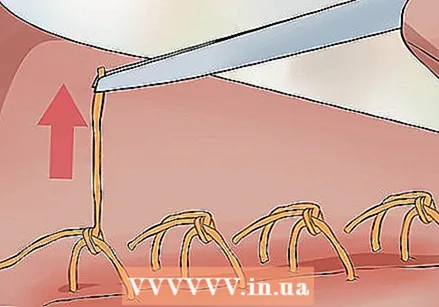 Pull the thread through your skin. Hold the knot with the tweezers and gently pull the thread out through your skin. It can resist a bit, but it shouldn't hurt.
 - If the skin starts to bleed while removing the suture, it is not time to take it out yet. Stop what you are doing and see your doctor to have the remaining stitches removed.
- Be careful not to pull the knot through your skin. It then gets stuck in your skin and it can bleed.
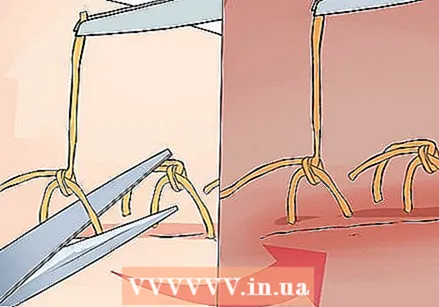 Continue to remove the stitches. Use the tweezers to lift the buttons and cut them with the scissors. Pull the thread through and discard. Continue like this until all stitches are out.
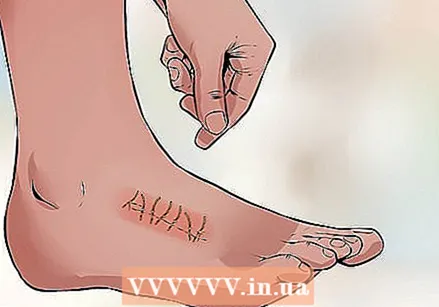
 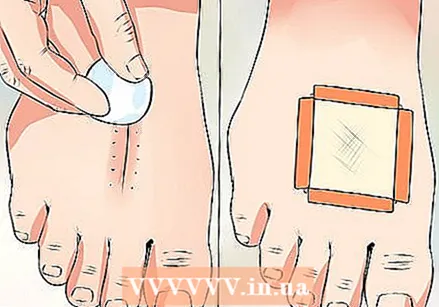 Clean the wound. Make sure nothing is left in the wound. If you want, you can apply a sterile bandage over the wound and let it heal.
Part 3 of 3: Aftercare
 If problems arise, see the doctor. When the wound opens again you will need new stitches. It is very important that you see your doctor immediately if this happens. Applying a bandage and waiting for it to heal on its own is probably not enough.
  Protect the wound from new injury. The skin should slowly regain its firmness - if you have removed stitches it is only at 10% of its normal strength. Do not overuse the part of the body where the stitches were.
 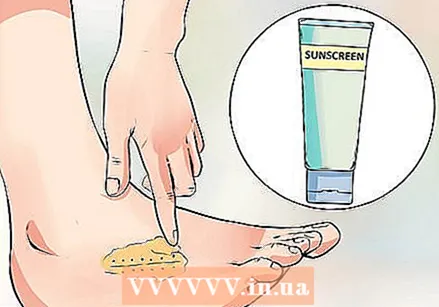 Protect the wound from UV radiation. UV light is harmful even for healthy skin. So use sunscreen if you come into the sun with your wound, or if you use the tanning bed.
 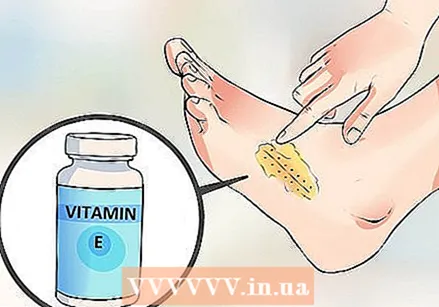 Apply vitamin E cream. This supports the healing process, but you can only use it when the wound is completely closed.
Tips
- Leave the stitches in place for the time specified by your doctor.
- Keep your wound clean.
- Rather use a disposable scalpel than scissors. They are sharper and flatter, so you don't pull the stitches as much.
Warnings
- Removing stitches yourself after major surgery is not recommended. This article is for removing small stitches.
- Do not try to remove surgical staples at home. Doctors use a special removal tool; if you do this at home it can hurt a lot.
- Do not let sutured wounds get wet or wash them with soap.
Necessities
- Surgical scissors, scalpel, nail clippers, or hobby knife (sterilized)
- Forceps or tweezers (sterilized)
- Hydrogen peroxide or alcohol
- Magnifying glass, preferably with built-in light
- Disinfectant cream or liquid
- Sterile dressing


