Author:
Frank Hunt
Date Of Creation:
19 March 2021
Update Date:
1 July 2024
Content
- To step
- Part 1 of 2: Preparing the ceiling and drywall
- Part 2 of 2: Attaching the drywall to the ceiling
- Tips
- Warnings
Installing drywall on a ceiling is a very easy process, but can be challenging when you work alone. By making a few minor adjustments, almost anyone can accomplish this task on their own. If you prepare and install the drywall properly, you should have no problems mounting drywall on your ceiling.
To step
Part 1 of 2: Preparing the ceiling and drywall
 Inspect the ceiling for obstructions or problems that need to be repaired. Before installing drywall, make sure that electrical wiring, ducts, protruding pipes, and other obstructions will not get in the way. Also take this opportunity to check that there are no problems, such as faulty plumbing, that are easier to fix without plasterboard getting in the way.
 - Install boards on the frame around these obstacles, if necessary, to create a flat, even surface for drywall installation.
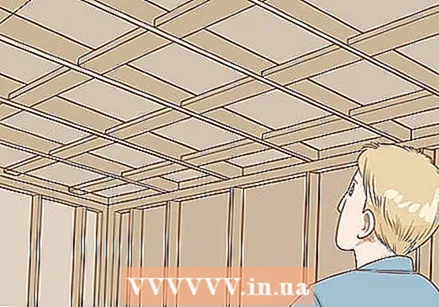
 Find the ceiling joists and mark their location on the wall. You know where the ceiling beams are at all times. If you can't see the joists, tap the ceiling with a hammer and listen for a muffled sound, indicating timber framing.
 - You can just use a pencil to mark the locations on the wall.
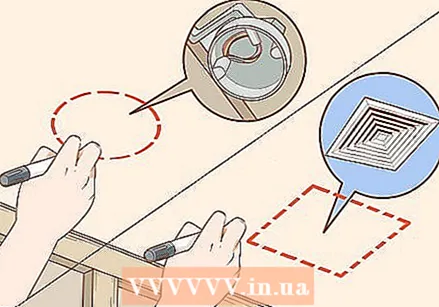 Mark the locations of light fixtures and vents on the drywall. Make note of where the various lights, vents, and electrical boxes are on the wall and mark these locations on the drywall you plan to place over them. You have to wait for the drywall to be installed on the ceiling before you can make holes for these things.
 - You can also mark these locations precisely on a plan of the ceiling, noting the exact distance from the walls.
 Smooth out any rough edges on the drywall. Smoothing rough edges or sawn edges on the plasterboard ensures tight joint of the plasterboard. Use a scraper to sand the edges of the drywall until smooth.
  Build a T-support if you are going to work alone or without a lift. A T-bracket provides the leverage and support needed to get the drywall on the ceiling when you work alone. Use a two-foot long of a 1.5x10cm beam and nail it to a 5x10cm beam long enough to be 30cm higher than the floor-to-ceiling distance.
 - A T-support is not necessary if you are using a drywall lift, which is a machine that smoothly lifts drywall toward the ceiling so you don't have to lift it. Drywall elevators can be rented cheaply from DIY stores and from companies that sell construction equipment.
Part 2 of 2: Attaching the drywall to the ceiling
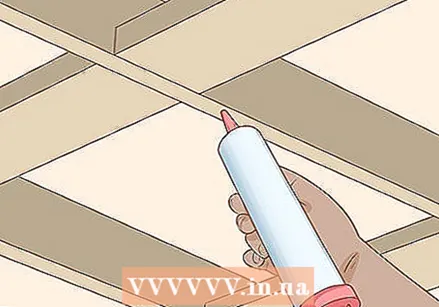 Apply adhesive to the joists where the first drywall will be on. Start in one corner and lift the first drywall towards the ceiling so you can get an idea of its placement on the joists. Wait until you know where the board will be before applying adhesive to the joists.
 - Drywall glue dries in 15 minutes, so make sure you're ready to set the drywall so you've applied the adhesive.
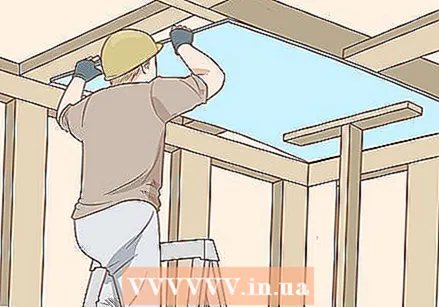 Lift the first drywall to the ceiling. Use your T-support, or a friend, to help you lift the first drywall up to the ceiling and slide it well into the corner. Make sure the tapered edges of the plate are facing the floor.
 - If you are using a drywall lift, position the lift under the ceiling and lift the board onto the lift so that it is directly under the appropriate angle of the ceiling. Lift it up slowly and make sure the plate does not slip from its position.
 Repeat this process along the first wall. Attach the next drywall in the same way, working along the wall, always making sure the tapered edges are up against each other and face down.
 - The tapered edges are designed to make the bonding and finishing process easier, so it is important that they face down.
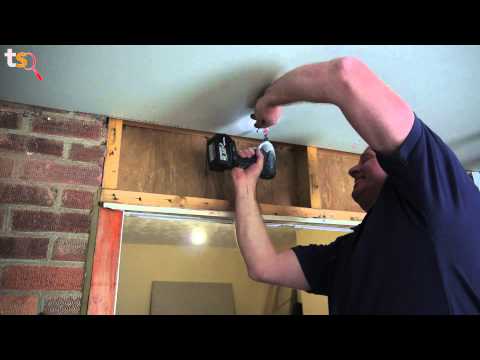
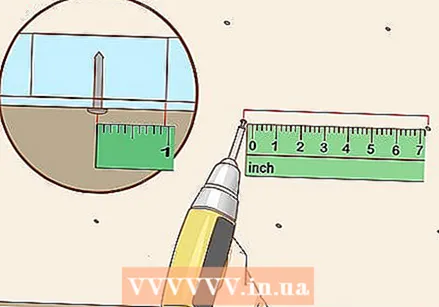 Permanently attach the drywall to the ceiling joists. Use nails or screws to attach the drywall to the joists. Place the fasteners approximately 1 cm from the edge of each plate and place them along the edge approximately 17.5 cm apart. Place the fasteners along the internal joists approximately 12 inches apart.
 - The heads of the fasteners of your choice should touch the paper coating and countersink slightly without breaking the paper.
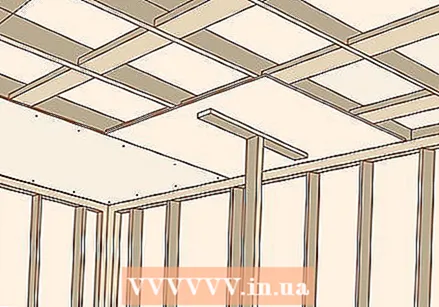 Start the second row with half a drywall to stagger the seams. When you're done with the first row of drywall and move on to the second, make sure the seams between the two rows don't line up. Staggered seams enhance the stability of the drywall.
 - Measure the cut line at the vertical centerline of the drywall, mark it and use a utility knife to cut the drywall to size. Place the plate at a slight angle to the floor or a table, then press down to break it in half.
- To attach these half-pieces of drywall, use the same procedure you used for the first row of drywall.
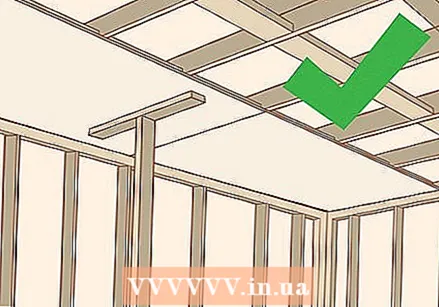
 Repeat this process until the entire ceiling is covered. Continue to place rows of plasterboard on the ceiling and always attach them with nails or screws. When starting a new row, make sure that the seams are staggered to ensure the stability of the drywall.
 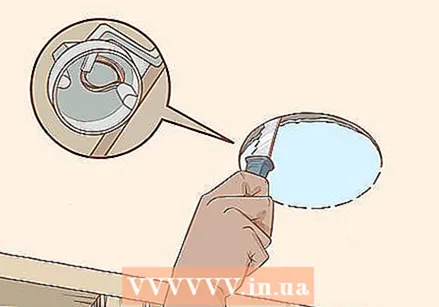 Go back to the beginning and cut holes in the drywall for vents and light fixtures. Now that your drywall is in place, you can cut holes in the spots you marked for vents, lights, and electrical boxes. Use a box saw to make the cutting process quick and easy.
Tips
- Lay the drywall flat on the floor until you are ready to use it. This prevents them from bending.
- Professionals hardly ever use adhesive on ceiling joists, in part because ceiling panels may need to be pulled down again to be cut to size. Instead of adhesive, three coarse drywall screws (or three pairs of nails) in the center are typically used, in addition to the screws along the edges of the board.
- The beams must be marked on the top plate. This plate usually consists of two 5x10 cm beams on top of the supports.
- Mounting drywall on a ceiling is the best way to cover a bumpy ceiling and other imperfections.
- When choosing screw length, longer is no better. A 5 cm screw does not hold a 1 cm piece of plasterboard in place better than a 3 cm screw, but it is much more difficult to screw in and keep it straight.
- For the price of 10 to 15 euros, a T-bracket for plasterboard will quickly pay for itself! Lean the plate almost upright against the wall and use your left foot (if you are right-handed) to hold the bottom of the support. Cut the plate at the mark, then lift it slightly off the floor to break the plate. Lean over the plate and cut through the paper 30-60 cm in the center of the cut. Grab the end to be removed and push that end away from you with a quick motion to break it off! A protractor is indispensable for quickly marking openings for lamps, sockets, etc.
- Plasterboard is available in various thicknesses. The recommended thickness for ceilings is 1.5 cm. There is also a special 1 cm ceiling plate available. If the installation needs to be inspected, the inspector can tell you what is acceptable.
Warnings
- Make sure to use eye protection!


