Author:
Frank Hunt
Date Of Creation:
12 March 2021
Update Date:
1 July 2024

Content
- To step
- Method 1 of 3: With the camera of your smartphone
- Method 2 of 3: With Google PhotoScan
- Method 3 of 3: Using the Dropbox app
- Tips
- Warnings
This article will teach you how to scan a photo with your smartphone, both with your smartphone's built-in camera and with an app to scan photos.
To step
Method 1 of 3: With the camera of your smartphone
 Place your photo on a flat surface. If the photo is wrinkled, try to get the wrinkles out with a soft cloth or cotton swab.
  Open the Camera of your smartphone. On an iPhone, this is a gray app with a black camera icon. On Android, this app looks like a camera.
 - The Camera app is usually on the home screen (iPhone) or among your other apps (Android).
 Point your camera at the photo you want to scan. The photo must be centered on your phone screen.
 - Make sure the photo is not slanted so that the scanned image is not distorted.
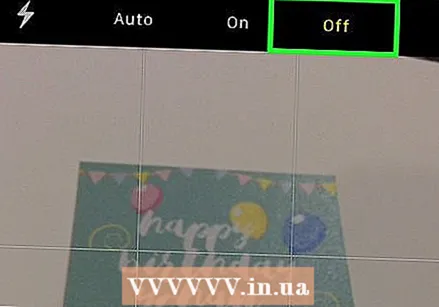 Turn off the flash. You must turn off the flash before proceeding as the flash can make the colors in the photo disappear and distort. You do this like this:
 - "On iPhone": Press the lightning bolt icon in the top left corner of the screen, then press "Off".
- "On Android": Tap the lightning bolt icon in the top right corner of the screen, then press the lightning bolt icon with a line through it.
 Look for the "Capture" button. This is a white circular button at the bottom of the screen.
 - "On iPhone": Make sure your camera is in photo mode by swiping left or right until you see "PHOTO" above this button.
- "On Android": If this button is red, swipe right on your Android screen to return to the "Capture" button.
 Press the "Capture" button. This will take a photo of your photo and save it to the photo album on your phone.
 - You can view the photo you just took by pressing either the square icon in the lower left corner of the screen (iPhone) or the circular icon in the lower right corner of the screen (Android).
Method 2 of 3: With Google PhotoScan
 Place your photo on a flat surface. If the photo is wrinkled, try to get the wrinkles out with a soft cloth or cotton swab.
 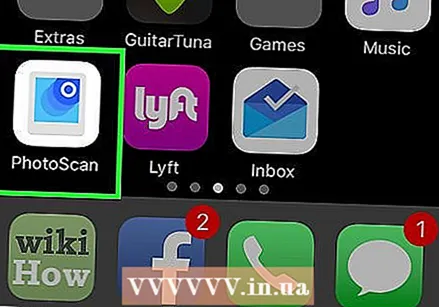 Open PhotoScan. This is a light gray app with multiple blue circles in it. If you haven't downloaded it yet, please do so here for the following platforms:
 - "IPhone" - https://itunes.apple.com/us/app/photoscan-scanner-by-google-photos/id1165525994?mt=8
- "Android" - https://play.google.com/store/apps/details?id=com.google.android.apps.photos.scanner&hl=en
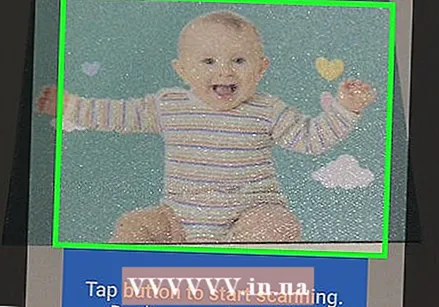 Point your phone at the photo. The photo must fit within the rectangular scanning area on your phone screen.
 - If this is your first time using PhotoScan, press "START SCAN" first and then press "OK" or "Allow" to allow PhotoScan to use your camera before continuing.
- On Android, you may need to press "SCAN MORE PICTURES" before continuing.
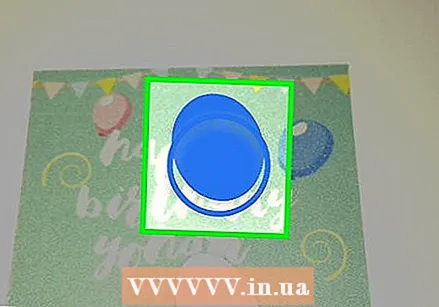
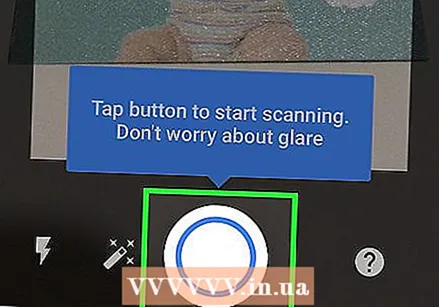 Press the "Capture" button. This is the white and blue circle at the bottom of the screen.
 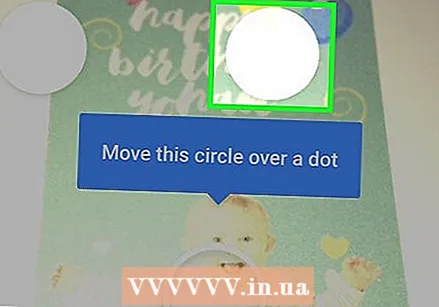 Wait for four dots to appear. These white dots will represent a square or rectangular pattern.
 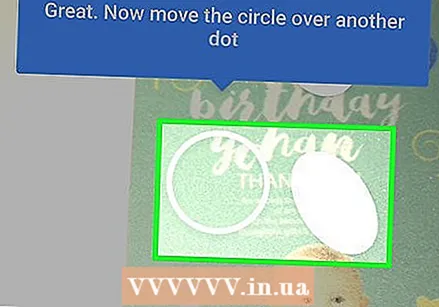 Position one of the dots in the circle on your phone screen. After a moment, the dot will scan and your phone will play the sound of a camera's shutter release.
 - Make sure to keep your phone parallel to the photo while doing this.
 Repeat this procedure for the three other dots. After the four dots have been scanned, your photo will be saved.
  Tap the circular icon in the lower right corner of the screen. This circle will open your page of scanned photos.
  Press your scanned photo. This will open it.
  Press … (iPhone) or ⋮ (Android). This icon is in the top right corner of the screen. Pressing this displays a pop-up menu.
 - You can also first press the "Adjust Angles" button at the bottom of the screen to crop your photo if necessary.
 Save Save to gallery. This will appear at the top of the popup menu.
  Press Save when it appears. This will save your scanned photo to a photo app or album on your phone.
 - You may need to press "OK" or "Allow" before PhotoScan can access your photos.
Method 3 of 3: Using the Dropbox app
 Place your photo on a flat surface. If the photo is wrinkled, try to get the wrinkles out with a soft cloth or cotton swab.
 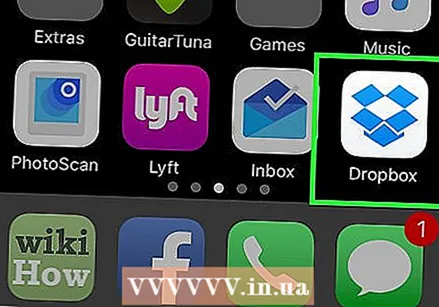 Open Dropbox. This is either a white app with a blue open box (iPhone) or just a blue box (Android). This will open the last tab that Dropbox was open on.
 - If you don't have Dropbox yet, download it for iPhone at https://itunes.apple.com/us/app/dropbox/id327630330?mt=8 or for Android at https://play.google.com/store/ apps / details? id = com.dropbox.android & hl = en.
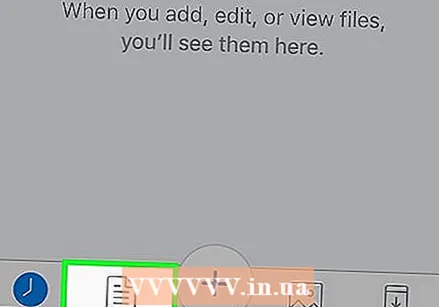 Press Files. This tab is located either at the bottom of the screen (iPhone) or in the "☰" drop-down menu in the top left corner of the screen (Android).
 - If Dropbox opens to an open file, first press the "Back" button in the top left corner of the screen.
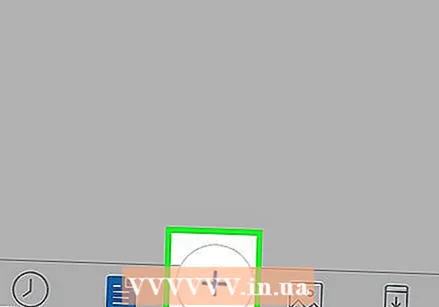 Press +. This is at the bottom of the screen. This will open a pop-up menu.
 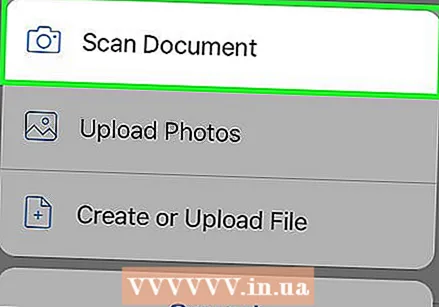 Press Scan document. This should be among the top ten options of the popup menu.
  Point your phone at a photo. To avoid distortion, make sure the photo is not at an angle to the phone's camera; the easiest way to do this is to place the photo on a flat surface and point the phone down towards the photo.
  Wait for the blue frame to appear around the photo. As long as your photo is clearly focused and separated from the background (e.g. a table), the blue frame will appear around your photo.
 - If the frame doesn't appear or looks crooked, adjust the angle of your phone.
 Press the "Capture" button. This is either a white circle at the bottom of the screen (iPhone) or the icon of a camera at the bottom of the screen (Android).
  Press the "Edit" button. This button is either a group of switches in the center of the screen (iPhone), or the "Customize" tab in the lower left corner of the screen (Android).
  Press the tab Original. This changes the scan settings for the photo from black and white to color.
  Press Ready (iPhone) or ✓ (Android). It's in the top right corner of the screen.
  Press Next one (iPhone) or → (Android). This option is in the top right corner of the screen.
 - You can also press the "Add" button, with a "+" sign on it, to scan more photos.
 Press Save (iPhone) or ✓ (Android). It's in the top right corner of the screen. This will add your photo as a PDF (default) to the "Files" tab of your Dropbox. You can view your photo on a computer by opening the Dropbox folder on your computer or by going to https://www.dropbox.com/ and logging in with your email address and password.
 - You can also rename the photo here by tapping the "File Name" box and typing a new name, or you can change the file type by pressing "PNG" to the right of the "File Type" heading.
Tips
- You can send photos that you took with your smartphone to social media, via email or SMS, or to a cloud app (eg Google Drive).
- Do not use a flash when taking the photo. The flash will magnify some features of the photo and minimize others, so the quality of the scan may be significantly less than desired.
Warnings
- While you may be tempted to zoom in on your photo, this will be at the expense of the quality of the digital version.


