Author:
Judy Howell
Date Of Creation:
5 July 2021
Update Date:
1 July 2024
![How to Make Facebook Account Completely Private on Phone [2022]](https://i.ytimg.com/vi/2ryD-Fmjws0/hqdefault.jpg)
Content
- To step
- Method 1 of 4: Make your account private on a mobile device
- Method 2 of 4: Make your account private on a desktop computer
- Method 3 of 4: Disable chat on your mobile device
- Method 4 of 4: Disable chat on a desktop computer
This article will show you how to make your Facebook account as private as possible.
To step
Method 1 of 4: Make your account private on a mobile device
 Open Facebook. This is the blue app with the white "f" in it. If you are logged in, your Facebook news feed will now open.
 - If you're not already signed in, enter your email address (or phone number) and password, then tap Sign Up.
 Tap ☰. This button can be found in the bottom right corner (iPhone) or top right corner (Android) of your screen.
  Scroll down and tap Settings. This button can be found at the bottom of the page.
 - On Android, you have to tap here Account Settings.
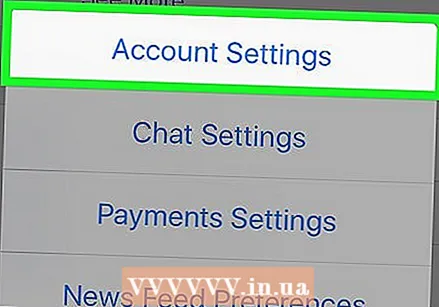 Tap Account Settings. This option can be found at the top of the pop-up menu.
 - You can skip this step on Android.
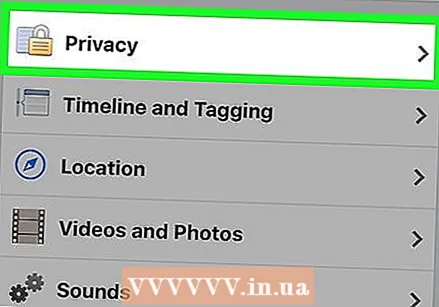 Tap on Privacy. This option can be found at the top of the page.
 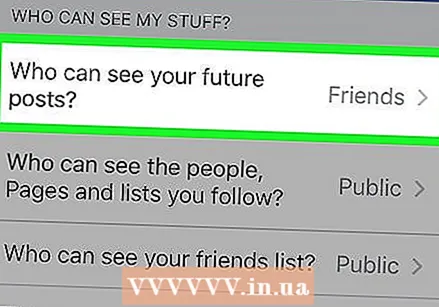 Tap Who can see your future posts?. This is the top option in the menu.
 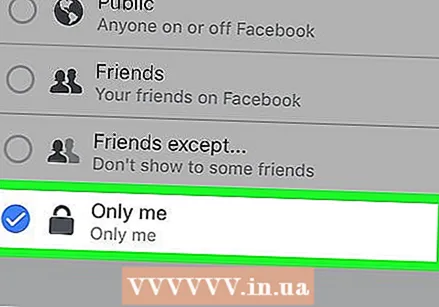 Tap Only me. This ensures that only you can see all the messages you create in the future.
 - If you still want others to see your messages, you can also tap here Friends or Friends, except acquaintances.
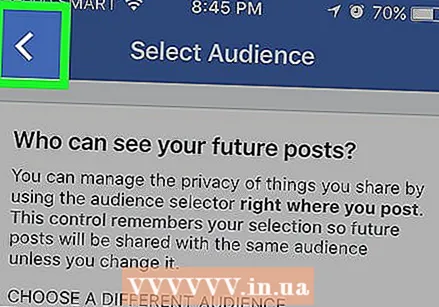 Tap the back button. It's in the top left corner of the screen.
 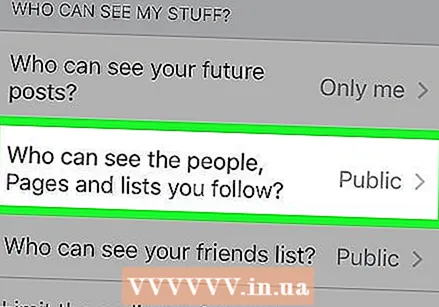 Tap Who can see the people, pages, and lists you follow?. You can find this option under the heading "Your activities" at the top of the page.
 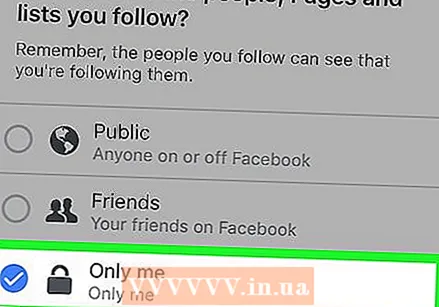 Tap Only me. This ensures that only you can see who follows you and who you are friends with.
 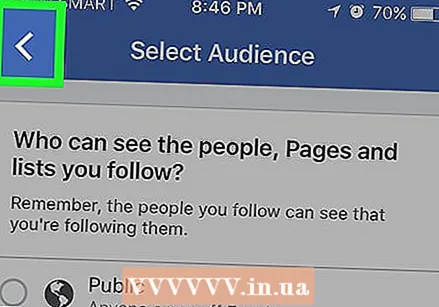 Tap the back button.
 Tap Restrict who can see previous messages. You will find this option under the heading "Your activities".
  Tap Restrict Old Messages. This option limits the audience of old posts that you have shared as Public or with Friends of friends to Friends only. This means that people you are not friends with will no longer be able to see your old messages.
 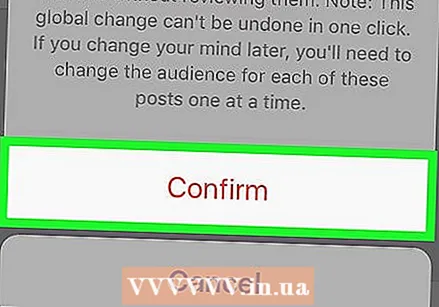 Tap Confirm. This will apply the change and you will be returned to the Privacy screen.
 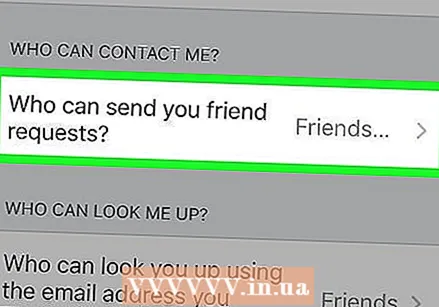 Tap Who can send you friend requests?. This button can be found in the middle of the page.
 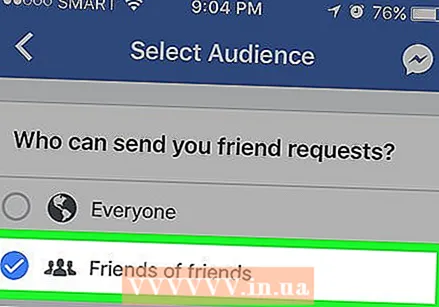 Tap Friends of friends. This option restricts who can send you friend requests to only the friends of your friends.
  Tap the back button.
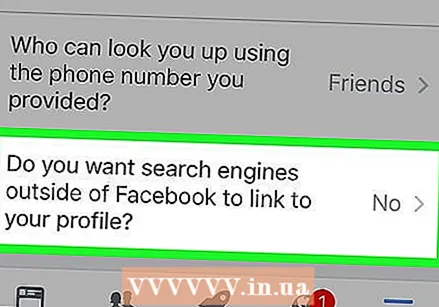 Tap the option at the bottom of the page. This is "Do you want search engines outside of Facebook to refer to your profile?"
 - Tap Allow search engines outside of Facebook to refer to your profile. This option is at the bottom of the page.
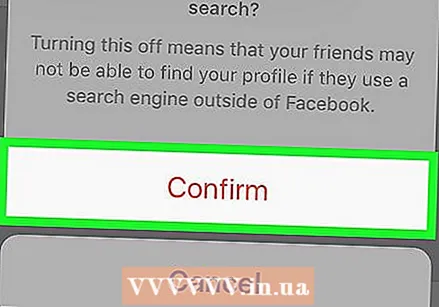 Tap Confirm. Your account settings are now as private as possible.
Method 2 of 4: Make your account private on a desktop computer
 Open the Facebook website. If you are logged in, your Facebook news feed will now open.
 - If you are not logged in yet, enter your email address (or phone number) and password in the top right corner of the screen, then click Sign Up.
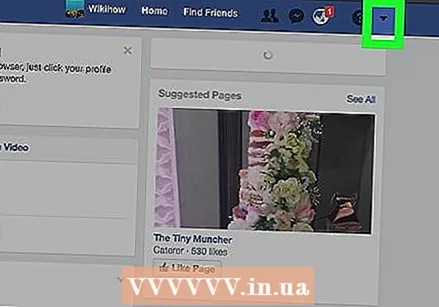 Click on ▼. You can find this arrow in the top right corner of the Facebook window.
 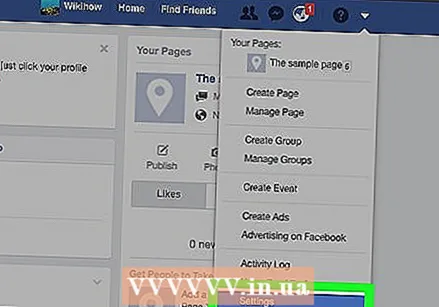 Click on Settings. You can find this option at the bottom of the drop-down menu.
 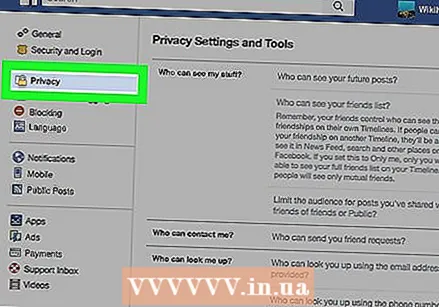 Click on Privacy. This option is on the left side of the window.
 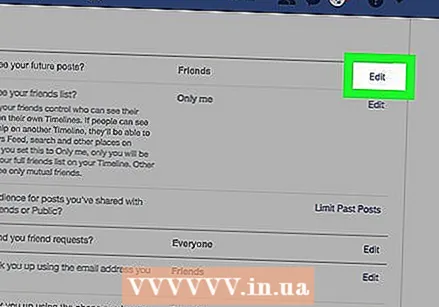 Click Edit next to "Who can see your future posts?"Edit" is on the right side of the window. You will now see "Who can see your future posts?" At the top of the Privacy page.
 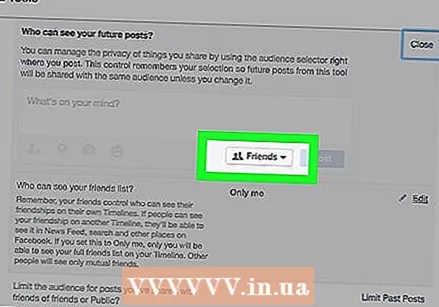 Click the box at the bottom of this section. The box will say "Friends", "Public" or similar.
 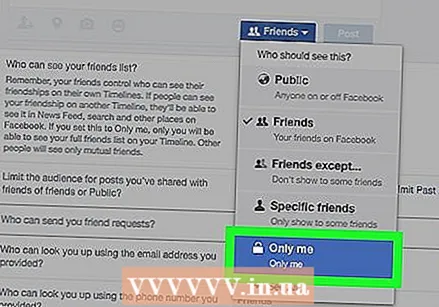 Click Only me. This ensures that only you can see all the messages you create in the future.
 - If you still want others to see your messages, you can also click here Friends or Friends, except acquaintances. (This option may be in the "More Options" section.)
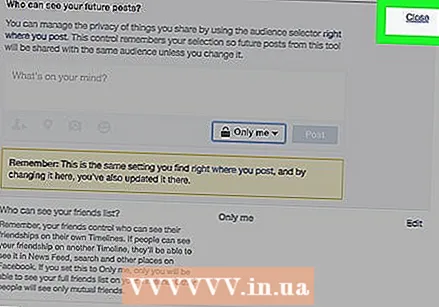 Click on Close. This is in the top right corner of the "Your Activities" section.
 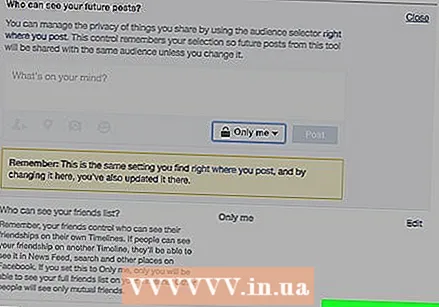 Click Restrict Old Messages. This section can be found under the heading "Your activities" on the right side of the page.
 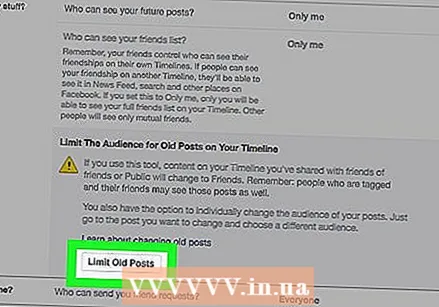 Click Restrict Old Messages. This button is located at the bottom of the "Your Activities" section. This limits the audience of all your old messages to just friends.
 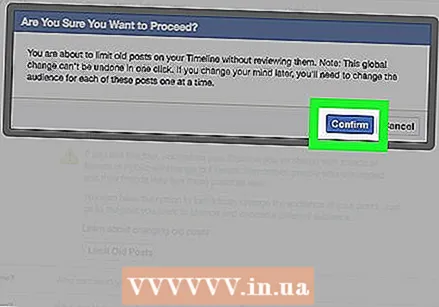 Click on Confirm. This is at the bottom of the popup window.
  Click on Close. This is at the bottom of the popup window. This will take you back to the Privacy screen.
 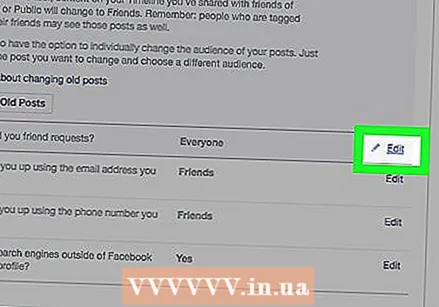 Click Edit next to the "Who can send you friend requests?"". The section "Who can send you friend requests?" Is about halfway down the Privacy page.
 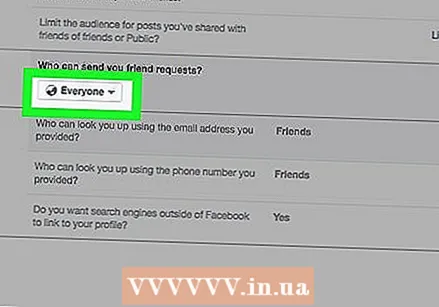 Click the Everyone box. This is under the heading "Who can send you friend requests?"
 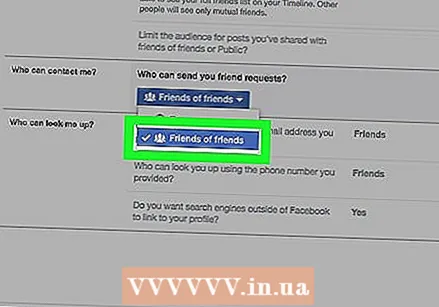 Click Friends of friends. This option restricts who can send you friend requests (and thus who can see you in the "Friend Suggestions" section) to only the friends of your friends.
 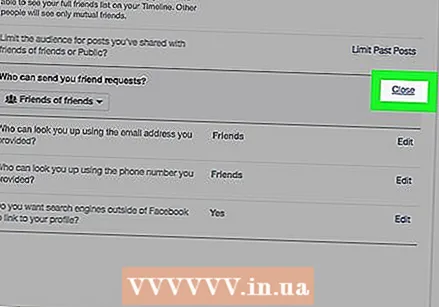 Click on Close. This is in the top right corner of the "How people can find and contact you" section.
 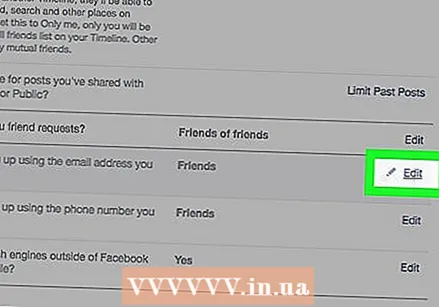 Click Edit to the right of "Who can find you using the email address you provided?""This option is under the heading" How people can find and contact you ".
 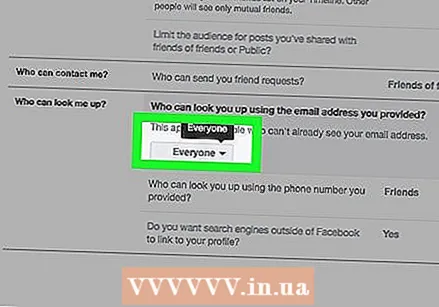 Click the box at the bottom of this section. The box will say "Everyone", "Friends of Friends" or something similar.
 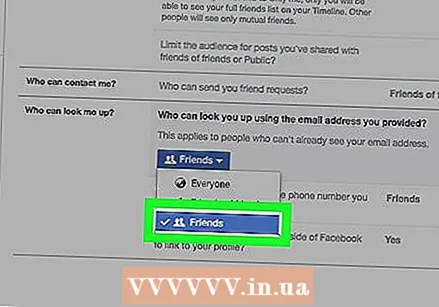 Click on Friends. This ensures that only your Facebook friends can visit you with your e-mail address.
 - You can do the same for your phone number with the option below: "Who can find you using the phone number you provided?"
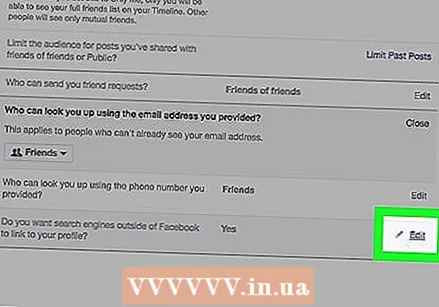 Click Edit to the right of the last option on this page. This is "Do you want search engines outside of Facebook to refer to your profile?"
 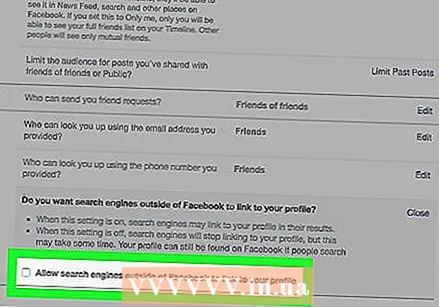 Uncheck the box next to the text "Allow search engines outside of Facebook to refer to your profile". This way you ensure that people cannot find you via Google, Bing or other search engines outside of Facebook's own search service.
 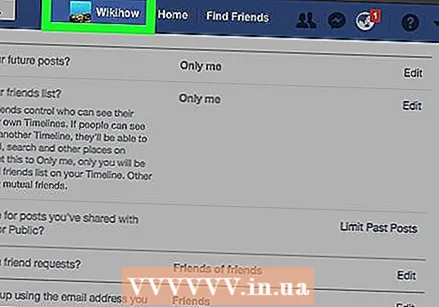 Click on your own name. This one is at the top of the Facebook page.
 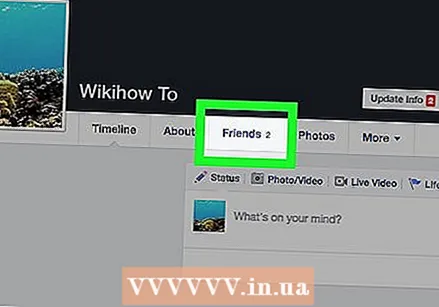 Click on Friends. You will find this option at the bottom right of your profile picture.
 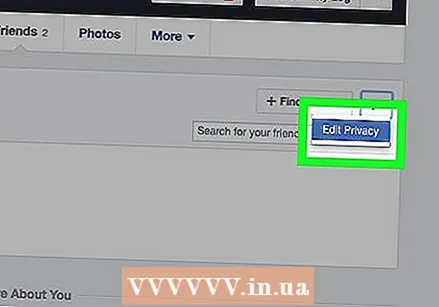 Click Edit Privacy. This option is in the top right corner of your friends list.
 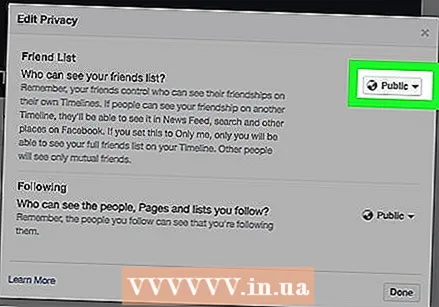 Click the box to the right of "Friends list". This box will say "Friends", Public "or similar.
 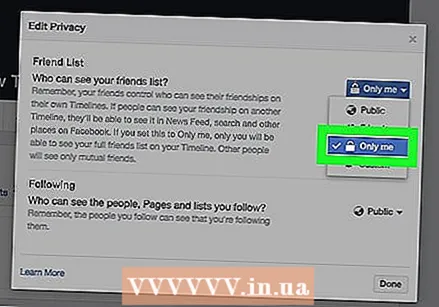 Click Only me. Now only you can see your friends list.
 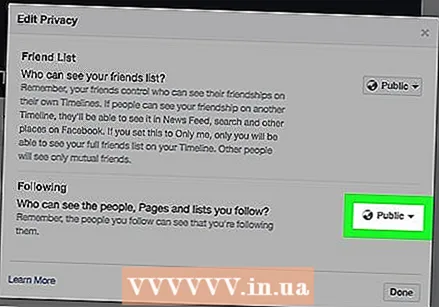 Click the box next to "Next". Again, it says "Friends", Public "or something similar.
 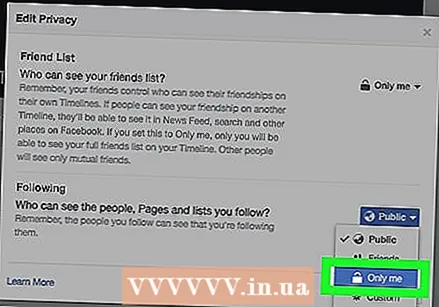 Click Only me.
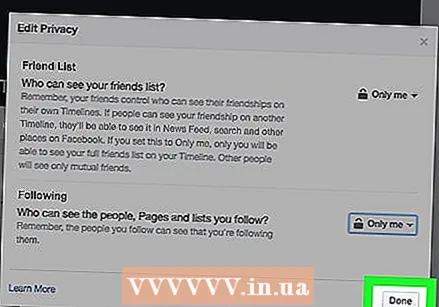 Click on Done. This is at the bottom of the "Edit Privacy" window. You now have your friends list, account information, and old messages hidden from everyone, making your Facebook account just about as private as possible.
Method 3 of 4: Disable chat on your mobile device
 Open Facebook. This is the blue app with the white "f" in it. If you are logged in, your Facebook news feed will now open.
 - If you're not already signed in, enter your email address (or phone number) and password, then tap Sign Up.
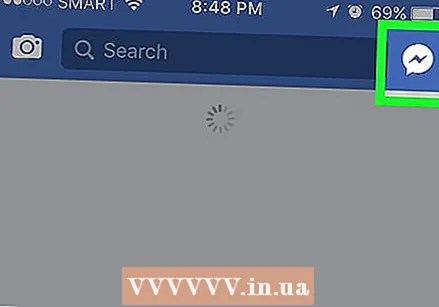 Tap the speech bubble. It's in the top right corner of your news feed. You now open the chat bar.
 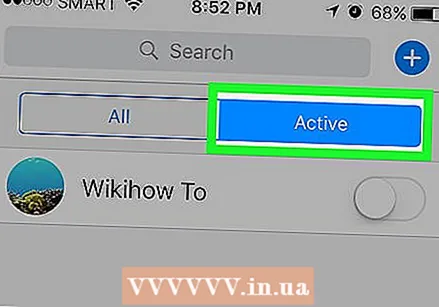 Tap ⚙️. This gear icon can be found in the top right corner of your screen.
 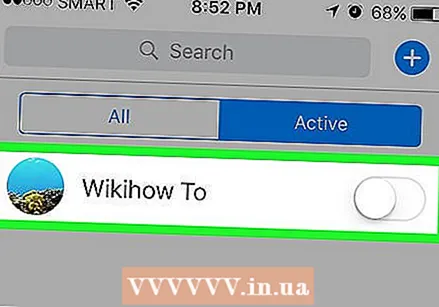 Tap Turn off chat. This makes you appear offline to your friends.
 - On Android, tap to the right of "Enabled" in the popup window.
Method 4 of 4: Disable chat on a desktop computer
 Open the Facebook website. If you are logged in, open your Facebook news feed.
 - If you are not logged in yet, enter your email address (or phone number) and password in the top right corner of the screen, then click Sign Up.
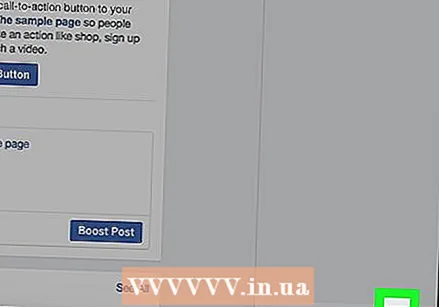 Click on ⚙. You can find this icon in the chat bar at the bottom right of the Facebook page.
 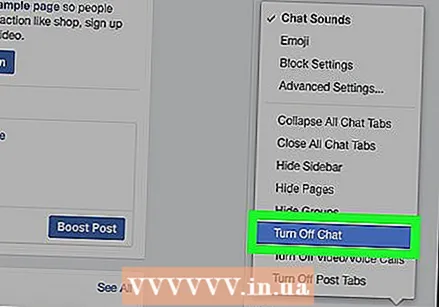 Tap Turn off chat. You can find this option halfway through the pop-up menu.
 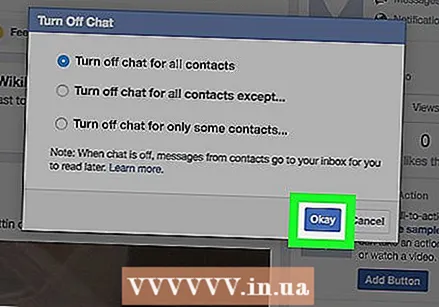 Click OK. This way you turn off the chat bar for all your contacts, and you appear offline to your friends.


