Author:
Frank Hunt
Date Of Creation:
16 March 2021
Update Date:
1 July 2024

Content
- To step
- Method 1 of 2: Make a snow globe with household objects
- Method 2 of 2: Make a snow globe using a kit from the store
- Tips
- Warnings
- Necessities
Are you looking for a fun Christmas craft that you can make with your children (or parents)? One of the options is to make a snow globe. A snow globe is a fun, traditional decoration that you can easily assemble using items from your home. You can also buy a ready-made kit on the Internet or at a hobby store to make a more professional looking snow globe that will last for years. Whatever you choose, go to Step 1 below to get started.
To step
Method 1 of 2: Make a snow globe with household objects
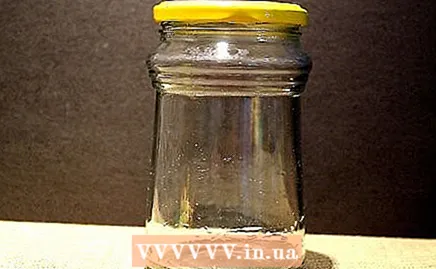 Find a mason jar with a tight-fitting lid. It doesn't matter how big the pot is, as long as you have figures that fit in it.
 - Jars that have held baby food, red peppers, olives or artichoke hearts are all suitable, but in fact you can use any jars with a tight-fitting lid. Just take a look in your fridge to see what you can find.
- Wash the pot inside and out. If you can't get the label off, try soaking the jar in hot, soapy water and using a plastic card or a knife to scrape the label off. Dry the pot thoroughly.
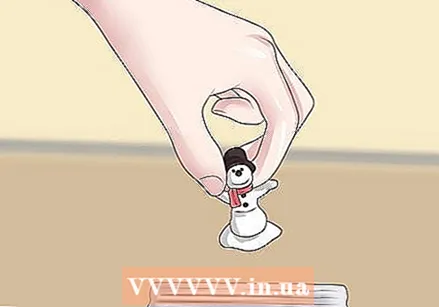 Decide what to put in the snow globe. You can put anything you like in your snow globe. Small children's toys are a good option, as are winter figures or cake dolls (such as snowmen, Santa Clauses, and Christmas trees) that you can purchase at thrift and hobby stores.
 - Make sure to use plastic or ceramic figurines, as figurines made of other materials, such as metal, can rust or look unsightly when immersed in water for a long time.
- If you really want to be creative, try making your own figurines from clay. You can buy clay from a hobby store, make figures out of it (a snowman is very easy to make) and bake them in the oven. Paint the figures with waterproof paint and they are ready to use.
- Another idea is to take pictures of yourself, your family or your pets and laminate them. You can then cut out everyone and put the photos in the snow globe. This way you can make a snow globe with a very personal touch.
- It is called a snowbulbous, but you don't necessarily have to create a winter scene. You could create a beach scene with shells and sand, or use something playful and fun like a dinosaur or a ballet dancer.
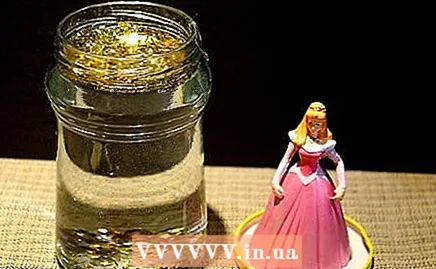 Create a scene on the bottom of the lid. Remove the lid from the jar and cover the bottom with a layer of hot glue, super glue or epoxy. If you want, you can sand the lid first with a piece of sandpaper. The surface will then be rougher and the glue will be better able to adhere to it.
 - Create a scene on the bottom of the lid while the glue is still wet. Stick your figures, your laminated photos, your clay modeled dolls or other objects on the lid.
- If the object you want to stick to the lid has a narrow bottom (such as the laminated photos, an object cut from a garland or a plastic Christmas tree), it may help to put some colored pebbles on the bottom of the lid. to stick. You can then put the object between the stones.
- Remember that the scene you are creating has to fit in the opening of the jar, so don't make it too wide. Place the figures in the center of the lid.
- When you have the scene ready, set the lid aside for a while to dry. The glue must be completely hardened before you put water in the pot.
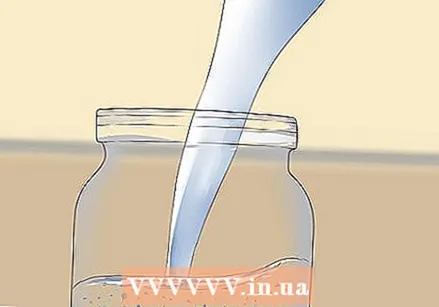 Fill the jar with water, glycerine and glitter. Fill the jar almost to the brim with water and add 2 to 3 teaspoons of glycerine (you can find this on the bakery shelf at the supermarket). The glycerine makes the water "thicker" so that the glitter falls more slowly. Baby oil has a similar effect.
 - Now put the glitter in the jar. How much you use depends on the size of the pot and what you like. Put enough in the jar as some of the glitter will stick to the bottom of the jar, but don't use so much that the scene you created isn't visible.
- Silver and gold glitter are beautiful if you have created a winter or Christmas scene. However, you can use any color. You can also buy special "snow" for snow globes at hobby shops and on the internet.
- If you don't have glitter at home, you can also make pretty real-looking snow from crushed eggshells. Crush the dishes with a rolling pin.
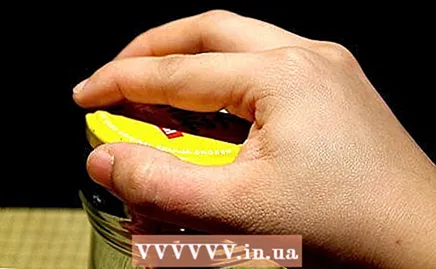 Gently put the lid on the jar. Grab the lid and gently turn it on the jar. Tighten the lid as best you can and soak up any spilled water with a paper towel.
 - If you are worried about the lid coming off, apply a line of glue along the rim of the jar before putting the lid on the jar. You can also wrap colored tape around the lid.
- However, sometimes it is necessary to reopen the jar to fix something that has come off, or to add fresh water or more glitter. So keep that in mind before you put the lid on the jar.
 Decorate the lid (optional). If you want, you can finish your snow globe by decorating the lid.
 - Paint the lid in a bright color, wrap a decorative ribbon around it, cover it with felt or stick sprigs of berries, holly or small bells on it.
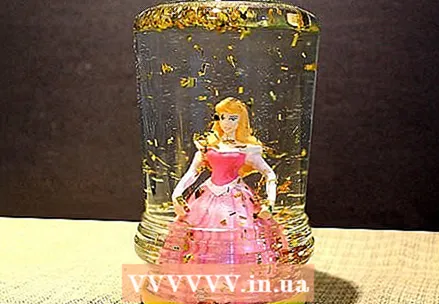
- When you're done with that, all you have to do is shake your snow globe well and watch the glitter fall gently on the beautiful scene you've created.
Method 2 of 2: Make a snow globe using a kit from the store
 Buy a snow globe kit or kit online or at a hobby store. There are many different sets available. With some sets you just put a picture in a holder, with others you can make your own clay figures and with still other sets you get a sphere, a bottom and other materials to make a professional looking snow globe.
  Assemble the snow globe. When you have bought a set, follow the instructions on the package to assemble the snow globe. With some sets you will have to paint the parts and glue the figures to the bottom. When the scene in the snow globe is finished, you will usually have to glue the glass or plastic globe to the bottom and fill the globe with water (and snow or glitter) through a hole in the bottom. Then insert the plug from the kit into the hole to close the snow globe.
Tips
- Put glitter, beads or other small objects in the water. Any items that are small enough are suitable, as long as they don't damage the item in your jar.
- As a central object in your snow globe you can use, for example, a small plastic doll, a plastic animal and / or a playing piece from a board game such as Monopoly or a figure from a model train set.
- To make your snow globe even more fun, you can add a few drops of food coloring to the water before adding glitter or beads.
- One of the ways you can make the object in your snow globe more fun is to decorate it with glitter or fake snow. You can do this by painting a layer of clear lacquer or glue on the object and then sprinkling glitter or fake snow on the wet lacquer or glue. Don't forget to do this before putting the item in the water. The glue must be dry before the object gets wet, otherwise the effect will not be seen.
Warnings
- Your homemade snow globe may leak over time, so make sure to place it on a surface that you don't mind getting wet.
- Opt for light colors if you decide to color the water using food coloring. Don't use blue, green, black, or navy, or you won't be able to see into your snow globe. Also make sure to use an item that will not be discolored by the food coloring.
Necessities
- Clean jar with lid (a preserving jar is very suitable)
- Water
- Glue or epoxy
- Glycerine
- Glitter or small beads
- Small plastic items
- Food coloring (optional)


