Author:
Frank Hunt
Date Of Creation:
16 March 2021
Update Date:
1 July 2024
Content
- To step
- Method 1 of 8: Install a USB printer (Windows and Mac)
- Method 2 of 8: Install a network printer (Windows)
- Method 3 of 8: Install a network printer (Mac)
- Method 4 of 8: Share a printer in a Homegroup (Windows 7 and 8)
- Method 5 of 8: Share a connected printer (All Windows versions)
- Method 6 of 8: Share a connected printer (Mac)
- Method 7 of 8: Print from iOS devices
- Method 8 of 8: Print from an Android device
Printers have become a regular part of the home office, and printer installation has been streamlined over the years. Most printers install themselves, but adding a printer to a network or sharing the printer with other users can still be difficult. Once you know how it works, you can even get your printer printed from anywhere in the world!
To step
Method 1 of 8: Install a USB printer (Windows and Mac)
 Read the installation manual for your printer, if available. Many printers are quite fussy; if you have an installation manual, it is best to follow the instructions exactly before looking at these more general instructions. You can usually find the installation guide as a PDF file on the manufacturer's support page for your model.
 - The fastest way to find the support page for your printer is to open Google and search for "manufacturer type number support".
 Connect the printer to your computer. Make sure to connect directly to a USB input and not a USB hub.
 - Some printers also need to be plugged in.
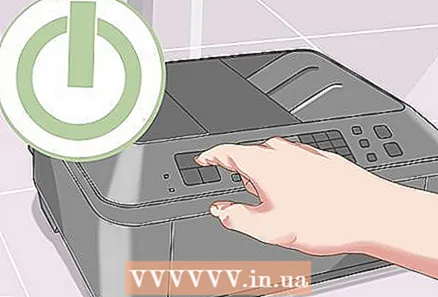 Turn on the printer. You should hear the feed mechanism start up and the printer light up.
 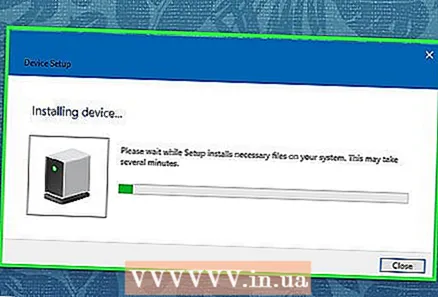 Wait for your operating system to see and install the printer. All modern Windows and OSX versions should be able to find the printer and install the necessary drivers. You may need to connect to the internet so that your operating system can download the correct files. For most users, this is all you need to do to start printing with your new printer. If you are using an older Windows / OSX version, or if the printer is not found automatically, read on.
  Install the software that came with the printer. This usually installs drivers that were not installed by Windows automatically, and often additional printing software that allows you to use the additional capabilities of your printer. If you no longer have the disc that came with the printer, and the printer was not automatically detected by your operating system, read on.
 - If your printer is automatically installed correctly, you generally don't need to install anything else.
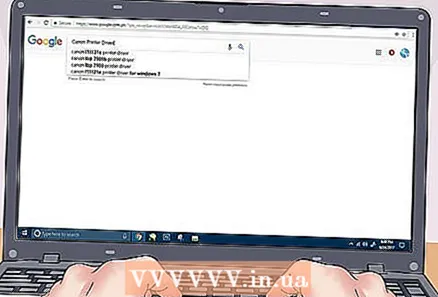 Download the drivers from the manufacturer's website. If you do not have the disc and the printer is not installed automatically, you can download the drivers directly from the manufacturer. You will need the model number of your printer for this, which should be clearly marked somewhere on the printer itself.
 - You can quickly find the support page for your printer by opening Google and searching for "manufacturer type number support".
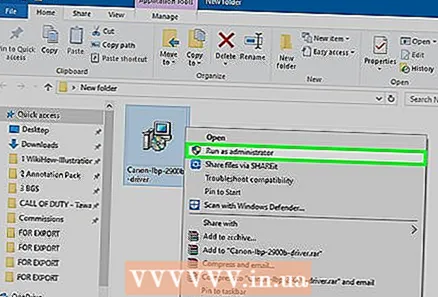 Run the downloaded drivers. After installing the drivers, your printer should be ready to print from any program on your computer that supports printing.
Method 2 of 8: Install a network printer (Windows)
 Understand what a network printer is. A network printer is a printer that is installed directly on your network. A network printer does not rely on a connected computer, which must be turned on, but it can be tricky to install, especially if the printer is older. Not all printers can be installed as a network printer.
  Read the installation manual for your printer, if available. Installing a network printer can be more difficult than installing a USB printer, and many printers require specific installation. Checking the installation manual for your specific printer can save you a lot of headache later on. You can usually find the installation guide as a PDF file on the manufacturer's support page for your model.
 - You can quickly find the support page for your printer by opening Google and searching for "manufacturer type number support".
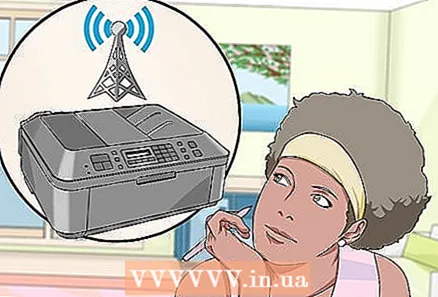
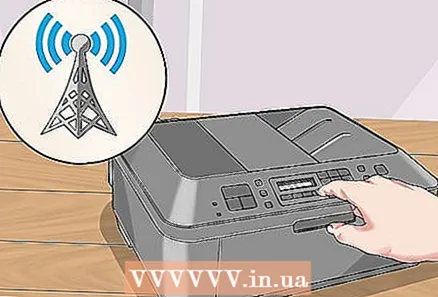
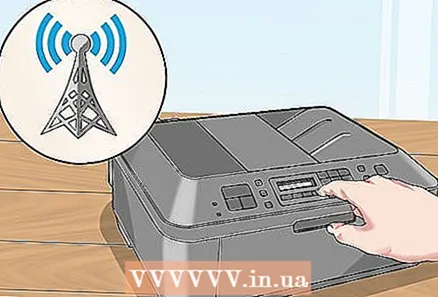 Connect your printer to your network. There are generally two ways to connect a network printer to your network: wired or wireless.
 - Wired - Connect your printer to your network with an Ethernet network cable. Usually you do not have to configure anything else on the network in this case.
- Wireless - Connect your printer to the display's wireless network (if available). Most wireless printers have a small screen that you can use to find and connect to your home network. If your network is secured, you will be prompted for the password. If you don't have a display, you will probably first need to connect the printer to your printer using a USB cable and configure it in Windows.
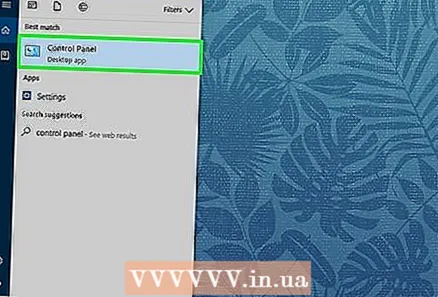
 Open the Control Panel. Once the printer is connected to the network, you can install it from the control panel in Windows.
 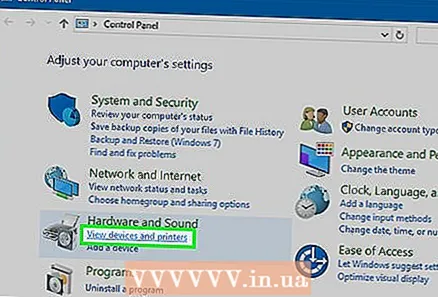 Select "Devices and Printers".
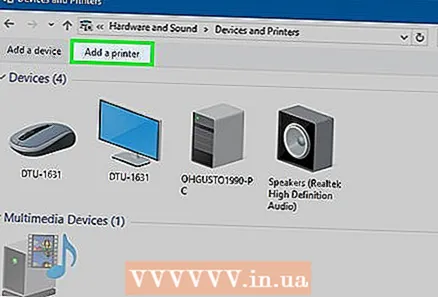 Click.Add printer.
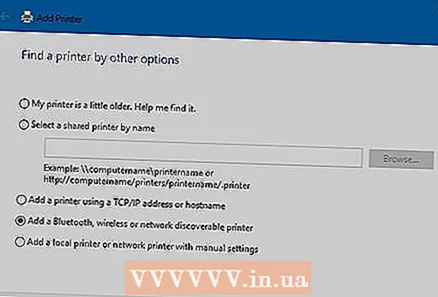
 Select "Add a Network, Wireless, or Bluetooth Printer". Windows will now scan for the printer within the network.
 - If you're using Windows 8, Windows will automatically search for both local and network printers, without giving you the option to choose.
 Select your wireless printer from the list. Click Next
  Install the drivers (if prompted). Windows may ask you to install the printer drivers. Make sure you are connected to the internet and then click Install driver. Once the drivers are installed, you can print to your network printer from any program that supports printing.
 - If you don't have an internet connection, you can use the disc that came with the printer to install the drivers.
- Separate installation of drivers is not necessary for every printer.
Method 3 of 8: Install a network printer (Mac)
 Understand what a network printer is. A network printer is a printer that is installed directly on your network. A network printer does not rely on a connected computer, which must be turned on, but it can be tricky to install, especially if the printer is older. Not all printers can be installed as a network printer.
  Read the installation manual for your printer, if available. Installing a network printer can be more difficult than installing a USB printer, and many printers require specific installation. Checking the installation manual for your specific printer can save you a lot of headache later on. You can usually find the installation guide as a PDF file on the manufacturer's support page for your model.
 - You can quickly find the support page for your printer by opening Google and searching for "manufacturer type number support".
 Connect your printer to your network. There are generally two ways to connect a network printer to your network: wired or wireless.
 - Wired - Connect your printer to your network with an Ethernet network cable. Usually you do not have to configure anything else on the network in this case.
- Wireless - Connect your printer to the display's wireless network (if available). Most wireless printers have a small screen that you can use to find and connect to your home network. If your network is secured, you will be prompted for the password. If you don't have a display, you will probably first need to connect the printer to your printer using a USB cable and configure it in OSX.
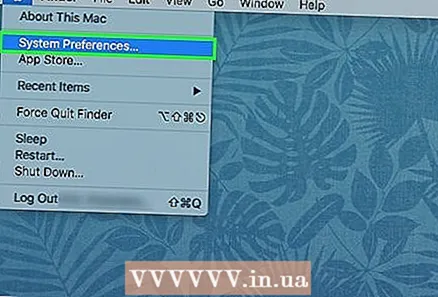 Click on the Apple menu and choose "System Preferences".
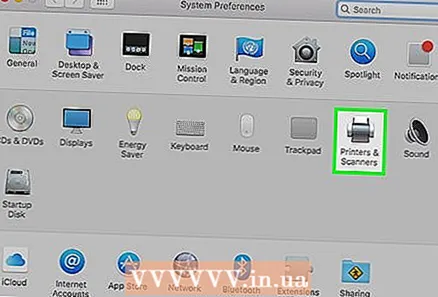 Select "Print & Fax".
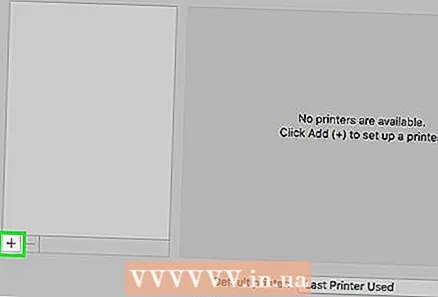 Click the "+" button to search for new printers.
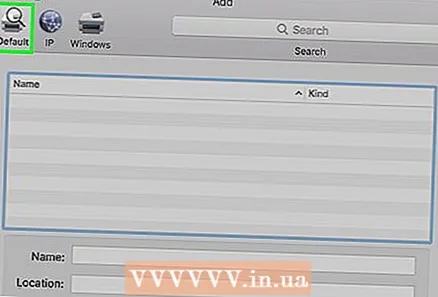 Select your network printer in the "Standard" tab.
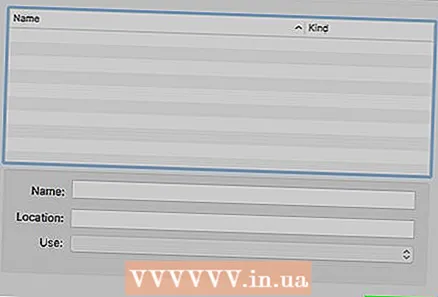 Click.Add. Your network printer is installed in OSX and you can select it in any program from the print menu.
Method 4 of 8: Share a printer in a Homegroup (Windows 7 and 8)
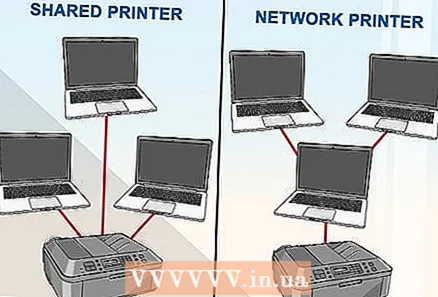 Understand there is a difference between a shared printer and a network printer. A shared printer is connected to one of the computers on your network and made available to other users. The computer to which the printer is connected must be turned on to print to it. Almost any printer can be shared on the network.
  Install the printer on the computer you want to share from. Follow the steps in the first part to install the USB printer in the usual way.
 - Note: this method only works with Windows 7 and 8. If you are using Vista or XP, different rules apply.
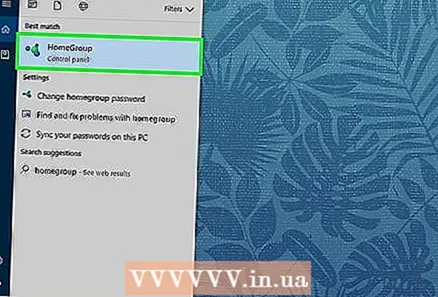 Open the Start menu and type.homegroup. Select "Homegroup" from the search results.
 - If you're on Windows 8, start homegroup typing while on the home screen.
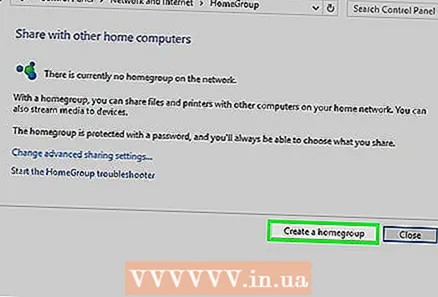 Create a new HomeGroup by clicking the.Clicking Create Homegroup button. If a HomeGroup already exists, you can use the existing HomeGroup instead.
 - With Windows 7 Starter and Home Basic, you can only join a Homegroup, you cannot create one. If all computers on your network are using this or older Windows versions, you must follow separate rules.
 When creating the Homegroup, make sure the "Printer" menu is set to "Shared". In Windows 7, make sure that "Printers" is checked.
 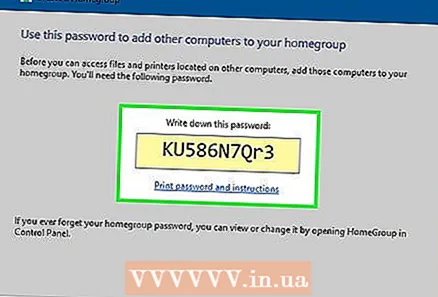 Write down the password that is generated when you create a Homegroup.
 Open the Homegroup List of the computer from which you want to access the shared printer. Open the Homegroup menu just like on the other computer by searching for it in the Start menu.
  Join the Homegroup as soon as possible. The password you received earlier will be asked.
  Click on "Install Printer" to install the shared printer on your computer. You may also be asked to install drivers.
 - Windows 8 users should be able to use the shared printer once they join the Homegroup.
 Print to the shared printer. Once the printer is installed, you can print to it as if it were directly connected to your computer. The computer to which the printer is connected must be turned on and logged in to Windows to connect to it.
Method 5 of 8: Share a connected printer (All Windows versions)
 Understand there is a difference between a shared printer and a network printer. A shared printer is connected to one of the computers on your network and made available to other users. The computer to which the printer is connected must be turned on to print to it. Almost any printer can be shared on the network.
 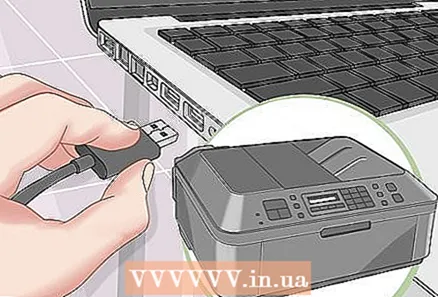 Install the printer on the computer you want to share from. Follow the steps in the first part to install the USB printer in the usual way.
 - Use this method if you are using Windows XP, Windows Vista, or a combination of different Windows versions on your network.
- The computer you are installing the printer on must be turned on if you want to print to from another computer on the network.
 Open the Control Panel. You need to make sure file and printer sharing is turned on.
  Select "Network and Sharing Center".
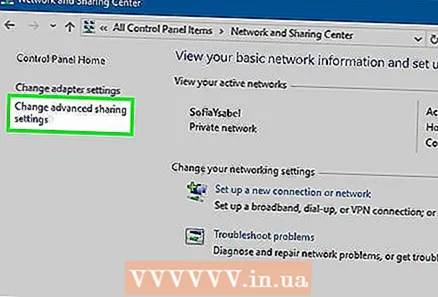 Click the "Change advanced sharing options" link.
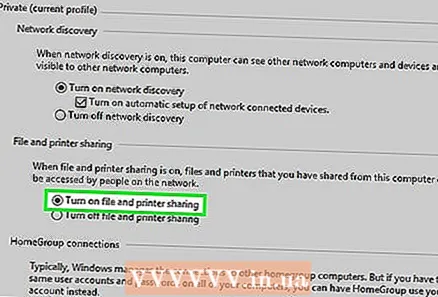 Make sure "Enable file and printer sharing" is selected. Click Save Changes.
  Go back to Control Panel.
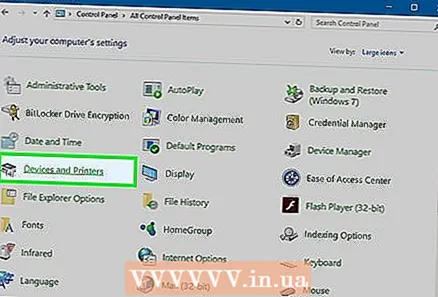 Open "Devices and Printers" or "Printers and Faxes".
 Right-click on the printer you want to share and choose "Share".
 Select "Share this printer". Give a name and click Apply.
 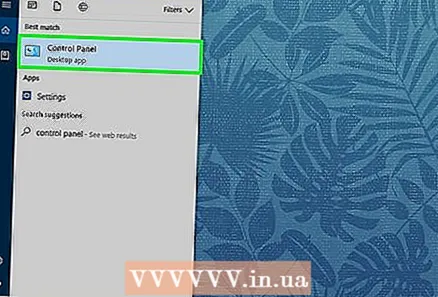 Open the Control Panel on the computer from which you want to access the shared printer.
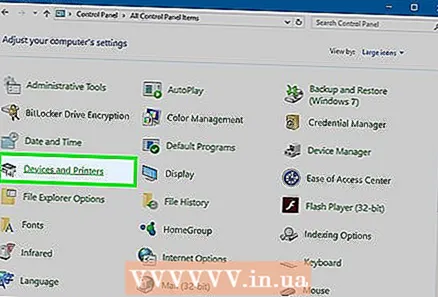 Select "Devices and Printers" or "Printers and Faxes".
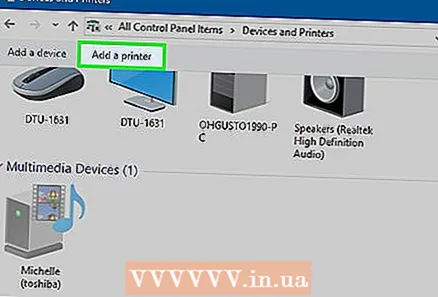 Click "Add a printer".
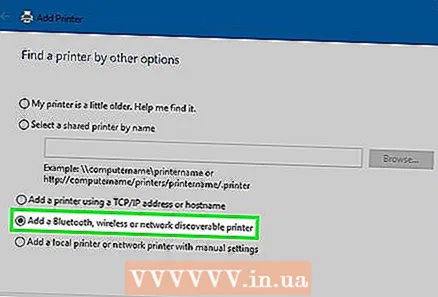 Select "Add a Network, Wireless, or Bluetooth Printer". Windows will search for available shared printers.
 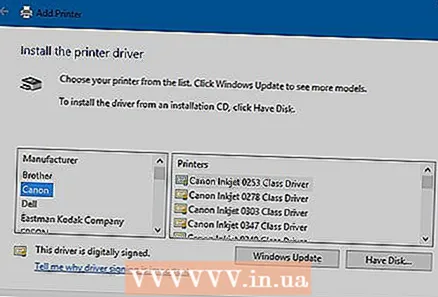 Select the printer. You may be asked to install drivers. If Windows cannot find the drivers, you can download them from the manufacturer's website.
  Print to the shared printer. Once the printer is installed, you can print to it as if it were directly connected to your computer. The computer to which the printer is connected must be turned on and logged into Windows to connect to it.
Method 6 of 8: Share a connected printer (Mac)
 Understand there is a difference between a shared printer and a network printer. A shared printer is connected to one of the computers on your network and made available to other users. The computer to which the printer is connected must be turned on to print to it. Almost any printer can be shared on the network.
  Install the printer on the Mac you want to share from. Follow the steps in the first part to install a USB printer as you normally would.
 - The computer you are installing the printer on must be turned on if another computer on the network wants to print to it.
 Click the Apple menu. Select "System Preferences".
 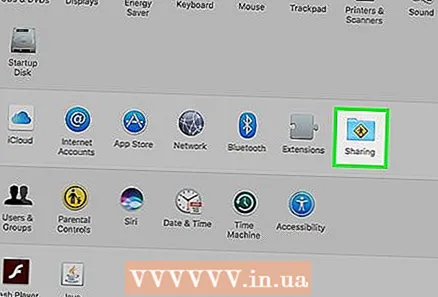 Select the "Share" option. Allows you to change the sharing settings on your computer.
 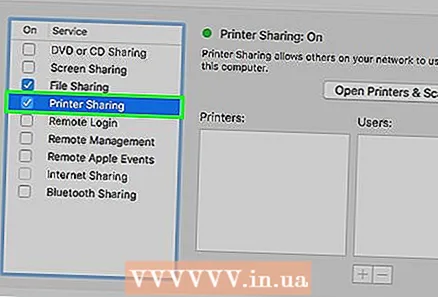 Check "Share Printer". This allows OSX to connect connected printers to other computer.
  Check the connected printer you want to share. The printer is now available to other computers on the network.
  Open the "System Preferences" menu on the computer where you want to access the shared printer. You need to add the printer on the second computer so that it can be selected when printing.
  Select "Print & Scan". This displays a list of the connected printers.
 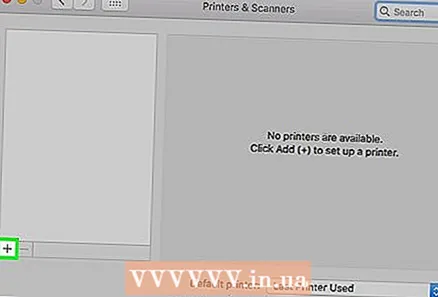 Click on the "+" button. This allows you to add more printers.
  Select your network on the "Standard" tab. If you are trying to connect to a printer shared from a Windows computer, click the "Windows" tab.
  Click.Add. Your network printer will be installed on the second computer, and you can choose it in any program from the print menu. The computer to which the printer is connected must be turned on and logged in.
Method 7 of 8: Print from iOS devices
 Install an AirPrint compatible printer on your network. You can install the printer as a network printer or connect it to a computer and then share it. AirPrint printers let you print wirelessly from your iOS device, as long as it is connected to the same network.
  Open whatever you want to print. You can print from most apps that support opening files, such as Mail, Photos, Pages, and many others.
  Tap the "Share" button. This one looks like an arrow that appears from the top.
  Select "Print". This opens the AirPrint print menu.
 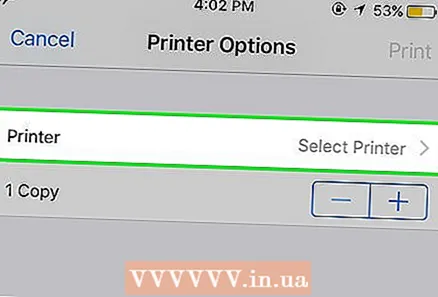 Select your printer. Your AirPrint printer should appear in the list of printers, as long as you are connected to the same network.
 - If your printer is not listed, restart the computer. This often restores the network connection.
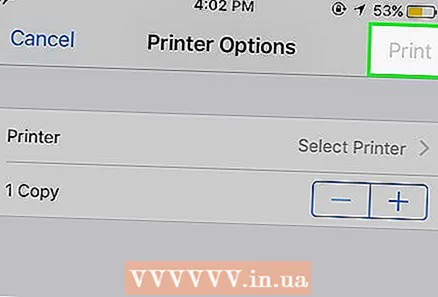 Print the file. Your file will be sent to the printer and should be printed.
  Use an app that comes with the printer. Many printer manufacturers offer apps that allow you to print to their network printers, even if they are not AirPrint compatible. You can usually download this app for free from the App Store.
 - Make sure to download the correct app for your printer manufacturer. The HP ePrint app cannot print to Canon printers.
Method 8 of 8: Print from an Android device
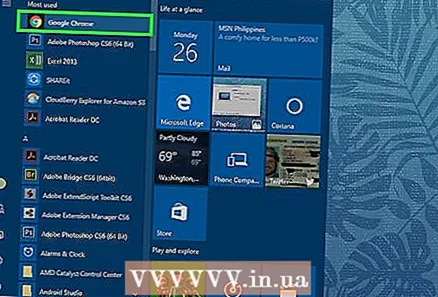 Open Google Chrome on a computer that has access to the network printer.
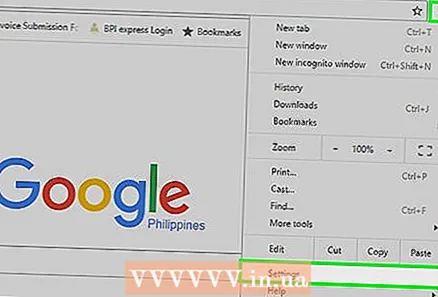 Click the Chrome menu button (☰) and choose "Settings".
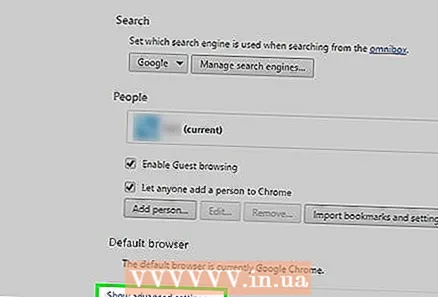 Click on "View advanced settings".
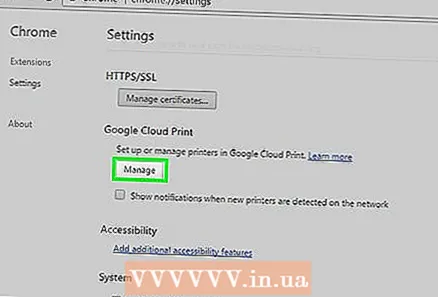 Click the "Manage" button under the Google Cloud Print heading.
- If you haven't already done so, you will need to log in with your Google account.
 Click the "Add Printers" button. Chrome will now scan your computer for available printers.
 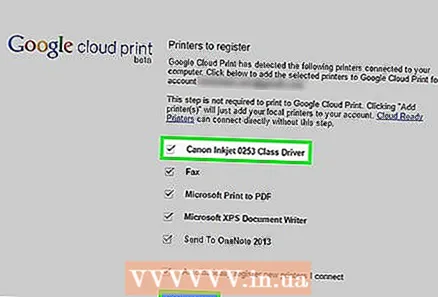 Check the printer you want to use. Click on "Add printer (s)" to confirm.
  Print from your Android device. You can choose "Print" from the menu of many Android apps. You can then select your Google Cloud Print printer and print from anywhere, as long as the computer on which you installed the printer is turned on.
 - If you don't see your printer, restart the printer and make sure your computer is turned on and logged in.


