Author:
John Pratt
Date Of Creation:
11 April 2021
Update Date:
1 July 2024

Content
- To step
- Method 1 of 4: Inkjet printer
- Method 2 of 4: Laser printer
- Method 3 of 4: Office printer
- Method 4 of 4: Clear a paper jam where there is no paper jam
- Tips
- Warnings
No matter how advanced your printer is, a piece of crumpled paper can bring it to an acute halt. Most paper jams are simple mechanical problems. It may take patience to remove the paper, but once you have found it, you will know the solution. If you cannot find the problem or the printer still does not work after removing the paper, check the manual or ask an expert for help.
To step
Method 1 of 4: Inkjet printer
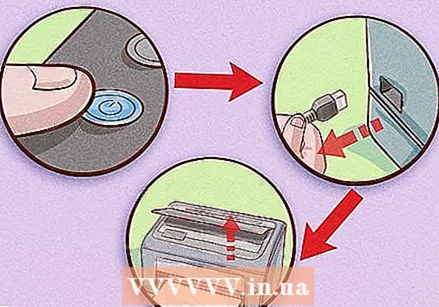
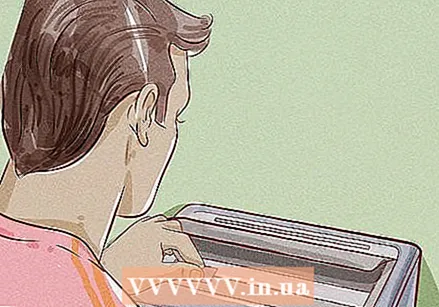
 Turn off the printer. This will reduce the chance that you will damage the printer or injure yourself. Wait for the printer to finish shutting down. To be sure, unplug the printer.
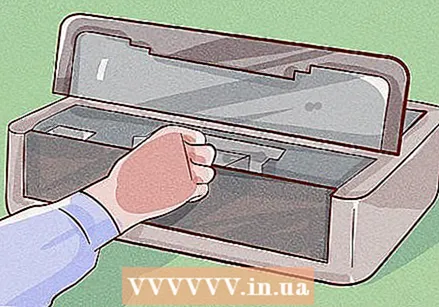
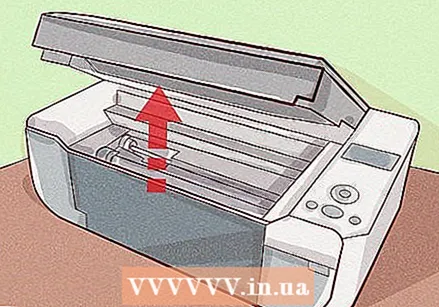
 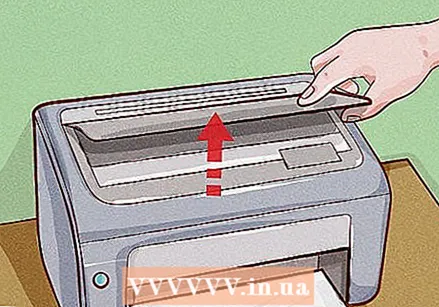 Open the main panel. Remove any loose paper from the paper tray.
 - Do not use force, as this can permanently damage the printhead.
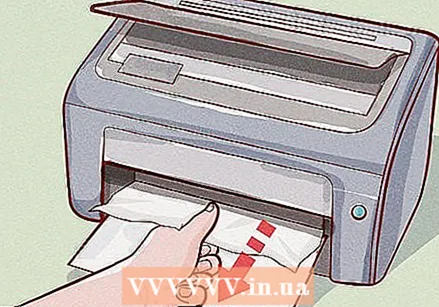
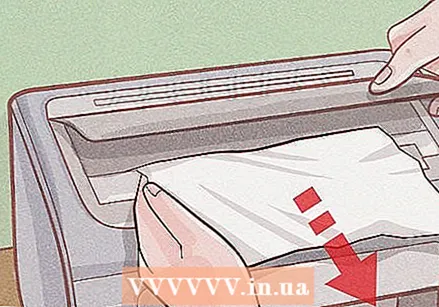 Remove the paper slowly. To remove the paper, grasp it firmly and pull it very slowly towards you. If the paper tears, paper fibers can spread and interfere with printing. If you pull too roughly, it can also damage yourself, because even a switched off printer can pinch or scrape your fingers.
 - Use tweezers to get to the narrow pieces. When using tweezers, pull even more slowly, pulling back and forth on the paper alternately.
- Whenever possible, pull through the printer in the direction the paper would normally go.
- If there is no way to avoid tearing, grasp the paper on both sides of where it is stuck. Try to grab all of the torn pieces.
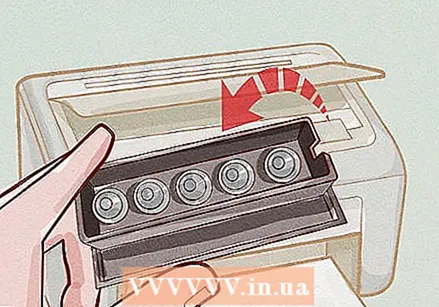 Remove the printhead and try again. If the paper is still stuck, follow the instructions for your printer model to remove the printhead or ink cartridges. Gently pull away pieces of paper, or grab crumpled paper that is still intact with both hands and gently pull it down.
 - If you do not have the printer manual, search online for "manual" and the name of your printer model.
 Check the output tray. On inkjet printers, paper can sometimes get stuck in the output tray mechanisms.Look inside the tray containing the output tray and carefully remove any visible paper.
 - Some models have a button for expanding this tray, which makes it easier to remove paper.
 Try to disassemble the printer further. If the printer still won't work, you can try taking it further apart and looking for jammed paper. Since there are so many different models of printers, you should follow the specific instructions in your manual for this. Search online or contact the printer manufacturer if you don't have a manual.
 - Many printers have a standard way of removing the back cover and / or the input tray, both good places to start. Check for easy-to-remove access panels at the back and a plastic handle deep in the input tray.
 Clean the printheads. If you've removed most of the paper, but are still experiencing printing problems, have the machine clean the print head. This should help you get rid of paper microfibers clogging the nozzles.
 - Close all panels and reload all drawers before resuming printing.
 Call in a repair company. If the printer still does not work, consider hiring a printer service. In some cases, buying a new inkjet printer is a cheaper option.
Method 2 of 4: Laser printer
 Turn off the printer, unplug it, and open the printer. Turn off the printer and wait for the device to finish shutting down. Unplug the printer. Open the main panel where you normally place the toner cartridge.
 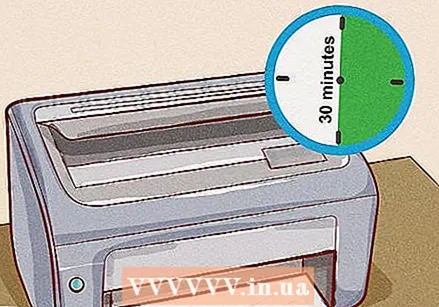 Wait 30 minutes for the printer to cool. During laser printing, the paper passes two hot rollers, also known as the "fuser". If paper is jammed in or near the fuser, wait at least 30 minutes for the machine to cool. The fuser is reaching dangerously high temperatures.
 - Some printer models recommend waiting at least 30 minutes.
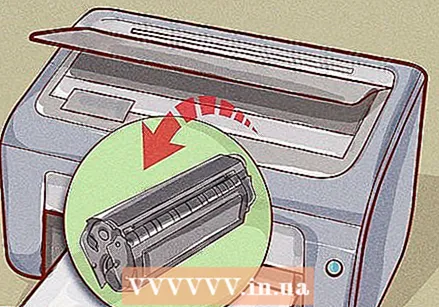 If you do not see a paper jam, pull the print cartridge out of the machine. In a laser printer, one of the top panels or front panels will usually hide the print cartridge. If you haven't found the paper yet, gently pull the cartridge out of the machine. Pull very slowly to avoid tearing the paper. Continue patiently until the paper is released. If the paper cannot be moved, continue with the next step. Do not force anything. Most of the time you will be able to just pull it out. Some devices may require you to pull one or more levers.
 - If you can't reach the paper, use tweezers with a wide handle.
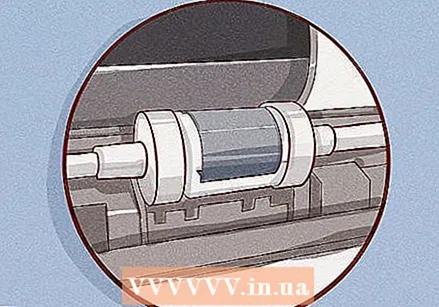 Inspect the rollers. Paper jams often happen when the paper passes between the two rollers. If the rollers turn easily when you touch them, turn them slowly until the paper is released. If the paper is jammed in a complex manner, with multiple folds and tears, look at the mechanism that attaches the roller to the rest of the printer. Gently remove one of the rollers and lift it out of the printer to release the paper.
 - It is best to follow the user manual. Be careful not to force the mechanism.
- Many models use rollers that are secured with a "hole and pin" lock. Press the pin to release the roller.
 Check the manual or ask a repairer for help. If the paper still won't come off, check your printer manual for instructions on how to further disassemble the device. If you've removed all the paper, but the printer still doesn't want to print, ask a printer service to check the device for parts that need to be replaced.
Method 3 of 4: Office printer
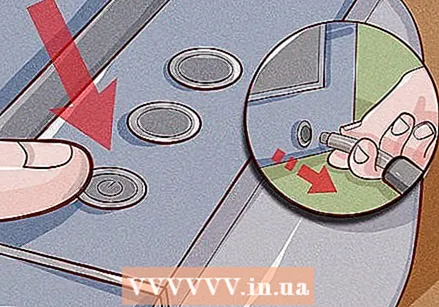
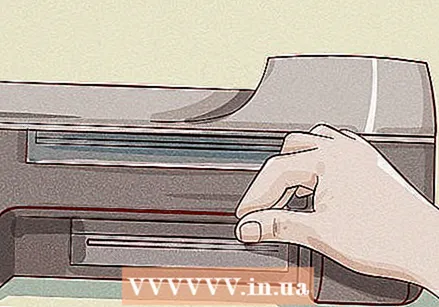
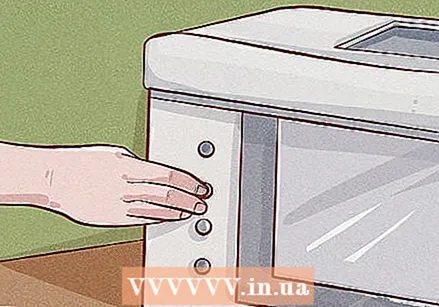 Look for the paper release button. Many office printers have the option of clearing paper jams themselves. Look for a button labeled "paper release" or "paper jam". Consult the user manual if the function of certain buttons is not clear.
 - This may be worth trying again later in the process if you have managed to remove some of the paper but still cannot print.
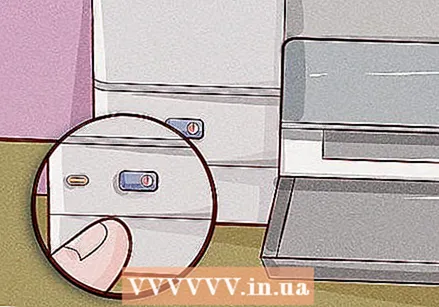 Restart the printer. Turn off the printer and let the machine complete this process. Wait a while and then turn the device back on. Sometimes a printer can resolve the malfunction itself during start-up. Resetting a printer will recheck the paper advance and stop detecting a jam that is no longer there.
 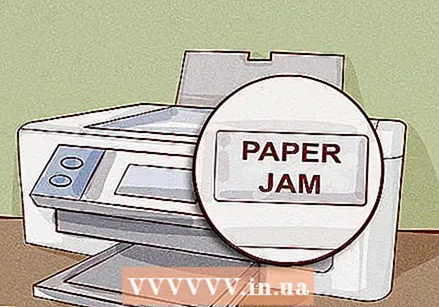 Look at the LCD screen, if equipped. Many printers have a small screen that provides brief notifications. When there is a paper jam, such printers may try to give you an idea of where the jam is and what to do next. Follow the directions on the screen and the manual to minimize the chance of damaging your printer.
 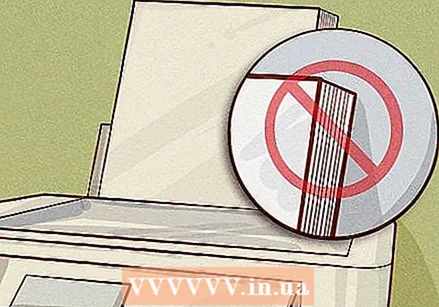 Remove any excess paper. Make sure all trays contain paper, but are not overloaded. Sometimes too little or too much paper can cause the system to register a paper jam. Try printing again after reducing the stack of paper in the machine to below the recommended maximum for your model.
 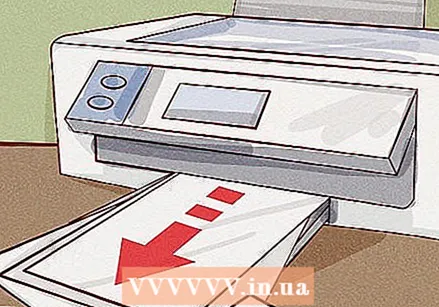 Locate the paper jam. Remove all paper from the trays. Open all drawers and access panels until you locate the paper jam. If a panel will not open under gentle pressure, check for a lock or consult the manual.
 - Warning: Do not get your hands into a printer while it is still running. This can cause serious injuries.
- Some drawers can be completely removed. Look for an unlock.
- It may help to use a mirror when checking the drawers and back panels.
- If possible, place the printer where you can easily get around it on all sides.
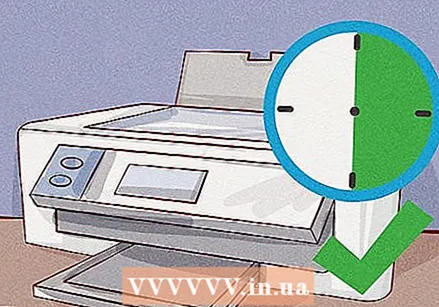 Turn off the printer and let it cool for 30 minutes. Turn off the printer. Let the printer cool down for at least 30 minutes, or check your manual to make sure the jam mechanism is cool enough to handle.
 - To be on the safe side, unplug the printer.
 Remove the paper. When you have found the paper, slowly pull it out with both hands. If you have a choice, pull the end with the most paper sticking out. Do not use force, as tearing the paper can cause even more problems.
 - If you cannot remove the paper yourself, please contact your company's technical department.
 If you can't find the paper jam, clean dirty parts in the printer. Dirty mechanics are less common than an actual paper jam, but cleaning can be worth a try if you don't see any jammed paper. Consult the owner's manual to avoid making matters worse.
 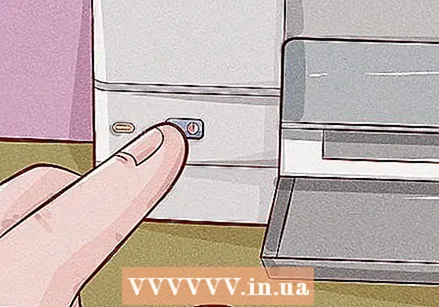 Turn on the printer. Place all drawers and close all doors before turning on the printer. After you turn the printer back on, give it time to complete the boot cycle.
 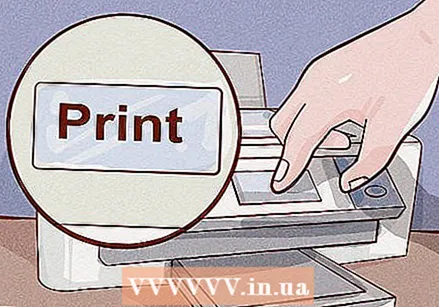 Try the print job again. Some printers remember an unfinished print job and then automatically try again. For other models you may have to give the command again.
 - If the screen shows an error, consult the user manual to find out what it means.
 Contact a professional. Office printers are expensive, fragile devices, and some problems are not easy to fix without specialized tools and knowledge. The office will usually have a contract with a maintenance and repair service. Contact this service and request an inspection of the device.
Method 4 of 4: Clear a paper jam where there is no paper jam
 Remove the lid. Turn off the printer and unplug it. Remove the cover from top loaders, or the front panel from front loaders.
 - If it is a laser printer, wait 10-30 minutes before tinkering with the printer (or up to an hour on some models). Parts in the appliance can become very hot.
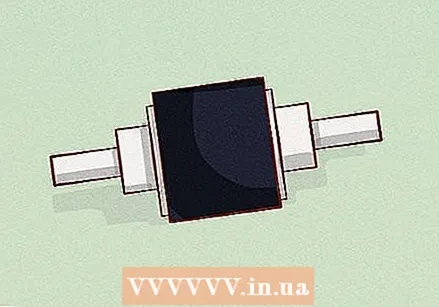
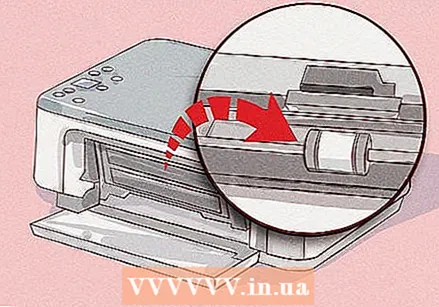 Find the feed rollers. Shine a flashlight on the parts of the device near the input tray. You should see a long cylinder, or a rod with small rubber things on it. These rubber parts are the rollers that guide the paper into the machine.
 - If you don't see these rollers, turn the paper over or open the side or back cover. You may need to refer to the manual to find out how to remove these panels.
- If the roller is obviously broken, then that is the cause of the problem. To find out if the roller is replaceable, see the printer manual or contact the manufacturer.
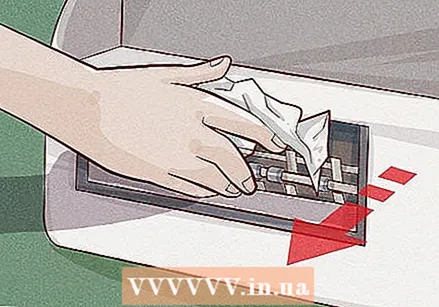
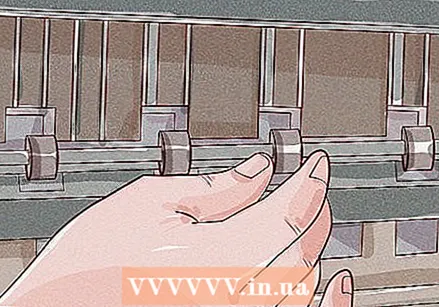 Check the feed rollers for debris. If your printer's screen shows a "paper jam" message when there is no paper jammed in the device, then there is probably some other blockage. Inspect along this roller for objects that have fallen into the printer. Remove it with tweezers or by turning the printer upside down.
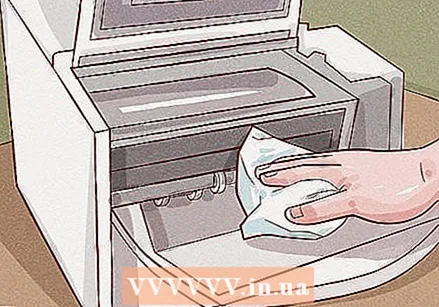
 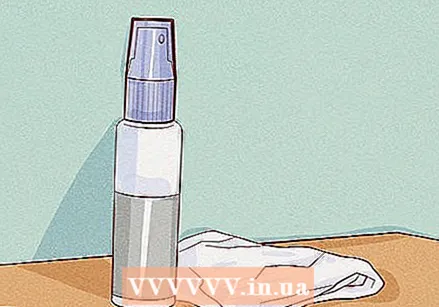 Use a cloth and cleaning fluid. Dust and dirt on the rollers can cause a paper jam message. Cleaning can help, but the type of cleaning products you need will depend on your type of printer:
 - Laser printers contain toner particles that can irritate the lungs. Wear a fine particle filter mask and buy a special toner cloth for wiping up most of these particles. Dampen it with isopropyl alcohol (99%). (Some rollers break when in contact with alcohol. You can check the printer manual for advice, or use distilled water instead.)
- Inkjet printers are easier to clean. Use a lint-free cloth (such as microfiber) and slightly dampen it with isopropyl alcohol, or distilled water, if you don't want to risk damaging anything.
- With extremely dirty feed rollers you use a special product for cleaning rubber. Read all safety instructions first. These products can cause serious damage to the skin and eyes, and corrode plastic parts of the printer.
- Clean the rollers. Wipe the feed rollers with a slightly damp cloth. If the rollers will not turn, click the clips holding them open and remove the rollers so that you can clean them on each side.
- Toner wipes tear easily. Work in slow strokes to prevent fibers from accumulating in your printer.
 Check other parts for dirt. Jams can also occur in other parts of the printer. Remove the printer tray and any other removable covers. All laser printers and some inkjet printers have a second pair of rollers near the output tray. A paper jam message could mean that something has fallen against these rollers.
 - Warning: The "output rollers" of laser printers become hot enough to cause burns. These are "fusers" that burn the ink onto the paper.
- Warning: These rollers are located close to sensitive parts of the machine and require special handling for laser printers. It is best to consult your printer manual for accurate cleaning instructions.
Tips
- Latches usually have a contrasting color of plastic, different from the color of the printer's cabinet and cartridges. Often times they will even have a stamp or sticker indicating which way to push or pull on it.
- If your printer increasingly suffers from a paper jam, have the device checked by a repairer. This can be caused by a defective or worn mechanism that cannot be repaired yourself.
- Check the paper guide (a small lever on the input tray) of your printer. Adjust it so that it is not too loose, but does not cause friction on your paper.
- Avoid future paper jams by loading paper trays correctly, without putting too much paper on them; do not use warped or wrinkled paper; use paper of the correct size and weight; manually feed envelopes, labels and foil into the device; and maintain the printer regularly.
- Make sure latches are fully closed when reinstalling print cartridges and paper trays, and when closing covers and covers.
- If the printer is in a public place, such as a school, library, copy shop, or workplace, remember that you usually need to ask the technical service (IT or otherwise) for assistance first. They know the specific printer better than you do, and will likely prefer to resolve paper jams themselves rather than risk damaging the printer by an inexperienced user.
Warnings
- Do not cut the paper out of the printer. This risks breaking the printer.
- Parts of a laser printer get hot enough to burn you. Be careful.
- You can use your hands or fingers not into parts of the printer, as you may not be able to remove them.
- You should never push or pull too hard, be it the paper or the various panels and locks on your printer. Things that are meant to be released should come off easily. If something looks like it should come off easily, but it doesn't work with just pulling, look for knobs or clamps to loosen the part.


