Author:
Roger Morrison
Date Of Creation:
5 September 2021
Update Date:
1 July 2024

Content
- To step
- Part 1 of 3: Cleaning the concrete blocks
- Part 2 of 3: Filling cracks with concrete
- Part 3 of 3: Replacing badly damaged concrete blocks
- Tips
- Necessities
A concrete block wall is sturdy, but continuous wear and tear can cause cracks and holes. In severe cases, you may need to replace parts of the wall to keep it stable. Fixing a concrete block wall may seem tricky, but it is quite easy if you have the right tools. By taking the damage, filling in and replacing the damaged areas, you can make your wall look as good as new again.
To step
Part 1 of 3: Cleaning the concrete blocks
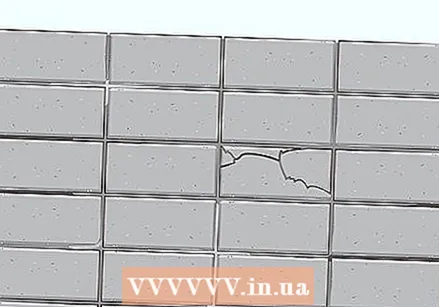 Clean any parts of the wall that you want to repair. Before you start repairing the wall, clean it so that any cement and mortar you apply will adhere properly. Examine the wall and see which parts are dirty and cracked. You will have to smooth out cracks and spray dirty areas before repairing the wall.
 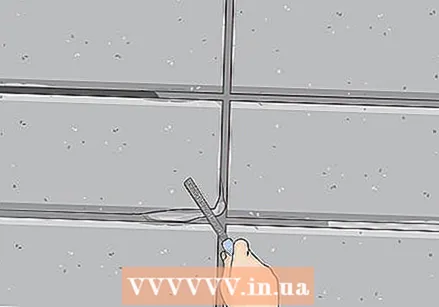 File away any rough edges. Check where the concrete blocks are damaged and file any rough spots with a metal file. Keep filing until the edges are smooth and flat. This way you can repair the wall neatly and it is more likely that the repaired spots will remain good.
 - Depending on how many cracks and holes are in the wall and how rough they are, filing can take from a few minutes to an hour.
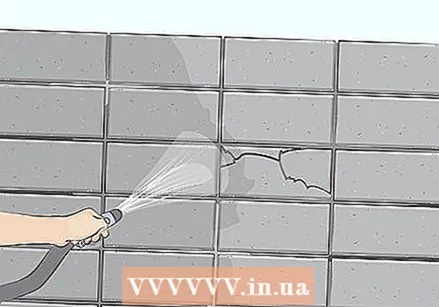 Spray the wall with a garden hose to remove dust and dirt. The wall must be free of dust and dirt before you can start repairing it. Grab a garden hose and spray it on the wall to remove all dust and dirt particles. More stubborn dirt can be scrubbed off with a cloth or brush.
 - Hosing down with a garden hose works great for exterior walls made of concrete blocks. However, if it is an interior wall, fill a bucket with warm water and clean the wall with a wet cloth or brush.
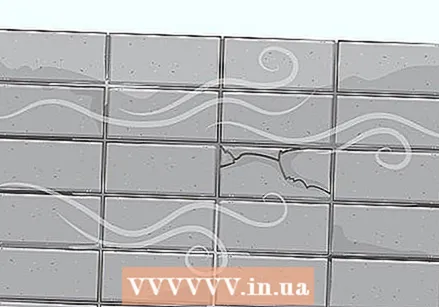 Wait for the wall to dry before starting the repair. The repair material may not adhere to the wall while the wall is still wet. Gather your supplies while the wall dries. If certain areas stay wet for a long time, try drying them with a towel.
 - Repair the concrete block wall during the hottest part of the day so that you can move quickly.
Part 2 of 3: Filling cracks with concrete
 Fill in smaller cracks and holes with concrete. Concrete usually works well enough to repair minor damage to a wall. If there are cracks and holes in only a small area of a concrete block, or if there are cracks and holes in only a few blocks, use concrete to fill in the damaged areas.
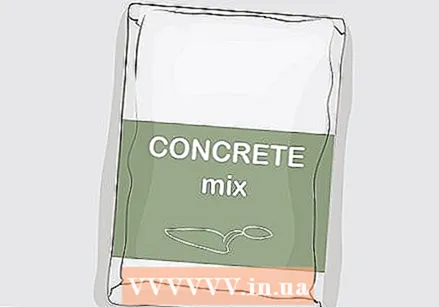
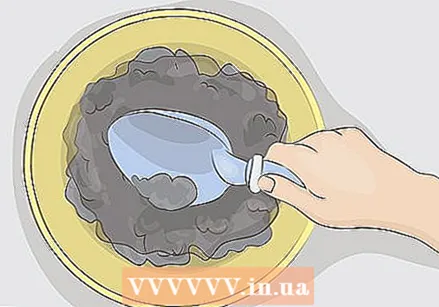
  Mix the concrete. Buy a bag of ready-to-use concrete mix and empty the bag into a bucket or concrete mixing bin. Pour the correct amount of water into the concrete mix and mix everything with a chop or shovel.
 - You can make your own concrete instead of using a bag of concrete mix if you wish.
- Always wear safety goggles, a breathing mask, gloves and long pants when mixing concrete.
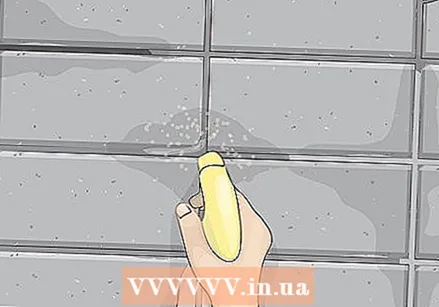 Spray all cracks and holes with an atomizer. The wall should not be wet when you apply the concrete, but lightly spraying the cracks and holes can help the concrete adhere better. Fill an atomizer with water and spray all cracks and holes before applying concrete.
 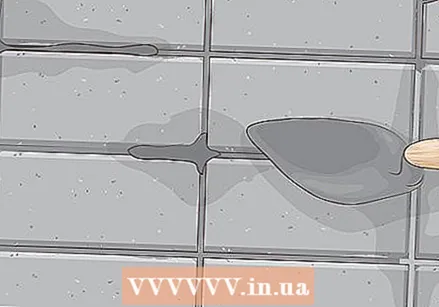 Fill in the cracks and holes with concrete. Apply concrete to the cracks and holes using a trowel. Fill in the cracks and holes as deep as possible, then scrape away the excess concrete with a trowel so that the damaged areas are smooth and even.
Part 3 of 3: Replacing badly damaged concrete blocks
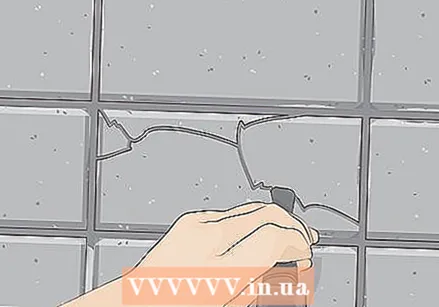 Chop away the old concrete block and mortar. Use a stone chisel and hammer to cut the old concrete block into pieces. Remove the concrete block in pieces, loosening one piece at a time from the surrounding mortar. Chop the mortar and then wipe away any dust and dirt particles before installing the new concrete block.
 - Wear goggles when cutting the concrete block to avoid injuries to your eyes.
 Mix the mortar. Buy a bag of ready-to-use mortar mix and empty it into a bucket or wheelbarrow. Add the correct amount of water and stir everything with a shovel until you have a smooth mixture. Let the mortar rest for three to five minutes before applying it to the wall. This allows the mortar to absorb moisture and ensures that it adheres better to the concrete blocks.
  Apply mortar around the edges of the hole. Using a trowel, apply a layer of mortar two to three inches thick along the top, bottom, and sides of the opening in the wall. Make the layer as even as possible to prevent the concrete block from being too tight in some places and too loose in the wall in others.
 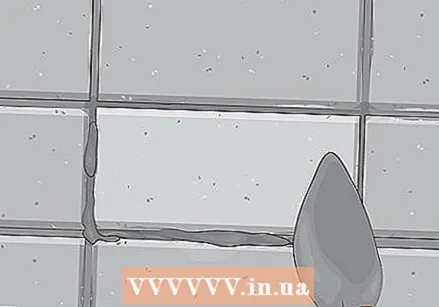 Place the new concrete block. Using a trowel, slide the new concrete block into place and scrape off any excess mortar. Let the mortar dry for 12-24 hours, depending on the type of mortar mix you used. When the mortar is dry and stable it should turn a light gray color.
Tips
- If new cracks and holes appear after the repair, you may need to call a home improvement or construction company to determine the cause and fix the problem.
- Immediately clean the tools you used for mixing concrete and mortar so that no residues dry on them.
Necessities
- Metal file
- Garden hose
- Microfiber cloth
- Concrete mix
- Wheelbarrow
- Bucket or mixing bucket for concrete
- Atomizer
- Shovel
- Trowel
- Heel (optional)
- Mortar (optional)
- New concrete block (optional)


