Author:
Judy Howell
Date Of Creation:
4 July 2021
Update Date:
1 July 2024

Content
It can be very annoying when you find a nice font, but you don't know how to install it. A font can make or break an article, only then you see how important the presentation is. Fortunately, installing fonts is very easy. If you want to know how to install fonts on a Mac, keep reading.
To step
Method 1 of 2: Use Font Book (Recommended)
 Download fonts with a search engine. Open a browser and search for "free fonts". Search the search results for a font you like. Download the font.
  Extract the ZIP file. Once extracted, the fonts have the extension .ttf, which stands for "TrueType fonts".
 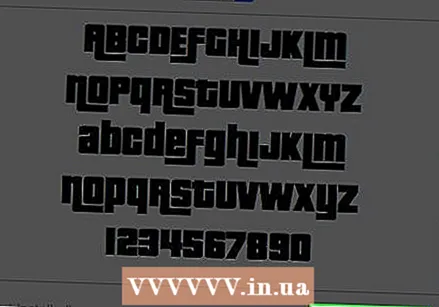 Double click the font you want to install. The Font Book program now opens with the font. Click on "Install Font"
 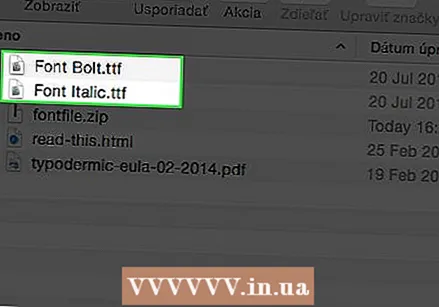 Install multiple variations of the font. Sometimes you have to install the bold or italic variants separately, do this in the same way as described above.
  Restart the computer if the fonts do not appear automatically.
Method 2 of 2: Install manually
 Download fonts with a search engine. Open a browser and search for "free fonts". Search the search results for a font you like. Download the font.
 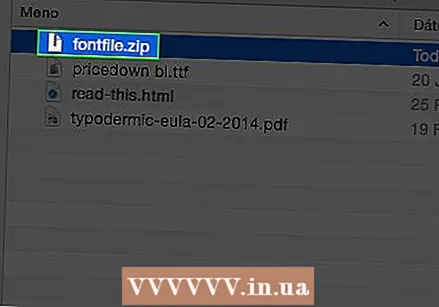 Extract the ZIP file. Once extracted, the fonts have the extension .ttf, which stands for "TrueType fonts".
  Drag the file into the Fonts folder in the Library.
 Restart the computer if the fonts do not appear automatically.
Tips
- Be careful not to install one font twice with different extensions, such as TrueType and Type 1


