Author:
Morris Wright
Date Of Creation:
1 April 2021
Update Date:
1 July 2024

Content
- To step
- Part 1 of 4: Getting familiar with the buttons
- Part 2 of 4: Using the home screen
- Part 3 of 4: Using apps
- Part 4 of 4: Making a phone call
- Tips
This article will teach you the basics of using an iPhone, ranging from simply turning the device on or off to using installed applications.
To step
Part 1 of 4: Getting familiar with the buttons
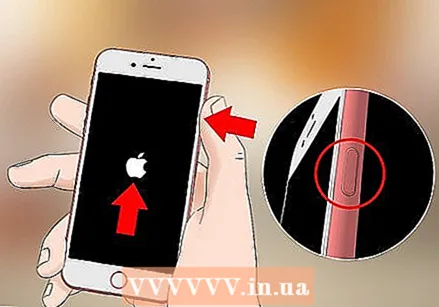 Turn on your iPhone if not already. To do this, keep pressing the lock button until you see a white Apple icon appear on the screen of your iPhone.
 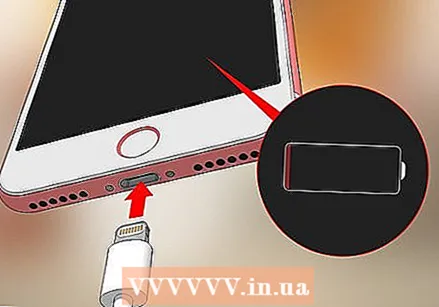 Charge your iPhone if necessary. The charger cable is a long white cord with a narrow flat rectangular pin on one end and a larger rectangular block on the other end. If your iPhone won't turn on, try charging it from a wall outlet for a few minutes before trying again.
 - You will see a port at the bottom of your iPhone case, below the circular button on the screen. This is where the pin part of the charger should go in.
- If you have a charger from an iPhone 4S or older, the charging end of the cable will have a gray rectangle on one side. This rectangle should point in the same direction as your iPhone's screen.
- Your iPhone should come with a power adapter (a white cube) with an electrical plug with two prongs on one side and a rectangular groove on the other. You can plug this into a wall outlet and then place the end of the charger, which is not attached to your iPhone, in the groove of the cube.
- If your iPhone was turned off when you connected it to a power outlet, the device should turn on now. You will see a white Apple icon appear on the screen.
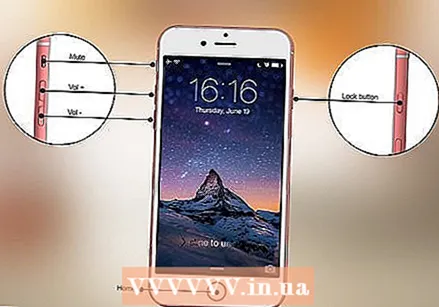 Get to know the buttons of your iPhone. If you place the iPhone on a flat surface with the screen facing up, the iPhone buttons should be arranged as follows:
 - "Lock Button" - Either on the right side of your iPhone (iPhone 6 or later) or at the top of your iPhone (iPhone 5s, SE or earlier). Pressing it once when the iPhone is on will turn on the screen. Pressing it again will turn off the screen. You can also press and hold it on an iPhone that is completely turned off to turn it on or to turn off an iPhone that is currently turned on.
- "Volume +/-" - The bottom two buttons on the left side of your iPhone's case. The bottom button decreases the volume of music, videos or the ring signal of your iPhone. The top button will increase the volume.
- "Mute" - The toggle at the top of the row of buttons on the left side of your iPhone's case. Moving this switch up will put your phone into audible mode. By moving the switch down, the ringing signal of your iPhone will be muted and the vibrate mode will be activated. When your iPhone is muted, there will be an orange line above the "Mute" switch.
- "Start" - This is the circular button at the bottom of your iPhone screen. Press it once to open iPhone from lock screen. If you press it while using an application, the application will be minimized. By pressing it twice you will quickly see all active applications.
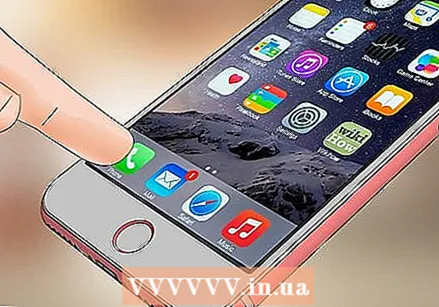
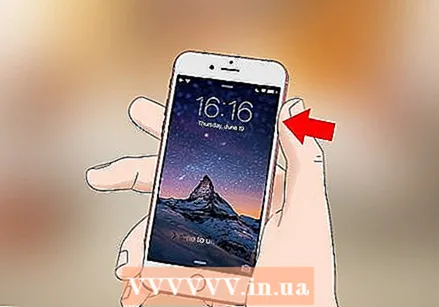 Press the lock button. This will "wake up" your iPhone screen and display the lock screen.
 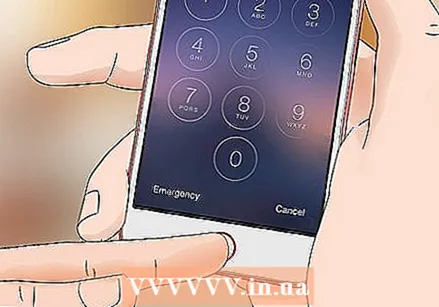 Once the lock screen appears, press the home button. This screen will show the time of day at the top of the screen. Pressing Start will display a password field.
 - If you have not yet set a password, pressing the Home button will take you to the home screen of your iPhone, where you can learn more about the functions of your iPhone.
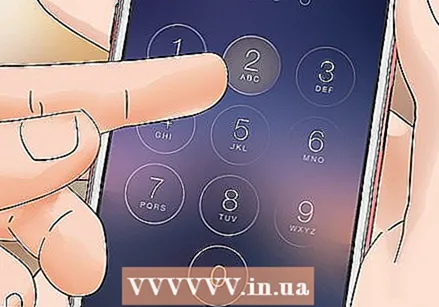 Enter your password using the keys on the screen. If this code is correct, the home screen of your iPhone will open.
 - If you have enabled TouchID to unlock your iPhone, your phone will also be unlocked when you have scanned your fingerprint.
Part 2 of 4: Using the home screen
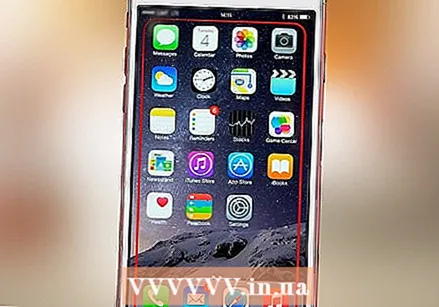
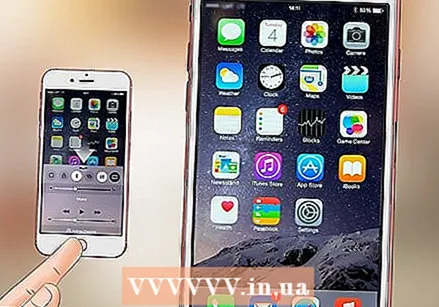
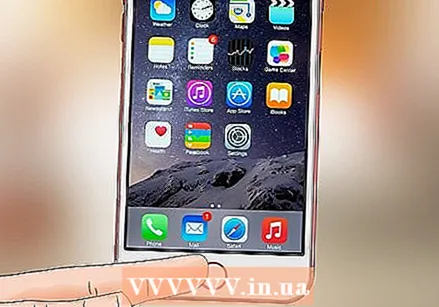
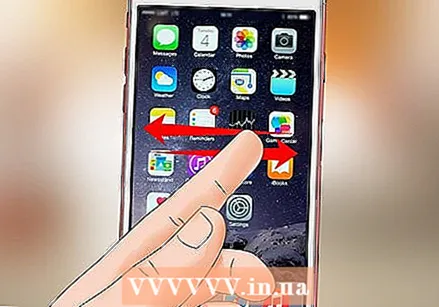 View the home screen of your iPhone. You will see several square icons here; these are the applications or "apps" of your iPhone. All fixed apps of your iPhone, so the apps that are already pre-installed on your phone, are listed here.
 - As you add more apps to your phone, your home screen will get extra pages. You can scroll through these pages by swiping from right to left on the screen.
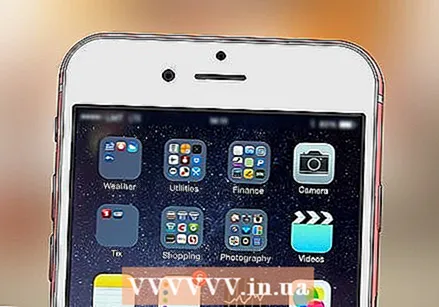
 Familiarize yourself with the default apps. Some important apps that are installed by default on an iPhone include:
 - "Settings" - This is a gray app with gears. If you want to change anything, ranging from the time it takes to turn your iPhone screen on or off to the settings for your wireless network, you will find options to do so in this app.
- Phone - This is a green app with a white phone icon. You can manually initiate a phone call (by dialing the number) or tap the name of a contact person and then tap the phone icon below the name at the top of the screen.
- Contacts - This app has a gray silhouette of someone's head in it. By pressing this you will see a list of all your contacts. The store where you bought your iPhone should have synced contacts from your previous phone to your new iPhone, but if not, you may want to transfer your old contacts to your iPhone.
- FaceTime - A green app with a white video camera icon in it. You can use this to make face-to-face phone calls with your contacts thanks to FaceTime.
- Messages - A green app with a white speech bubble. Here you will receive and send text messages.
- Mail - The blue app with a white envelope icon on it. You can view your Apple ID email here (it will be called your iCloud account) or you can add an email account to this app.
- Calendar - This app will display a current calendar. You can set events for specific dates and times by tapping on the relevant date and filling in the information fields.
- Camera - A gray app with a camera icon on it. You can take pictures, record videos and create other types of visual media (eg videos in slow motion) with this app.
- Photos - This multi-colored windmill app is where all the photos from your iPhone are stored. Every time you take a photo, the photo will appear here.
- Safari - Safari is a blue app with a compass on it. You will use Safari to browse the internet.
- Clock - The clock-shaped app. With this app you can change or manage the saved time zones of your iPhone, set alarms or use the stopwatch.
- Notes - The white and yellow notepad icon on the home screen. This app is useful for quickly jotting down notes or making a list, although the Reminders app is also very useful for making lists.
- Maps - The Maps app makes it possible to plan trips and will give you step-by-step directions when you enter a starting point and a destination.
- Wallet - You can add bank or credit cards and gift cards to the Wallet of your iPhone. This allows you to use your iPhone to pay for business online. This also makes it possible to pay at certain stores.
- App Store - This blue app with a white "A" on it is where you can download new apps.
- Music - A white app with a music note in it. In this app you will find the music library of your iPhone.
- "Tips" - This yellow app with a light will provide tips for getting the most out of your iPhone.
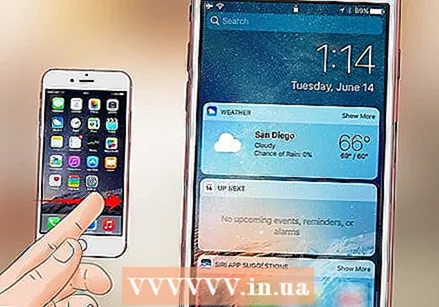 Swipe from left to right on the screen. This will open the widget page of your iPhone, where you can see things like the current weather forecast, alarms you have set and relevant news items.
 - Swipe up anywhere on the screen to scroll down this page.
- If you are looking for something specific on your phone, you can press the Search bar at the top of the page and type what you want to see.
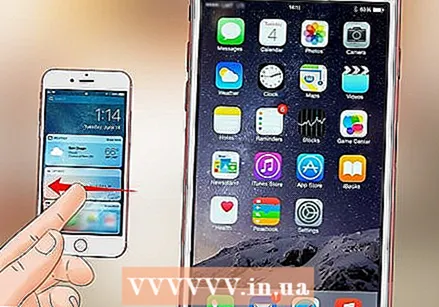 Swipe left to go back to the home screen. You can also press the home button to return to the home screen from any page.
 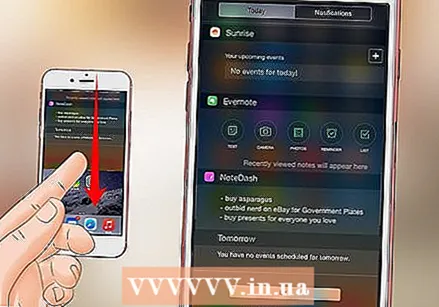 Swipe down from the top of the screen. This will bring up your iPhone's notification page and allow you to view all recent notifications (e.g. missed calls, received text messages, etc.).
 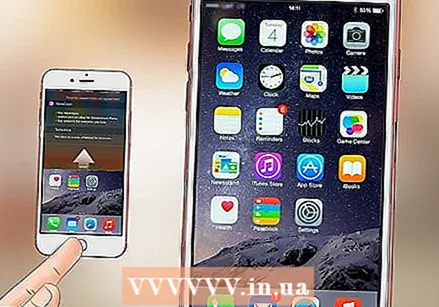 Press the start button. This will return you to the home screen of your iPhone.
 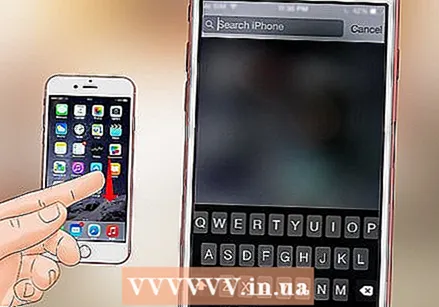 Swipe down from the center of the screen. This will display a search bar at the top of the screen along with a list of frequently used apps. You can press "Cancel" in the top right corner of the screen or simply press the home button to return to the home screen.
 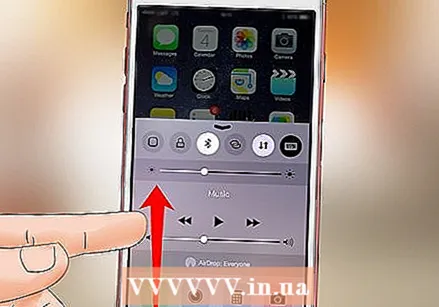 Swipe up from the bottom of the screen. This will open the Control Center, where the following options can be found:
 - "Airplane Mode" - The airplane icon at the top of the Control Center screen. Pressing this will turn on Airplane Mode, which can prevent your iPhone from transmitting signals. Press it again (or anything else in the list) to turn it off.
- "Wifi" - The icon that resembles a split arc. Press to enable wireless internet (if it is blue then Wi-Fi is already enabled) and to connect to the nearest known network.
- "Bluetooth" - The middle icon at the top of the Control Center screen. Press to enable Bluetooth on your iPhone, which allows you to connect your iPhone to speakers and other Bluetooth devices.
- "Do Not Disturb" - The moon-shaped icon. Press to prevent calls, text messages and other notifications from ringing your phone.
- "Rotation Lock" - The padlock icon with a circle around it. Pressing this while it is red will disable the rotation lock. This means that you will now be able to rotate your iPhone 90 degrees to view photos and other media in landscape mode.
- The bottom row of options from left to right include a flashlight, timer, calculator, and a shortcut to your iPhone's camera app.
 Press the start button. You will return to the home screen. Now that you are comfortable with the home screen, it is time to start using your iPhone's apps.
Part 3 of 4: Using apps
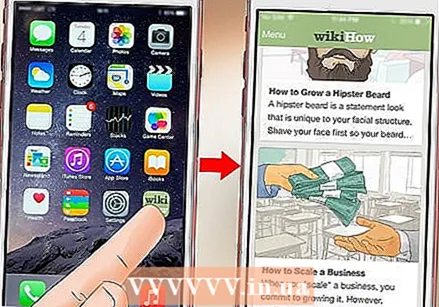 Tap an app. This will open it. The way you use each app will depend on the app in question, but you will usually be able to press items to activate them (eg pressing a text field will bring up your iPhone's keyboard).
 - You can download new apps in the App Store app.
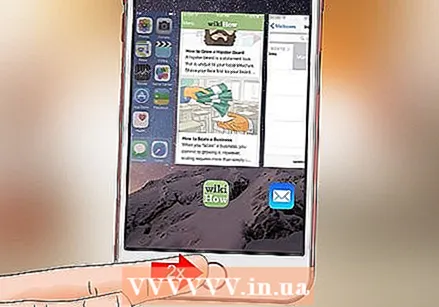 Press the start button twice. This will quickly zoom out from the current app that is active and all active apps will be displayed in separate windows.
 - Swipe up on any app window to close that app.
- You can also swipe left or right in this menu to scroll through the apps that are currently running.
 Press the start button. You will return to the home screen.
 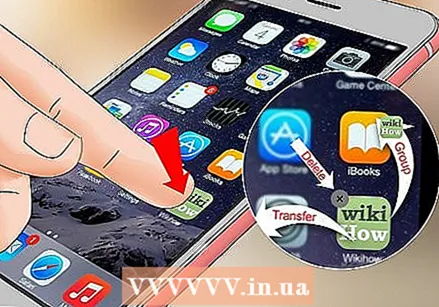 Press and hold an app. After about a second, the app will start to wiggle along with the other apps on your iPhone home screen. From here you can do several things:
 - Tap and drag an app to move the app. If you drag the app all the way to the right on the start screen, a new screen will appear where you can place the app. You can reach this page by swiping left on the start screen.
- Press and drag an app on top of another to create a folder containing both apps. You will also be able to drag other apps to this folder.
- Press the "X" in the top left corner of the app icon to delete the app. You will have to press "Delete" when prompted to effectively delete the app.
 Customize your iPhone home screen. Once you have moved, deleted and organized the apps from your iPhone according to your own preferences, it is time to start a phone call.
Part 4 of 4: Making a phone call
 Tap the Phone app. This is a green app with a white phone on it and is probably on the home screen.
 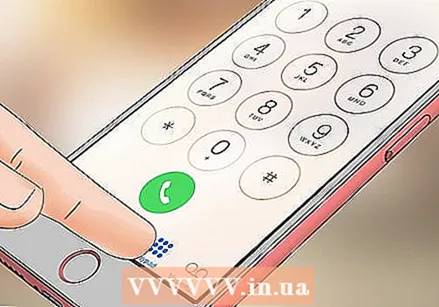 Press the "Numeric Keypad" tab. This option is at the bottom of the screen, to the right of the "Contacts" tab.
 - You can also tap the "Contacts" tab, then the name of a contact and then the "call" icon (a white phone on a blue background) below the name at the top of the screen.
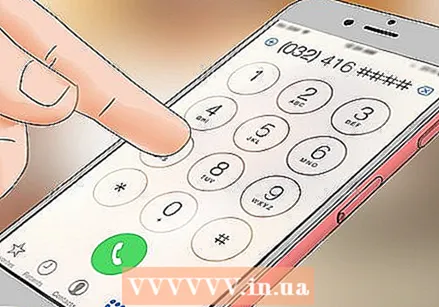 Enter a phone number. Do this by gently pressing the corresponding numbers on this page.
 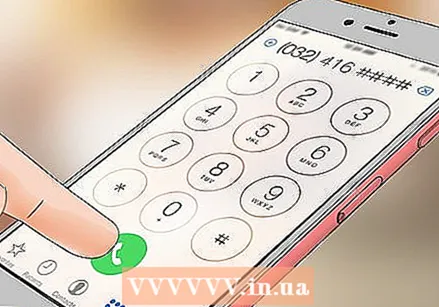 Press the green-white button "Call". This is below the last row of numbers on the screen. This will start your conversation. When you answer his or her phone, you can talk normally with the phone at your ear or you can use one of the following buttons to change the nature of the conversation:
 - "Speaker" - Changes your phone's audio output from the earpiece at the top of the screen to your iPhone's speaker. This way you can talk without having to hold the phone to your ear.
- "FaceTime" - Converts a phone call into a FaceTime call where you can see the recipient's face and vice versa. This only works if your contact also has an iPhone.
Tips
- Don't be discouraged by how complicated it can be to use iPhone - before you know it, you'll be used to operating your iPhone!
- Consider also using more advanced features of your iPhone such as Siri or replacing your iPhone's SIM card.


