Author:
Eugene Taylor
Date Of Creation:
12 August 2021
Update Date:
22 June 2024

Content
- To step
- Method 1 of 3: Use compressed air
- Method 2 of 3: Using cotton buds
- Method 3 of 3: Using a paper clip with masking tape
- Warnings
- Necessities
If your phone or other electronic device is left loose in your bag or pocket, dirt and dust will build up in the headphone jack. After a while you will no longer be able to use the headphones. However, headphone connections can be cleaned quickly and safely. Compressed air will blow out debris, but you can also use a cotton swab or a paper clip with tape around it for stubborn dirt.
To step
Method 1 of 3: Use compressed air
 Buy a can of compressed air. You can often buy these cans at electronics stores such as Radioshack or Best Buy. Compressed air is also used to clean up dirt and dust in computer parts, so check stores that sell computer parts. Air has the least chance of damaging the connection because you don't have to put anything in the hole.
 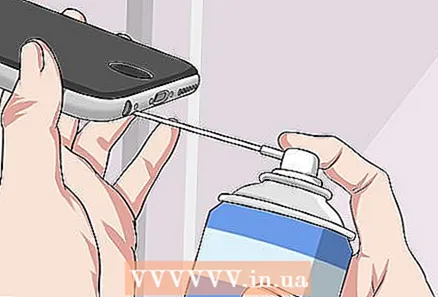 Point the syringe at the headphone jack. Place the opening of the air tube right next to the connection. Some cans come with tubes sticking out. This may be easier to use as you can then point the opening directly at the connector and force the air into the small opening.
 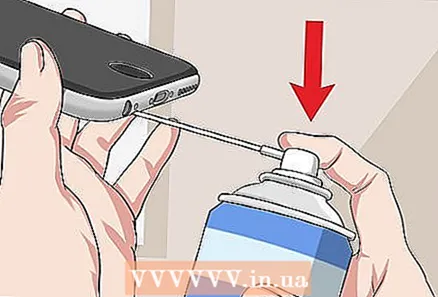 Squeeze in the air. Press the button on the top of the can to force the air into the connection. Spraying once or twice should be enough to loosen most of the debris in the connection. Make sure everything has been deleted.
Method 2 of 3: Using cotton buds
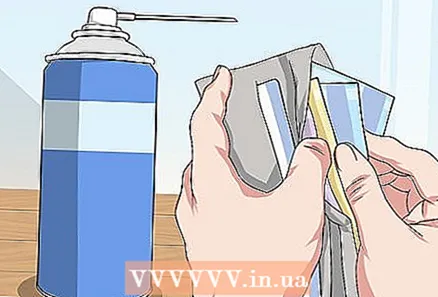
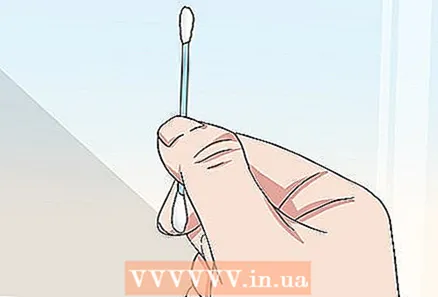 Buy cotton buds. You can buy cotton buds at the supermarket and drugstores. Choose the ones that don't look too fluffy so that no cotton fluff is left in the connector. Narrower cotton buds work better because they fit more easily into the connector.
 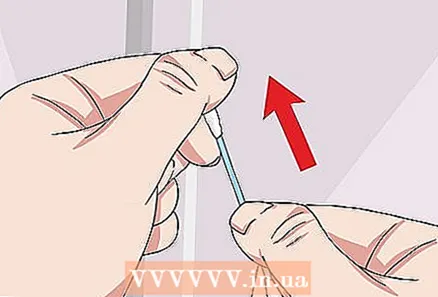 Remove cotton from the cotton swab. Begin tearing or cutting cotton on one side of a cotton swab. Make sure the tip has the same width as the stick itself. Once the tip is this size, it should fit easily into the socket.
 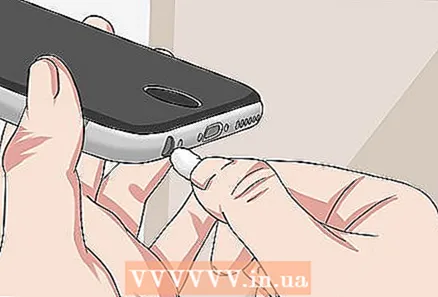 Brush the connection gently. Do not force the cotton swab into the connector. Insert it slowly until it rests within the opening. Twist the wand to brush off all sides of the connector. Take the stick out again and most of the debris should fall out.
  Wipe with rubbing alcohol. If there is dirt that is difficult to remove, you can dip the cotton swab in some rubbing alcohol. Make sure the stick is not soaking wet, but only slightly damp. Squeeze out the excess moisture first. Put the stick back in the socket and turn again.
 - Rubbing alcohol can corrode metal, so use it sparingly.
 Dry the connection with a clean cloth. Rubbing alcohol dries quickly. However, you can remove excess moisture to limit exposure to moisture. Insert a clean cloth into the connector. Leave it there for a while and swirl it around to collect the alcohol.
Method 3 of 3: Using a paper clip with masking tape
 Unfold a paper clip. Unfold the paperclip so that one end is straight. The paper clip can now be used to scrape debris from the connector. However, the metal can scratch the inside of it.
 - You can also use a toothpick, but again the tip can scratch the connection.
- Needles are useful for reaching lint and larger debris, but can easily scratch the connector and should only be used as a last resort.
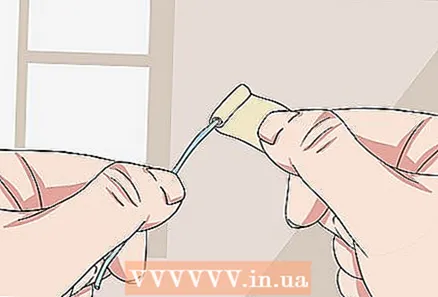 Wrap masking tape around the end of the clip. Use standard adhesive tape. Wrap this tightly around the straightened part of the paperclip. Before use, check that the tape is securely attached.
  Gently push the adhesive tape into the connector. Slowly put the tape in place. Don't push it in hard. Try to reach any dirt you see. The belt forms a dust roller and removes dirt and dust.
Warnings
- Use caution when inserting anything into the connector. The metal can be easily scratched or corroded.
Necessities
- Compressed air
- Cotton swabs
- Paperclip
- Adhesive tape
- Rubbing alcohol


