Author:
Tamara Smith
Date Of Creation:
19 January 2021
Update Date:
1 July 2024
Content
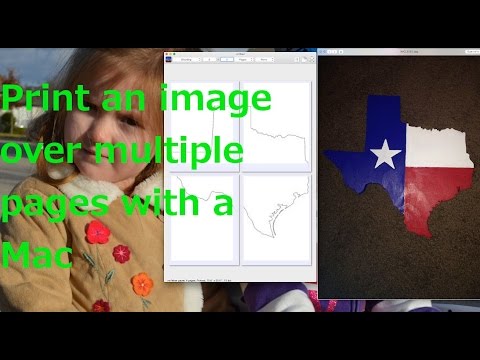
This article will show you how to print a large multi-page image on a PC or Mac.
To step
Part 1 of 2: Using Rasterbator to enlarge the image
 Go to https://rasterbator.net/ in a browser. Rasterbator is a popular website for creating poster size art. This site works for both Windows and MacOS.
 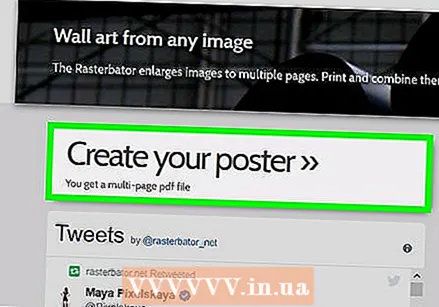 click on Create your poster.
 Select a source image. There are three ways to do this:
 - If the image is online, type or paste the URL into the blank "Load from URL" field, then click Load.
- If the image is on your computer, click "Search ..." to open your computer's explorer. Select the image, click "Open" and then click "Upload".
- Another way to upload an image from your computer is to drag it to the "Drag the image file here" box.
 Select your paper settings. Under "Paper settings" you can choose the desired options:
 - Choose the size and format of the paper you will be printing on, such as "A5" or "A4" from the first drop-down menu.
- Select either "Portrait" (large) or "Landscape" (wide) format.
- The default margin size is 10mm, which should work for most home printers.Margins are necessary because most printers do not print all the way to the edge of the paper. If the margins are too small, part of the image will be missing - if they are too large, you can still trim the edges.
- Overlap makes it easy to merge images when you trim the margins because the image will overlap slightly on the adjacent pages. Check the box "Overlap pages by 5mm" for best results.
 Choose the size of your poster. The "Output Size" section determines the size of your poster based on the number of pages that make up the image. The greater the number of pages, the larger the size of the poster will be.
 - Enter the number of pages in the first box.
- Select "wide" or "high" from the drop-down menu.
- For example, if you type 6 in the box pages "and" wide, "the file will be 6 pages wide. Rasterbator will calculate how many pages the poster must be in order to best fit the image.
- If you select "high", the preview image will be 6 pages high and Rasterbator will determine the width based on the size of the image.
- The grid lines on the preview show how many pages you will use.
 click on Continue.
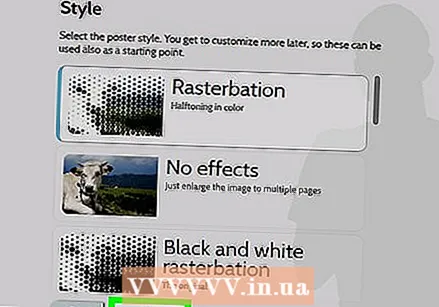
 Select a style. Rasterbator lets you choose from a variety of styles to add artistic effects to your poster. Click on a style (a preview will appear on the image) or select "No Effects" to skip this step.
 - "Halftone" and "Black and White Halftone" are popular choices that print in a halftone style consisting of numerous dots.
 click on Continue.
 Select your color preferences. Once you have selected a style, you will be able to choose additional options for the final product.
 - If you chose "No Effects" then none of the menu options will affect your poster.
 click on Continue.
 Select your final style options. These options will vary depending on the style you have selected.
 - If you haven't selected a style, you can still search the drop-down menu at the top of the screen for additional effects to add to your product. If you decide not to use one, select "Enlarge" from the menu.
- To make it easy to trim the margins, check the box next to "Cut marks." This is optional and not necessary if you have added a 5mm overlap.
 click on Complete X page poster!. The "X" represents the number of pages you will print on. The website will now create your image.
  Download the pdf. Click "OK" or "Save" (options vary depending on the computer and browser) to download the finished image, which is ready to print.
Part 2 of 2: Printing the image
 Open the PDF. Double-click the file you downloaded from Rasterbator to open it with your computer's default PDF reader.
 - Rasterbator recommends using Adobe X Reader, but any reader is good.
 Click on the menu File. If you are using Windows, this menu bar will be at the top of the PDF reader. If you're using a Mac, the menu bar is at the top of the screen.
  click on Print. This will open your computer's print options.
  Select your printer. If the printer you want to use does not appear in the "Printer" drop-down, click the drop-down to select it now.
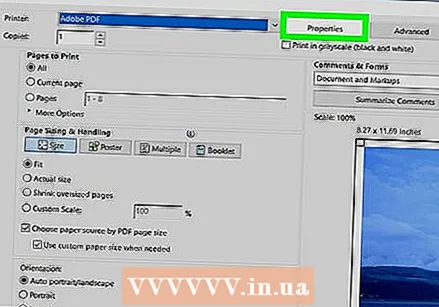
 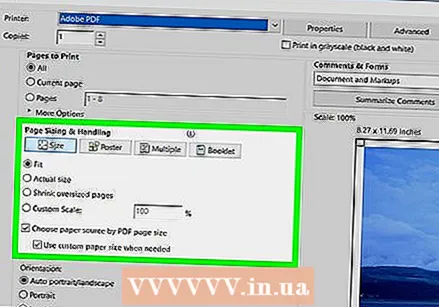 Select a paper size. Click on "Size" or "Paper Size" and then select the size you selected in Rastorbator.
  Select the "Fit to Scale" option. If you're using a Mac, you may need to click "Show Details" to see your printer options.
 - In macOS you have to select "Fit to Scale".
- If you are using Adobe Reader for Windows, check "Adjust" under "Paper Size & Handling".
 Make sure your printer is not set to print on both sides of the paper. If you want the poster to print correctly, each page must be printed individually.
 - If you are using Windows, make sure that "Print on Both Sides" is NOT checked.
- If you are using macOS, select "View" from the drop-down menu in the center of the printer screen and make sure that Duplex "is set to" None ".
 click on Print. This will send your poster to the printer.
  Arrange the pages in order. It is best to use a large surface for this. If you have printed the image on multiple pages, it can be difficult to determine which page should go where. Fortunately, there is a marker in the bottom right corner of each page that tells you how to connect the pages.
  Trim the margins. Use the markings on the outside of the image as a guide for cropping. It is best to use a ruler and a utility knife to cut straight.
  Merge your pages to form one large image. You can use any method you like, such as tape, glue it to a board, or pin each page to your wall.
 - You may find it helpful to use a small amount of masking tape on the edge of each adjoining page when the poster is lying face up on the floor. This way you can move the whole thing more easily.
")


